Maintenance
Agilent Graphite Tube Atomizer GTA 120 User’s Guide 63
TIP
You can check to see if the electrodes are fitted correctly by placing a graphite
tube between the two electrodes. Without the center block in place clamp the
electrodes together. You should be able to turn the graphite tube with your
fingers. If there is too much resistance, the electrodes may need to be pushed in
further.
7 Replace the center block, being careful not to kink or damage the
tubes.
8 Re-tighten the magnet screw.
9 Flip the latch back down.
10 Replace the skirt, using a piece of wire to draw the skirt through.
11 Clamp the furnace together.
12 Replace the workhead windows.
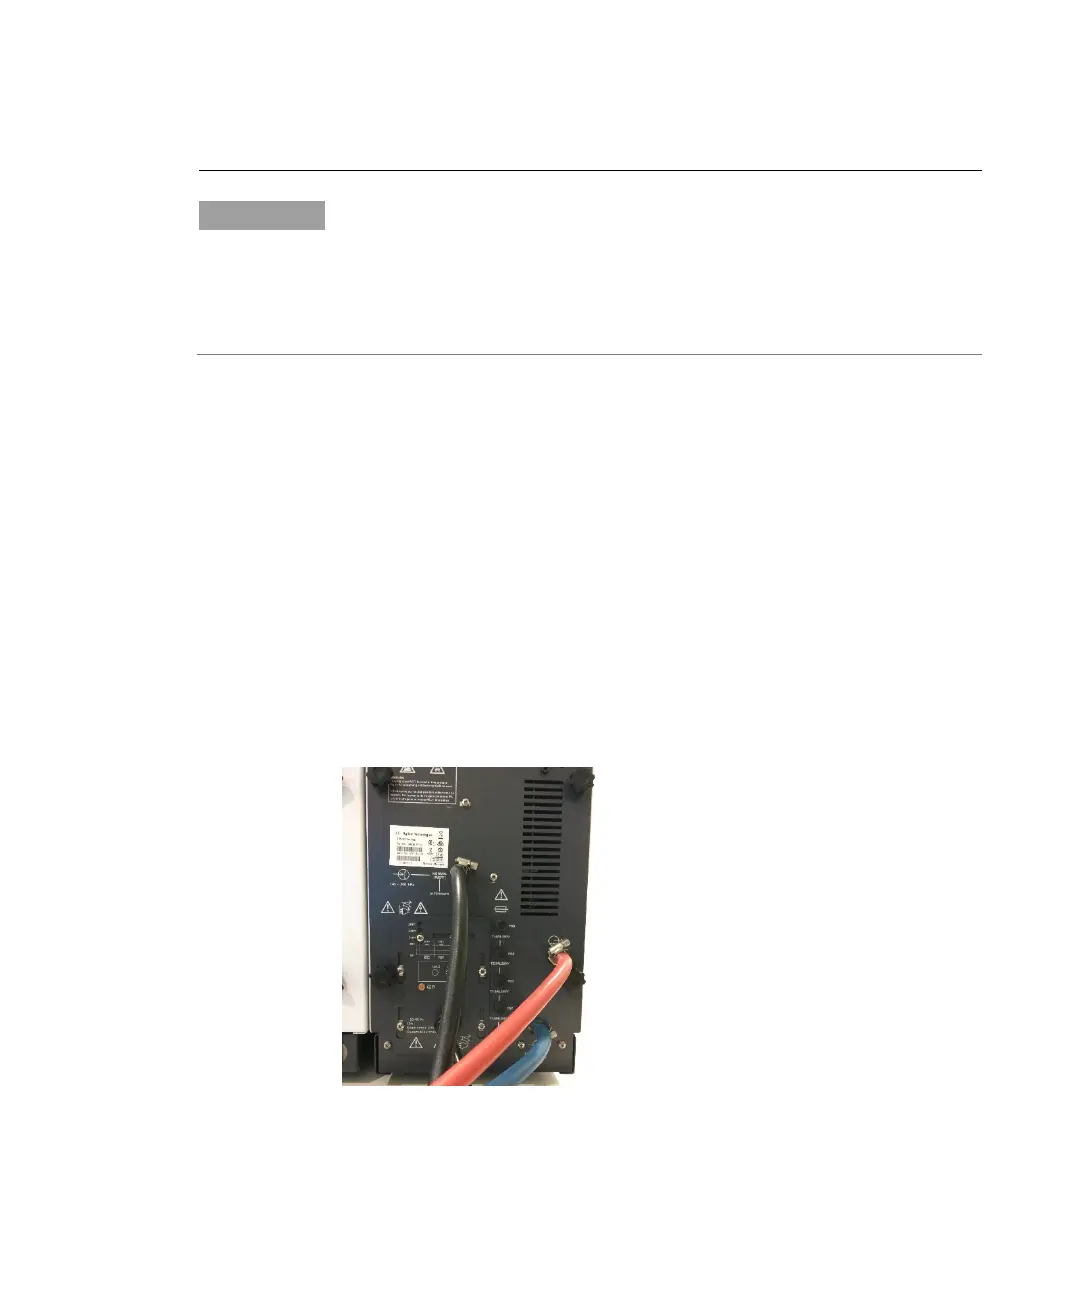
Fuses
The GTA 120 contains five operator accessible fuses which are
located at the back of the accessory. To replace a fuse, disconnect the
accessory from the power supply, and replace the blown fuse with
one of the type and rating mains indicated below.
Figure 28. Rear of GTA unit

 Loading...


