Using Your GTA
Agilent Graphite Tube Atomizer GTA 120 User’s Guide 33
4 Keeping the power cord out of the way, lower the workhead onto
the rollers, with the slots over the rollers.
5 Ensuring the furnace is correctly installed; carefully pull the top
of the workhead towards you. It should tilt about 30° then rest
on the stops.
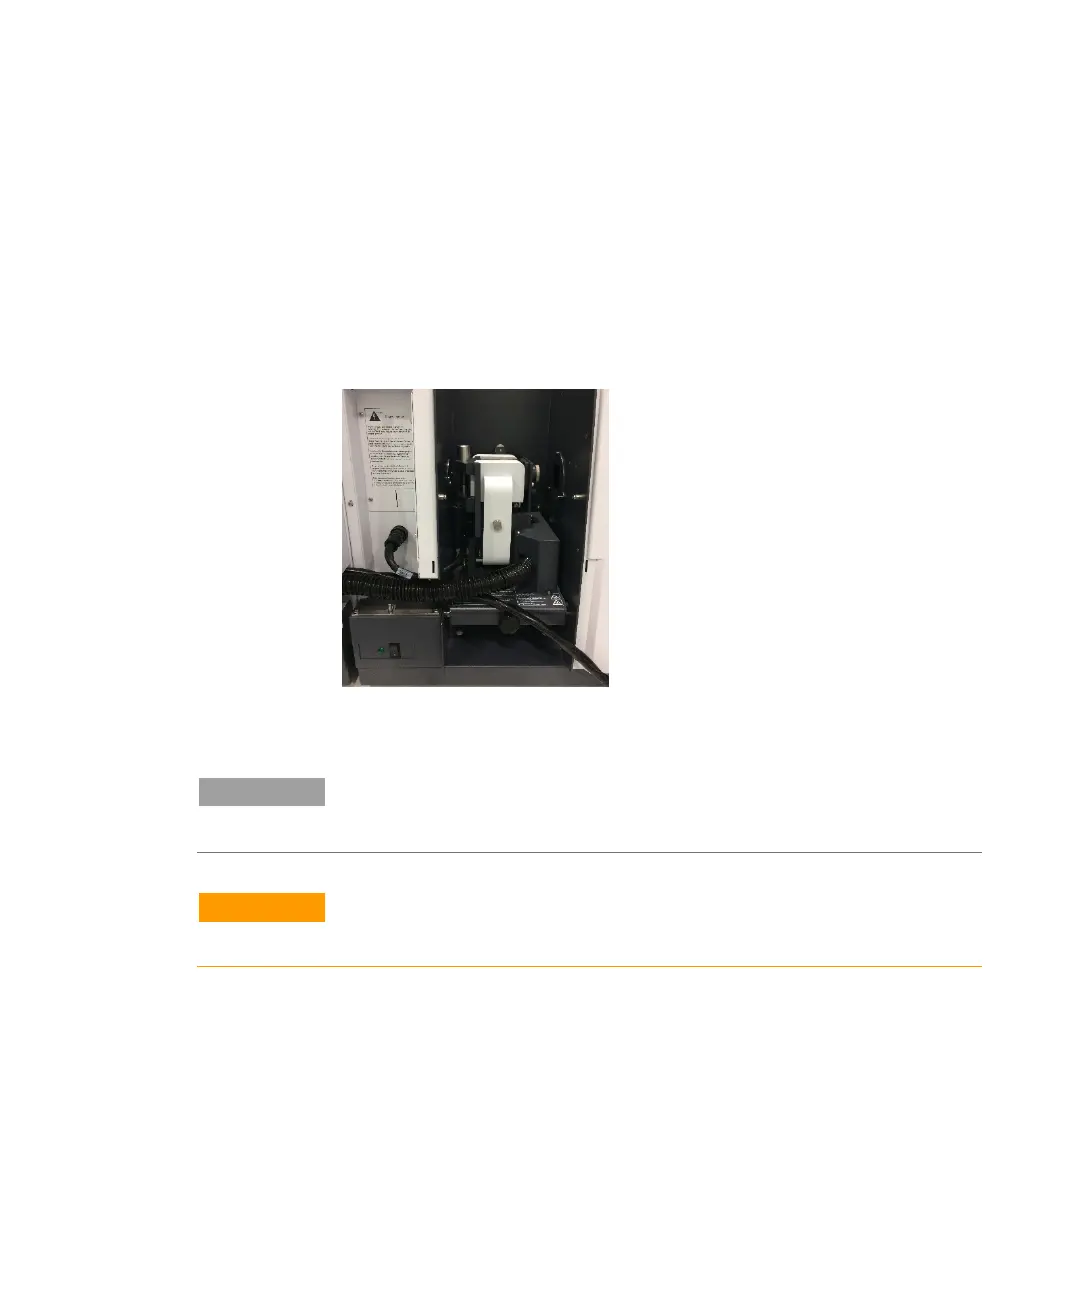
6 Plug the furnace power cable plug into the socket located on the
rear wall of the compartment exposed when the left panel was
removed (see Figure 5).
Figure 5. Power cable plugged into connector on the 280Z AA
NOTE
Rotate the plug to match the pins in the socket and then push the plug in. Screw
the collar up finger tight until it locks into position.
CAUTION
Ensure the plug is securely in place. A loose plug will lead to arcing between the
pins of the plug and damage to the electrical system of the instrument.
7 Refit the left hand panel.
8 Align the HC lamps. Refer to the SpectrAA Help for instructions.
9 Carefully tilt the workhead back into the sample compartment.
10 Align the vertical furnace position.

 Loading...


