22 Power Hoe 6000 Edition 11.98
3. Devices and Operating Elements
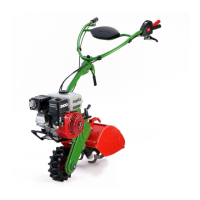
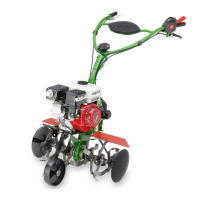
Hoeing guards
Assembly
The guards must cover the hoeing tools
across the whole working width.
W
Always shut off the engine
and remove the spark plug
connnector before you at-
tach/remove the hoeing guards. Wear
safety gloves.
l
Fit both hoeing guards (1+2) with
anchoring bolts (3) and tensioning bolts
(4) into the holes (A/9) on the hoeing drive
(see illustration).
W
Before you start hoeing en-
sure guards of the correct
size are mounted to prevent
injuries caused by the rotating hoeing
tools.
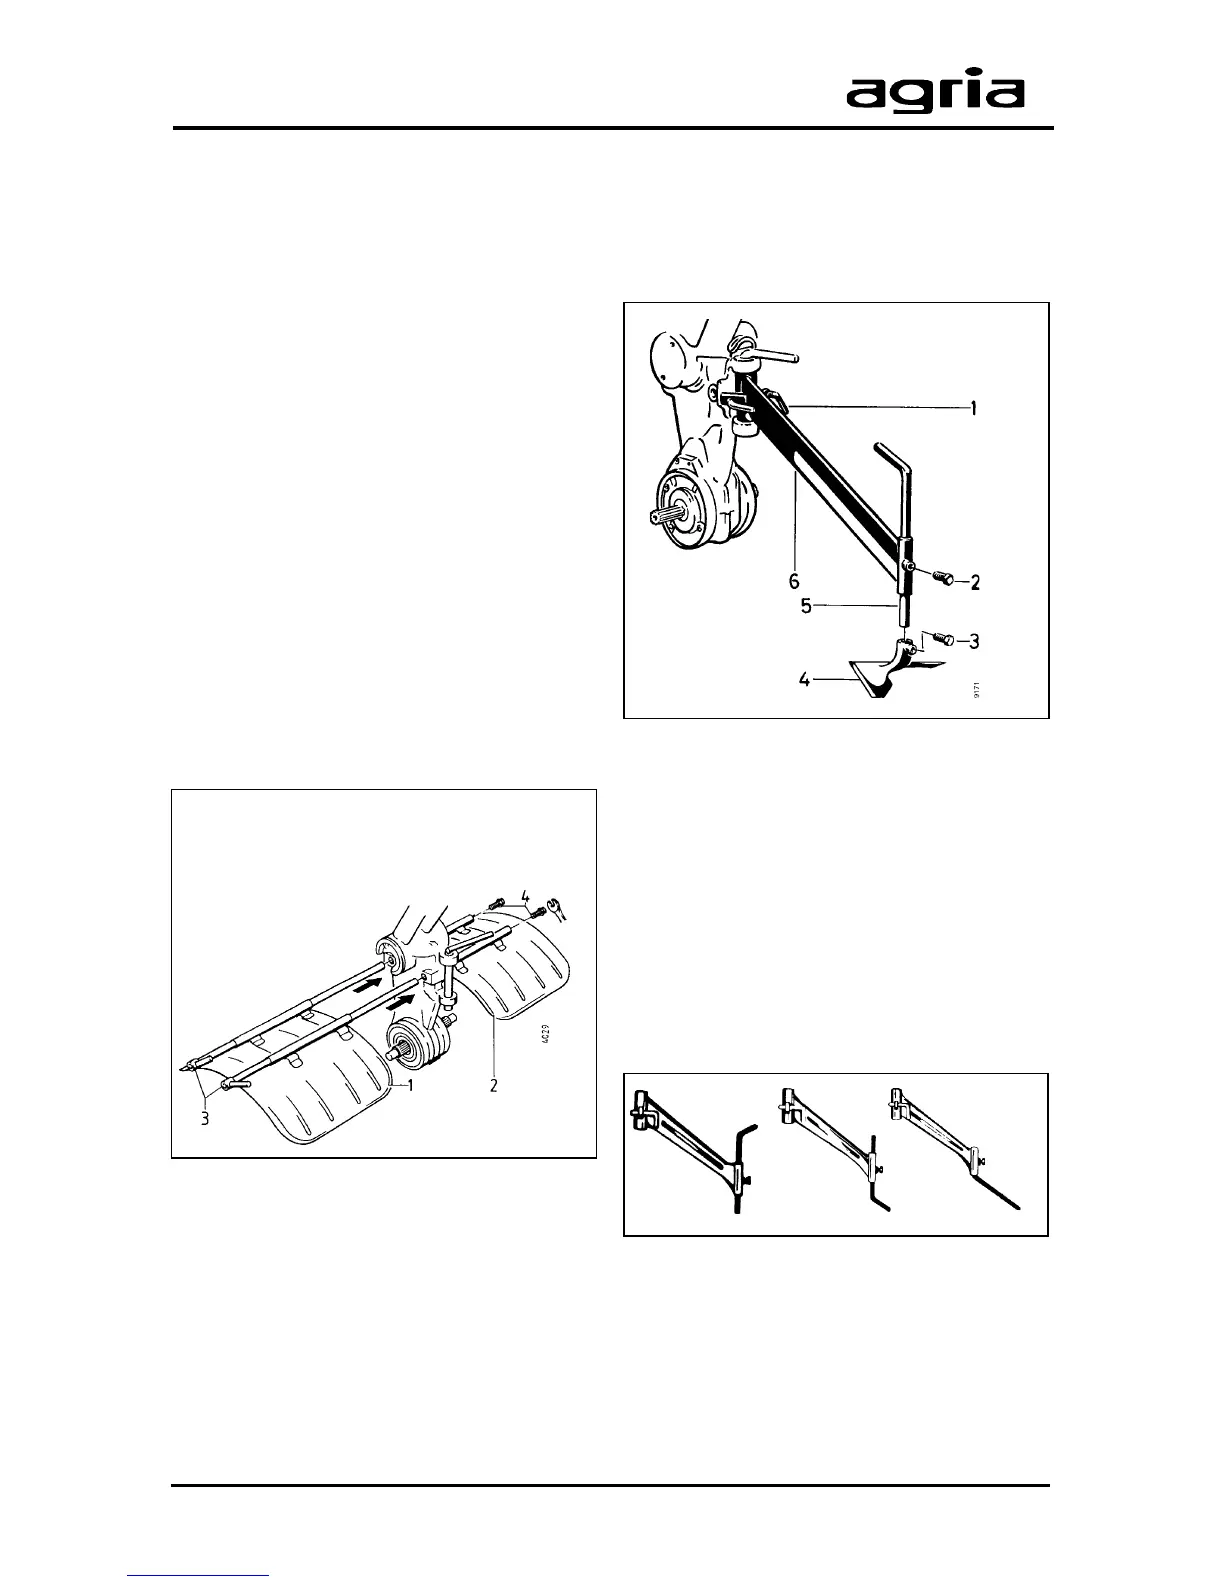
Hoeing leg
l
Attach hoeing leg (5) and leg (6) to the
hitch.
The hoeing leg slows down the hoe’s
forward speed. Press the hoeing leg (5)
into the soil for the desired working depth.
The deeper you set the leg setting, the
deeper is the working depth.
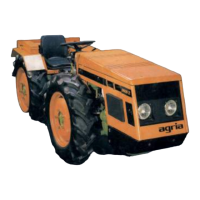
Hoeing leg settings
A = in heavy soil
B = in medium to light soil
C = in sandy soil
The share (4) is for working in losened
soil only.
A
BC
1 Left hoeing guard
2 Right hoeing guard
3 Anchoring bolt
4 Tensioning bolt