36
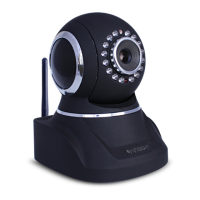
● Alarm Input: (Refers to the I/O input 1). Set alarm input ON/OFF, (it supports NO/NC external alarm device),
choose the desired mode.
Figure 8.1
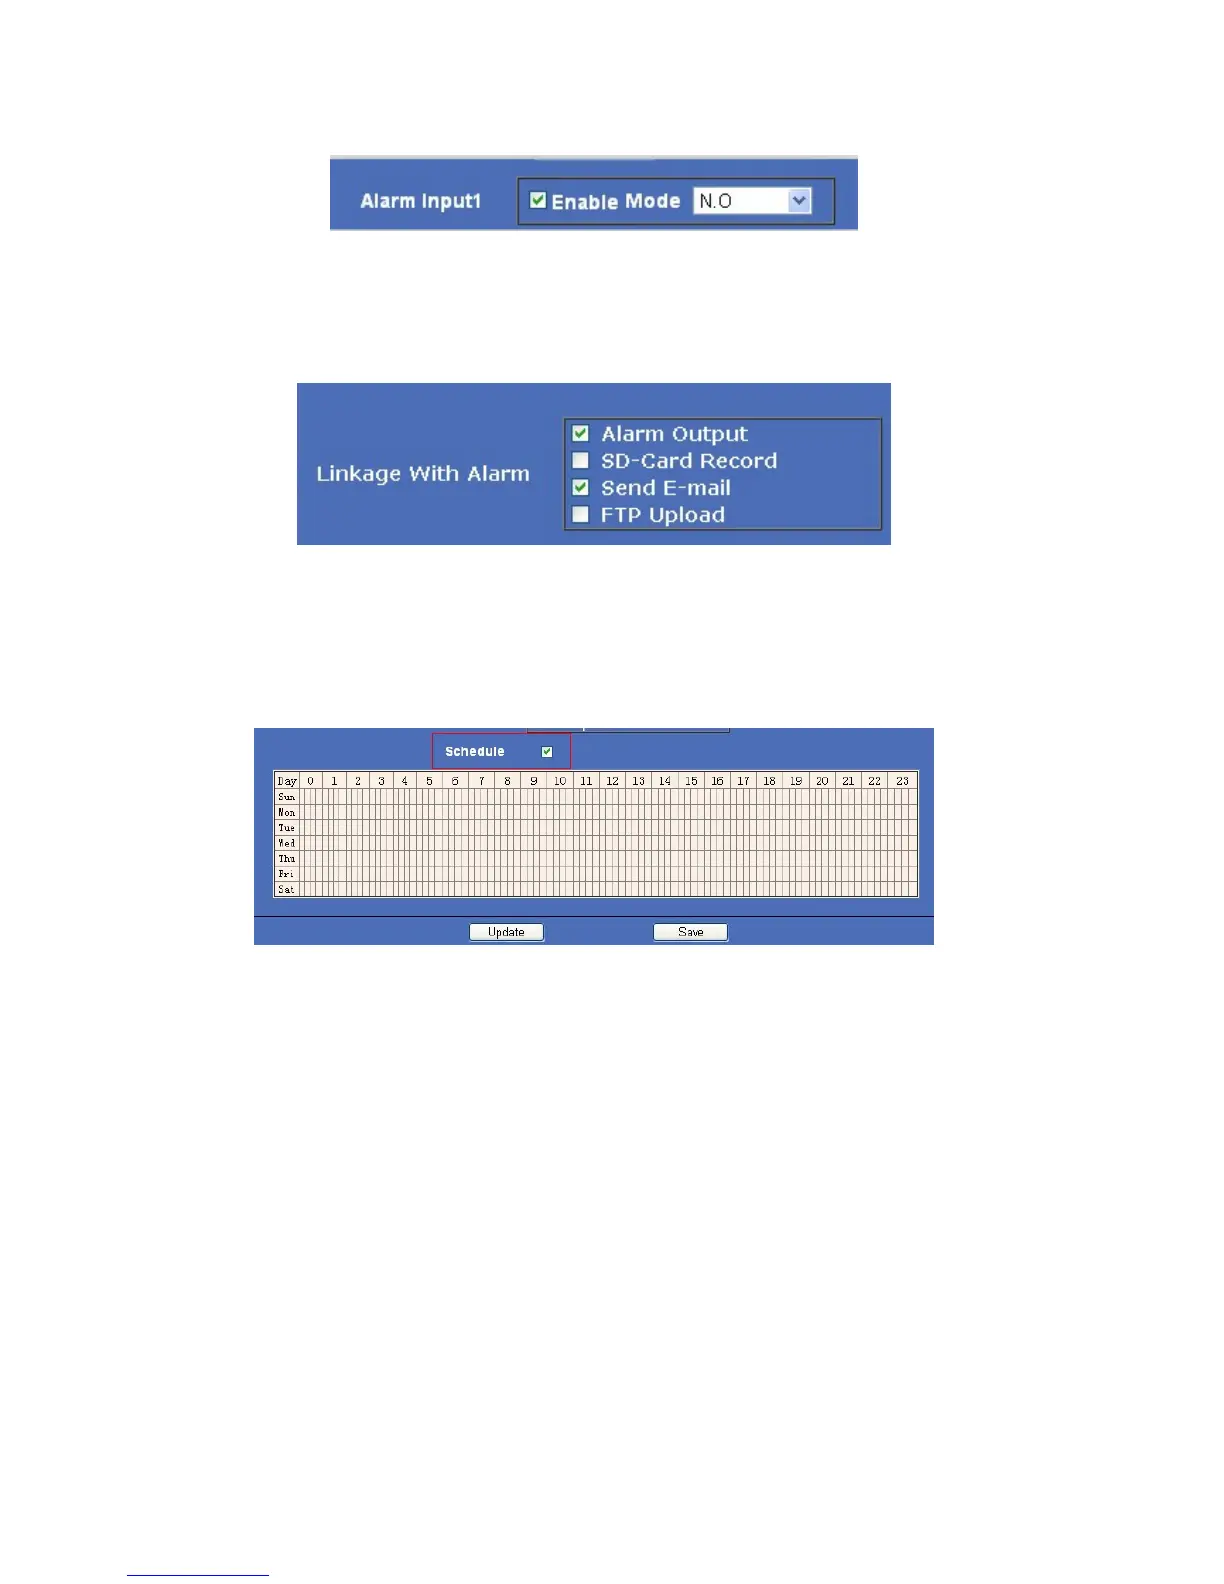
● Action with Alarm
These are actions optional for external alarm triggered.
Figure 8.2
Scheduler
Set Alarm under your own schedule here.
Check Schedule, a calendar is shown, set your schedule, click Save to finish settings, and click Update to refresh
camera.
Figure 8.3
4.6 Basic Network Settings
Click Basic Network Settings to enter the interface:
● Media Port: Default is 38401.
● Web Port: Default is 80.
● ONVIF Port: Default is 2012. (Camera supports ONVIF, version 2.0, so you can connect to your additional
devices that support the ONVIF protocol.)
● RTSP Port: Default is 554.
● IP Address: Set the IP address of camera.
● Subnet Mark: Default is 255.255.255.0.
● Gateway: Set the gateway of IP camera. If the camera connects to an extranet via a router, then the gateway is
the router’s IP.
NOTE: Don’t change the Media Port, Web Port, ONVIF Port, RTSP Port if not necessary.