Page 11 of 80
Section 3: Building the Power Supply PCB
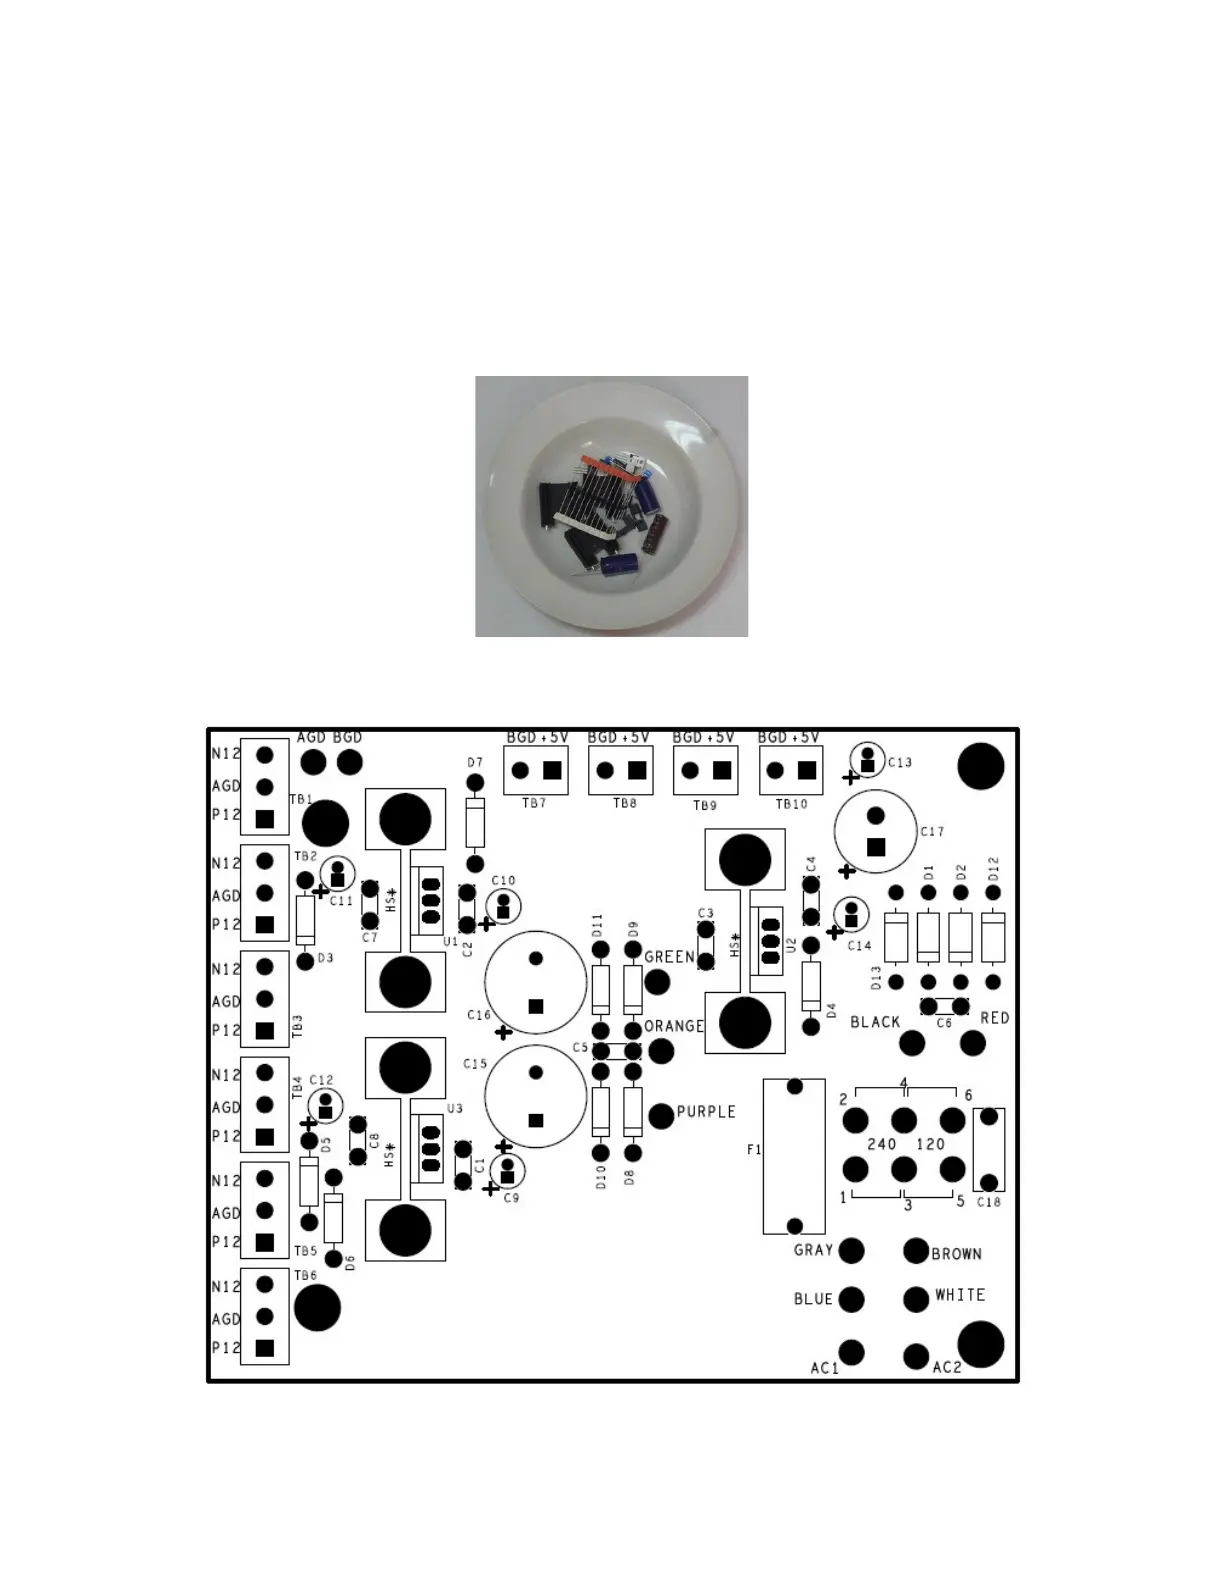
This section details the process of building the power supply circuit board. Begin by
carefully emptying the contents of the envelope marked “PR-101 Power Supply” into a
broad soup bowl, as shown below. The envelope might also be marked “PR-102 power
supply”. FYI, the power supply did not change between the PR-101 and PR-102. In
general, you’ll start with the components that lay closest to the board, working your way
towards the taller components.
Figure 1-Empty the power supply components into a soup bowl
Component Order
Figure 2-Component side of power supply PCB before loading

 Loading...