Page 46 of 80
Install the Small Capacitors
Now we’ll install the following small capacitors. If you have a lead-bending jig, use the
0.4” spacing:
Designation Value Description Done
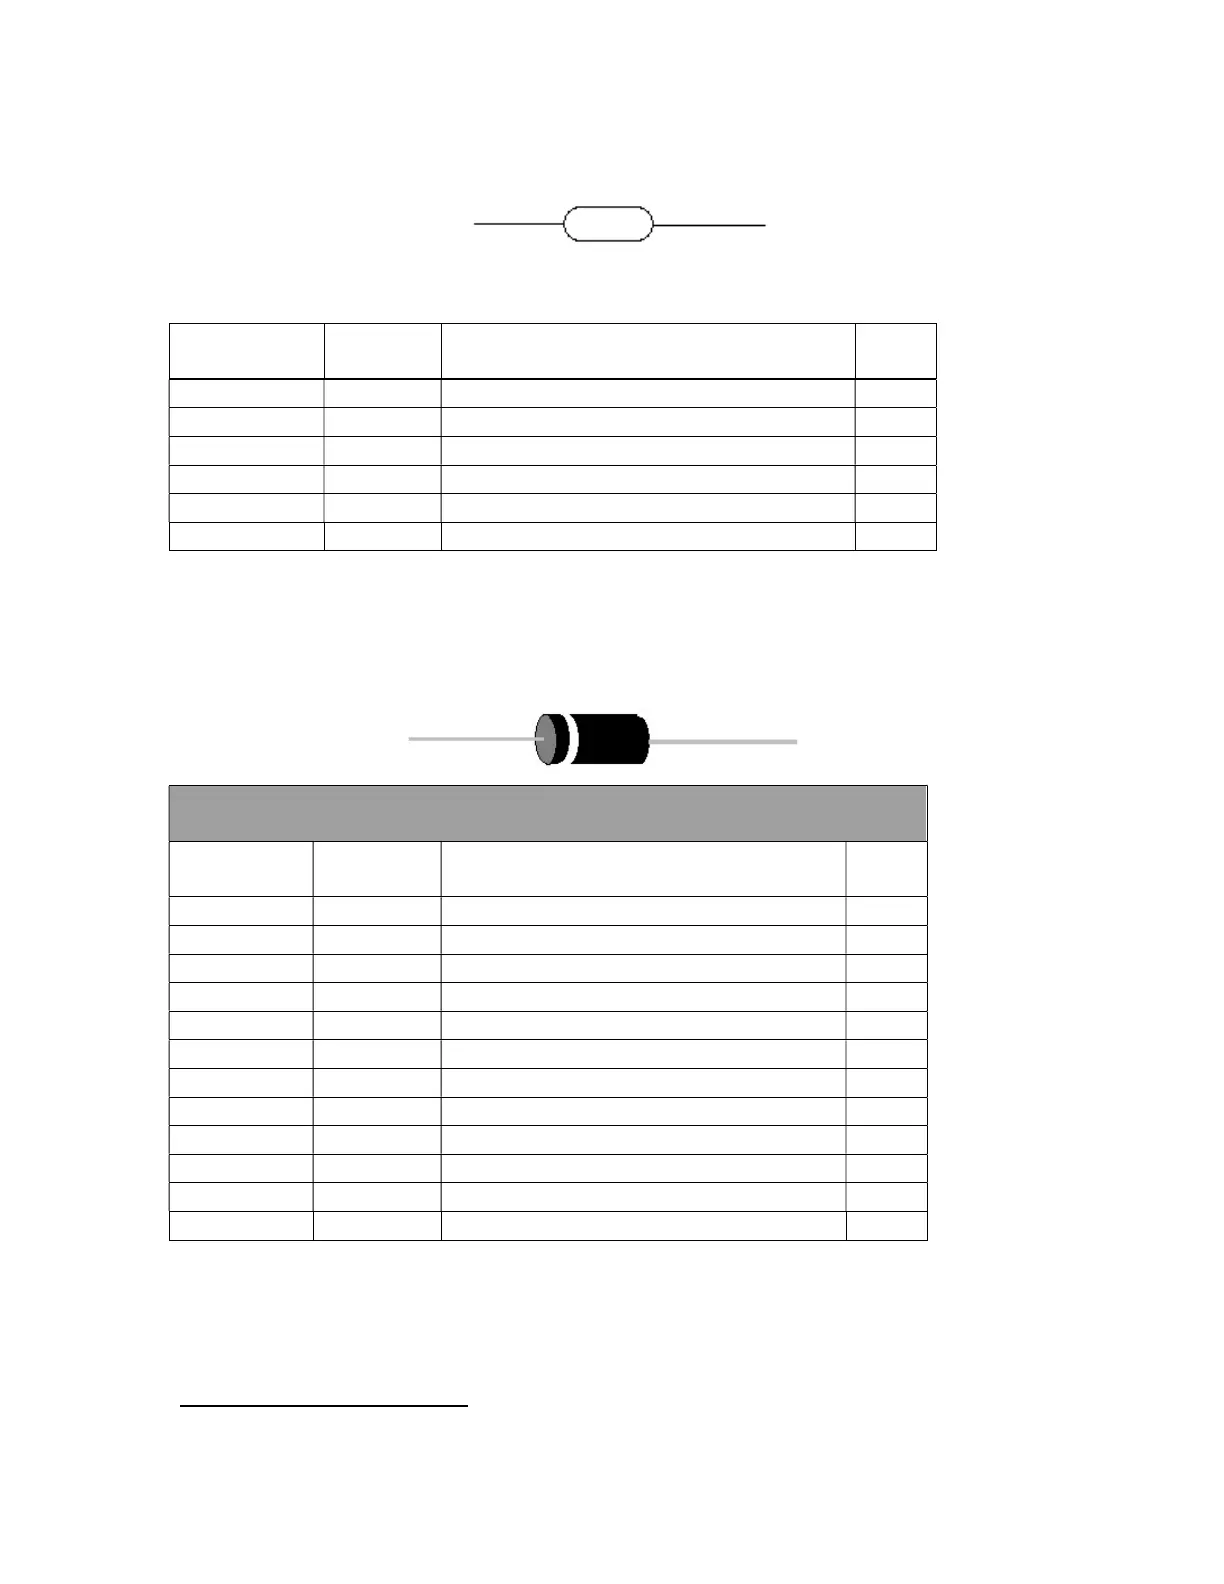
Install the Diodes
If you’re using a lead-bending jig:
Use a 0.45” span for the 1N4004 diodes
Use a 0.40” span for the 1N4148 diodes
Install the diodes correctly. Make sure to match the banded end of the diode
banded end of the diode’s silk
Designation Value Description Done
Install the Bypass Capacitors
The bypass capacitors are pre-formed to the correct span. Drop each one in, and bend the
leads to around a 45 degree angle to hold the capacitors. Solder, then clip the leads in the
normal fashion.
5
There’s also a line that says K1G, but you need even more magnification to see that!

 Loading...