master's Sync Out to the slave's Sync In, connect the slave ADAT’s digital out to the
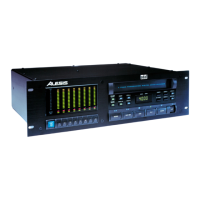
master ADAT’s digital in. You now have the hookup shown below:
If you press Digital In on the master without setting the master clock to Int, this sets
up a type of “feedback loop” where the master is trying to synchronize to the slave's
digital signal, which is in turn trying to synchronize to the master, etc. This results in
unstable operation; if the room is quiet you'll hear the servos of the ADATs changing
pitch, and an error message may appear in the display.
To repair this situation, press and hold the Set Locate button, and press Digital In.
The display will read "INT" to indicate that the master will use its internal clock
instead of the clock derived from the optical in. Repeating this process will cause the
display to read "dIG" to indicate that the master will follow the clock derived from its
digital in, which is necessary when the master is receiving digital input from devices
such as the AI-1, QuadraSynth, or QuadraVerb 2.
Note that a slave ADAT (id2 or higher) cannot switch from "dIG" to "int", because a
slave machine always follows the clock from the master ADAT's Sync Out port, not
the clock from the optical input or its internal clock.
6.1B Optical-Only Method
Under this method, the time code locations of the original and the copy will not match.
1. Connect one end of the fiber optic cable into the source ADAT optical output. The
cable is non-polarized, so either end can be inserted into the optical output. (Note
that if the other end of the cable is disconnected and a signal is being sent
through the cable, you will be able to see a red light at the output. This is not a
laser light, so you don’t have to worry about damage to your eyes.)
2. Connect the other end of the fiber optic cable to the target ADAT’s optical input.
3. Insert the tape to be backed up in the source ADAT.
4. Insert a tape in the target ADAT (if it’s not formatted, see section 3.1, or section
5.2 for dual ADAT systems).
5. Select Digital Input on the target ADAT.
6. Record enable all tracks on the target ADAT.
7. Place the target ADAT in Record mode and the source ADAT in Play mode.
8. Press Stop on both machines after backing up is complete.

 Loading...