6
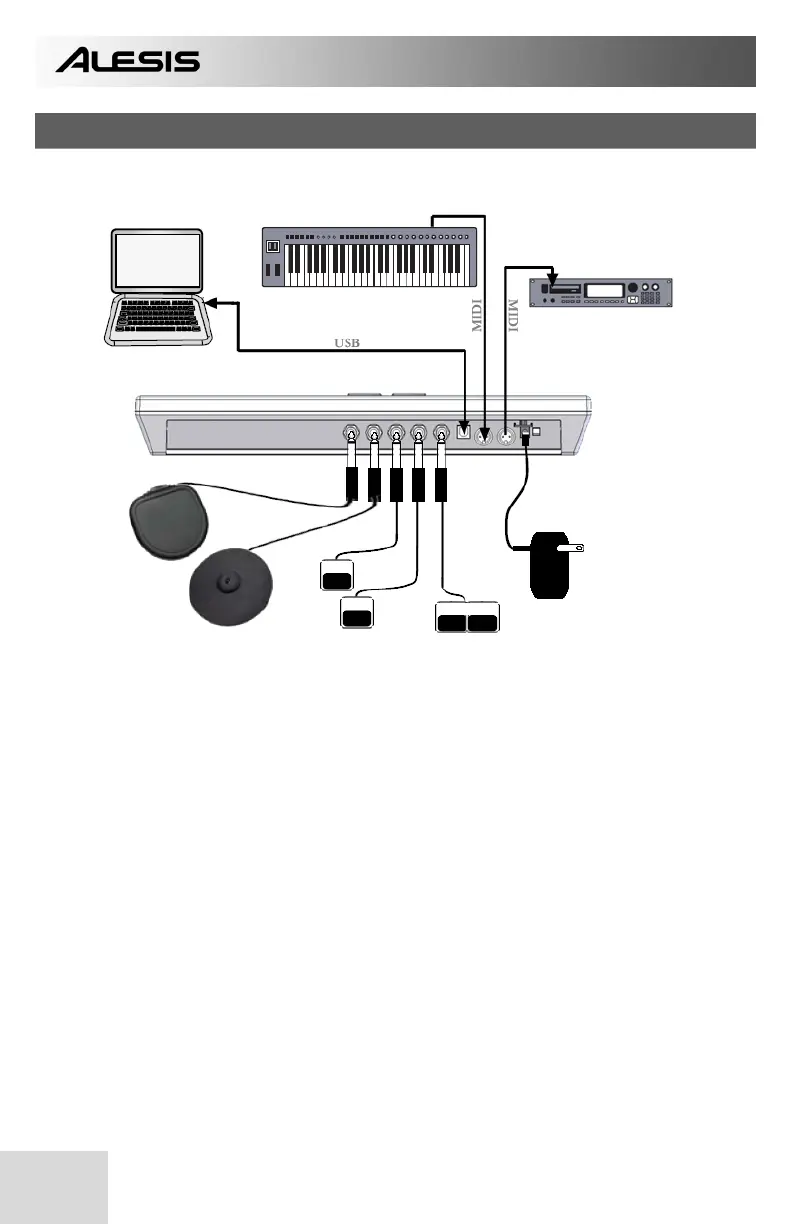
HOOKUP DIAGRAM
COMPUTER MIDI CONTROL DEVICE
EXTERNAL DEVICE
6V POWER
ADAPTER
TRIGGERS
(optional)
FOOTSWITCHES DUAL
FOOTSWITCH
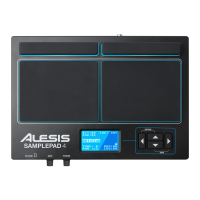
MOUNTING OPTIONS:
• Tabletop – put the ControlPad on a flat table top with enough space.
• Snare stand – lay the ControlPad securely on a snare stand.
• Tom or cymbal stand – mounting brackets (sold separately) are available for
mounting the ControlPad onto a tom or cymbal stand.
1. Before turning on the ControlPad, connect any additional triggers, footswitches,
MIDI control or other external devices.
If you would like to use the ControlPad with a computer, connect a USB cord
from the ControlPad to the computer’s USB port.
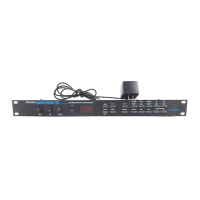
2. Connect a power source to the ControlPad. You have two options for powering
the ControlPad:
a. Connect the ControlPad to a computer’s USB port – the computer’s
USB bus will provide power.
b. Connect an optional 6v DC power adapter to the ControlPad.
3. Use the power switch on the rear panel of the ControlPad to turn it on.