Steps
After performing the pre-requisites you are left with the palm-rest and keyboard assembly.
NOTE: Ensure that the solid-state drive mounts on slot one and two are removed from the old palm-rest and keyboard
assembly before installing the new palm-rest and keyboard assembly. These solid-state drive mounts will be installed into the
new palm-rest and keyboard assembly.
Installing the palm-rest and keyboard assembly
Prerequisites
If you are replacing a component, remove the existing component before performing the installation process.
About this task
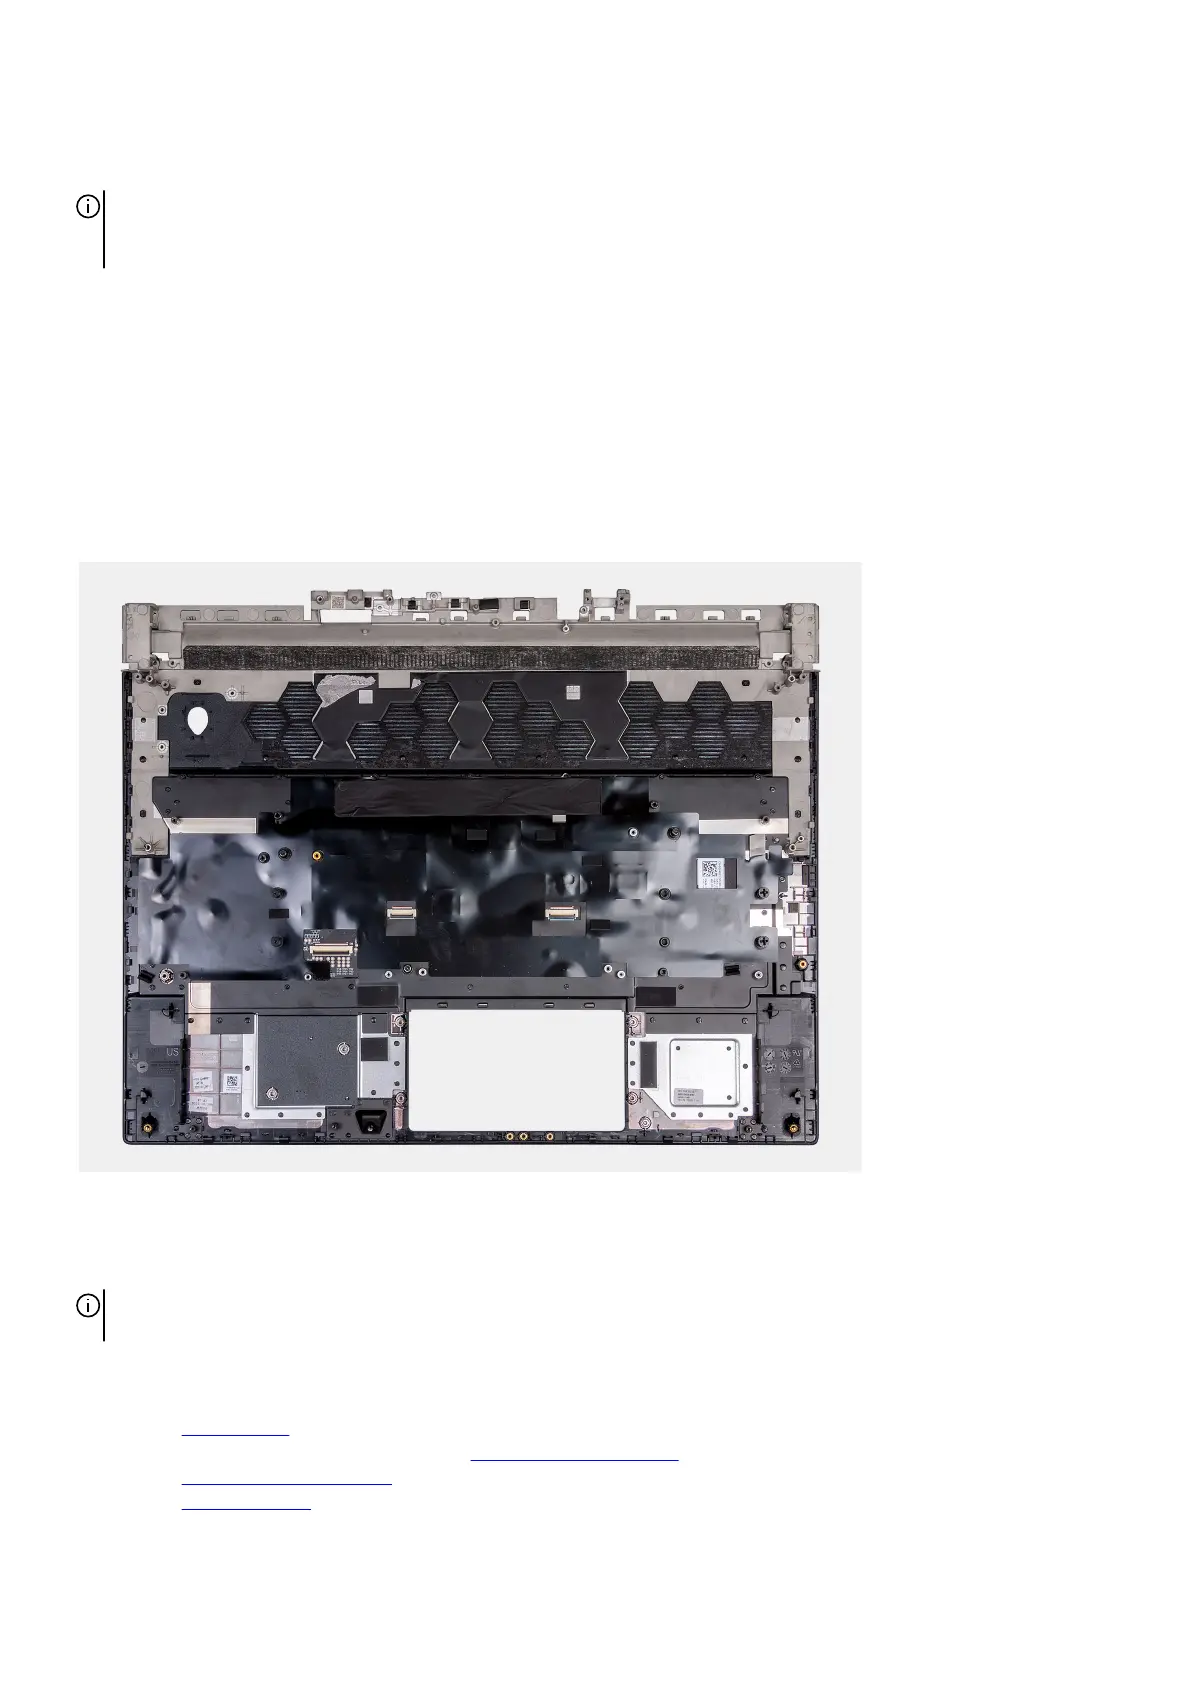
The following image(s) indicate the location of the palm-rest and keyboard assembly and provides a visual representation of the
installation procedure.
Steps
Place the palm-rest and keyboard assembly on a flat and clean surface and perform the post-requisites to install the palm-rest and
keyboard assembly.
NOTE: Install the solid-state drive mounts on the slots from the old palm-rest and keyboard assembly into the new palm-rest and
keyboard assembly.
Next steps
1. Install the power button.
2. Follow the procedure from step 5 to step 13 in Installing the system board.
3. Install the keyboard-controller board.
4. Install the display assembly.
67