Publication 1734-UM009A-EN-P - June 2002
Installing the RS-232 ASCII Module 1-7
Cable Pinouts for
Standard DB Connectors
How to Install a Serial
Network
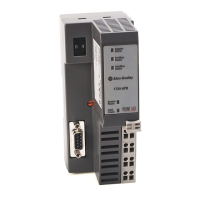
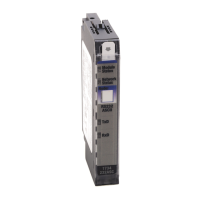
The communication between your serial device(s) and the
1734-232ASC is an RS-232 3-wire network.
1. Connect an appropriate cable to your device.
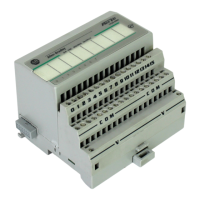
2. Connect the other end of the cable to the 1734-232ASC using the
three designated positions on the 1734-TB terminal block.
Notice the terminal markings on the 1734-232ASC case.
3. Turn on power to the serial device and the 1734-232ASC.
4. Set up the ASCII buffer sizes on the 1734-232ASC.
The defaults are 20 and 20. If more than 20 bytes are required
for the transmit or receive buffers, set the appropriate
parameters in your configuration file to the buffer size you need
for your ASCII data.
This will modify the I/O message size. You will need to
reconfigure the poll/COS/cyclic transmit and receive data sizes if
you modify the ASCII buffer size from the default value.
In many configuration tools, this will unmap the data in your
scanner’s scan list. They must be remapped in order to process
the data in your PLC or PC software. These values are displayed
in the Parameter Object, Class 15 (F
hex
).
Table 1.1 RS-232 Functions
Pin Number
Function DB-25 DB-9
Transmit Data (TXD) 2 3
Receive Data (RXD) 3 2
Signal Ground (SG) 7 5
Spare Allen-Bradley Parts
 Loading...