Publication 2711-UM014B-EN-P
9-6 Installing the PV600 Terminal
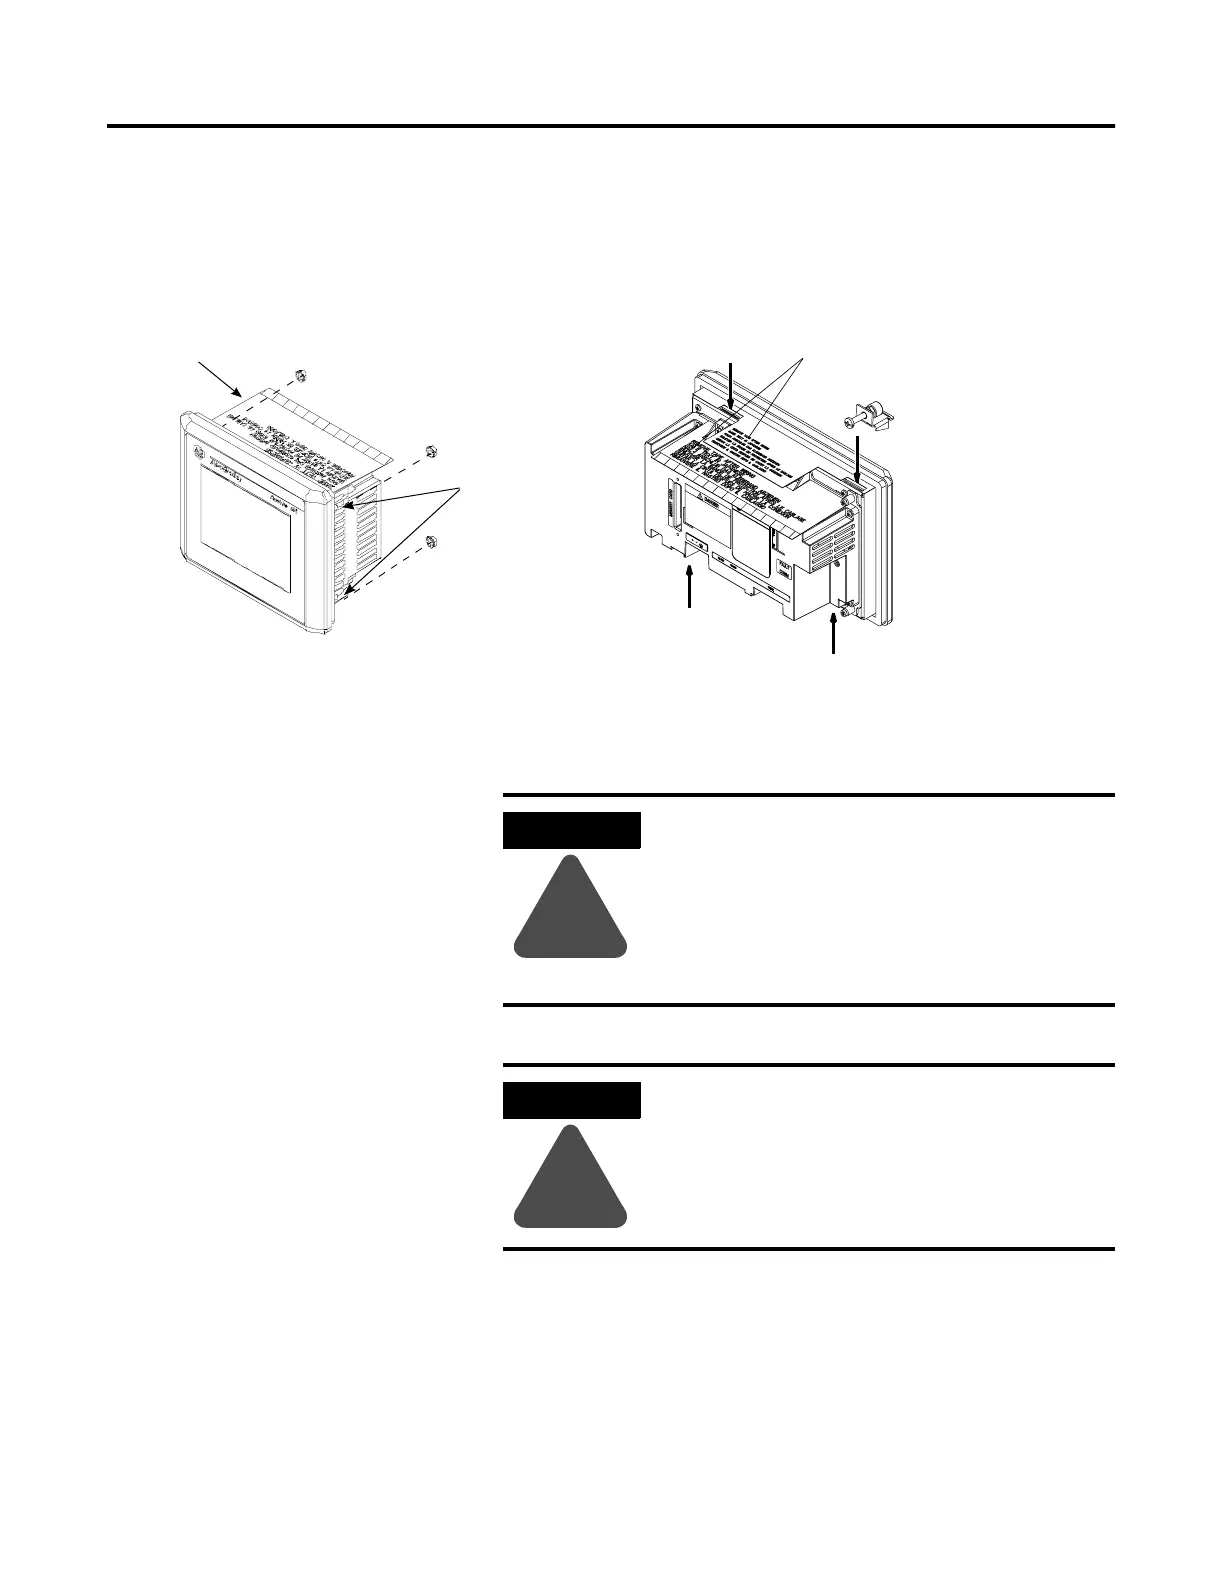
5. Install the 4 mounting clips (2 on top, 2 on bottom). The ends of
the clips slide into the slots on the terminal. Tighten the clip
mounting screws by hand until the gasket seal contacts the
mounting surface uniformly.
6. Alternately tighten the self-locking nuts or mounting clip screws
until the terminal is held firmly against the panel.Tighten the
nuts or screws to a torque of 10 inch-pounds. Do not
over-tighten.
7. Remove protective installation labels over top vents of terminal.
Install 4 mounting clips:
Top - left and right slots
Bottom - left and right slots
Self-Locking Nuts
(4 used, 8 provided)
Mounting Studs
(2 left / 2 right)
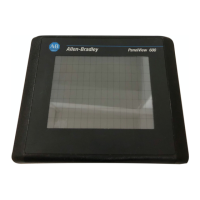
PV600 Keypad, Keypad & Touch Screen Terminal
PV600 Touch Screen Terminal
1 Protective installation label
2 Protective installation labels
ATTENTION
!
Mounting nuts must be tightened to a torque of
10 inch-pounds to provide a proper seal and to
prevent potential damage to the terminal.
Allen-Bradley assumes no responsibility for
water or chemical damage to the terminal or
other equipment within the enclosure because
of improper installation.
ATTENTION
!
Failure to remove the protective installation
label covering the top vents could result in
overheating and damage to the terminal.
 Loading...