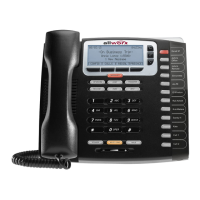
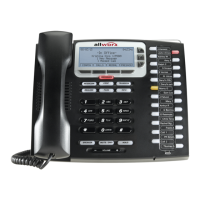
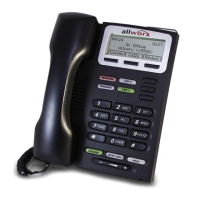
Allworx Phone Model 9212/9212L User Guide
Page 38 +1 866 ALLWORX * +1 585 421 3850
www.allworx.com
Version: J Revised: March 2, 2017
To manage the Call Queues/ACD Queues recordings and schedules:
This option is only available to users with recording manager permissions on Allworx systems.
1. Log in to the Audio Message Center and press 9 on the numeric keypad.
2. Select one of the following options.
5 Change your PIN
• Users have an Allworx PIN and an Allworx password. The PIN is for Hot Desk logins, Message Center,
ACD Queues, and Reach application. The password is for logging into My Allworx Manager, Interact,
and the Allworx Admin page.
• Follow the prompts to enter and confirm a new PIN. Verify the PIN is at least 5 digits long.
# Return to the previous menu
* Listen to the choices again
Key Option
1 To manage the Auto Attendant
• Enter the Auto Attendant number (The number of Auto Attendants supported: 6x 12 and Connect 300
series - 9; 6x and Connect 500 series - 16, 48x and Connect 731 - 32). Example 1 = Auto Attendant 1
and 32 = Auto Attendant 4332.
• Select the recording type:
Key Option
Key Option
1 To manage the <Auto Attendant> greeting.*
2 To manage the <Auto Attendant> status message.
3 To manage the <Auto Attendant> schedule
A message plays: “The Auto Attendant is using schedule <number>. To select a different
schedule, enter the schedule number followed by #.”
Enter the schedule number, and then enter the # sign. After successfully selecting a different
schedule, the user hears, “The Auto Attendant has been changed to use schedule <number>.”
The Message Center returns to the Manage Auto Attendant Menu.
If selecting a different schedule is unsuccessful, the user hears, “You must enter a valid schedule
number.” The Message Center returns to the Manage Auto Attendant Schedule Menu.
# Return to previous menu
* Listen to these choices again
* Enter the greeting number to manage after selecting the option.