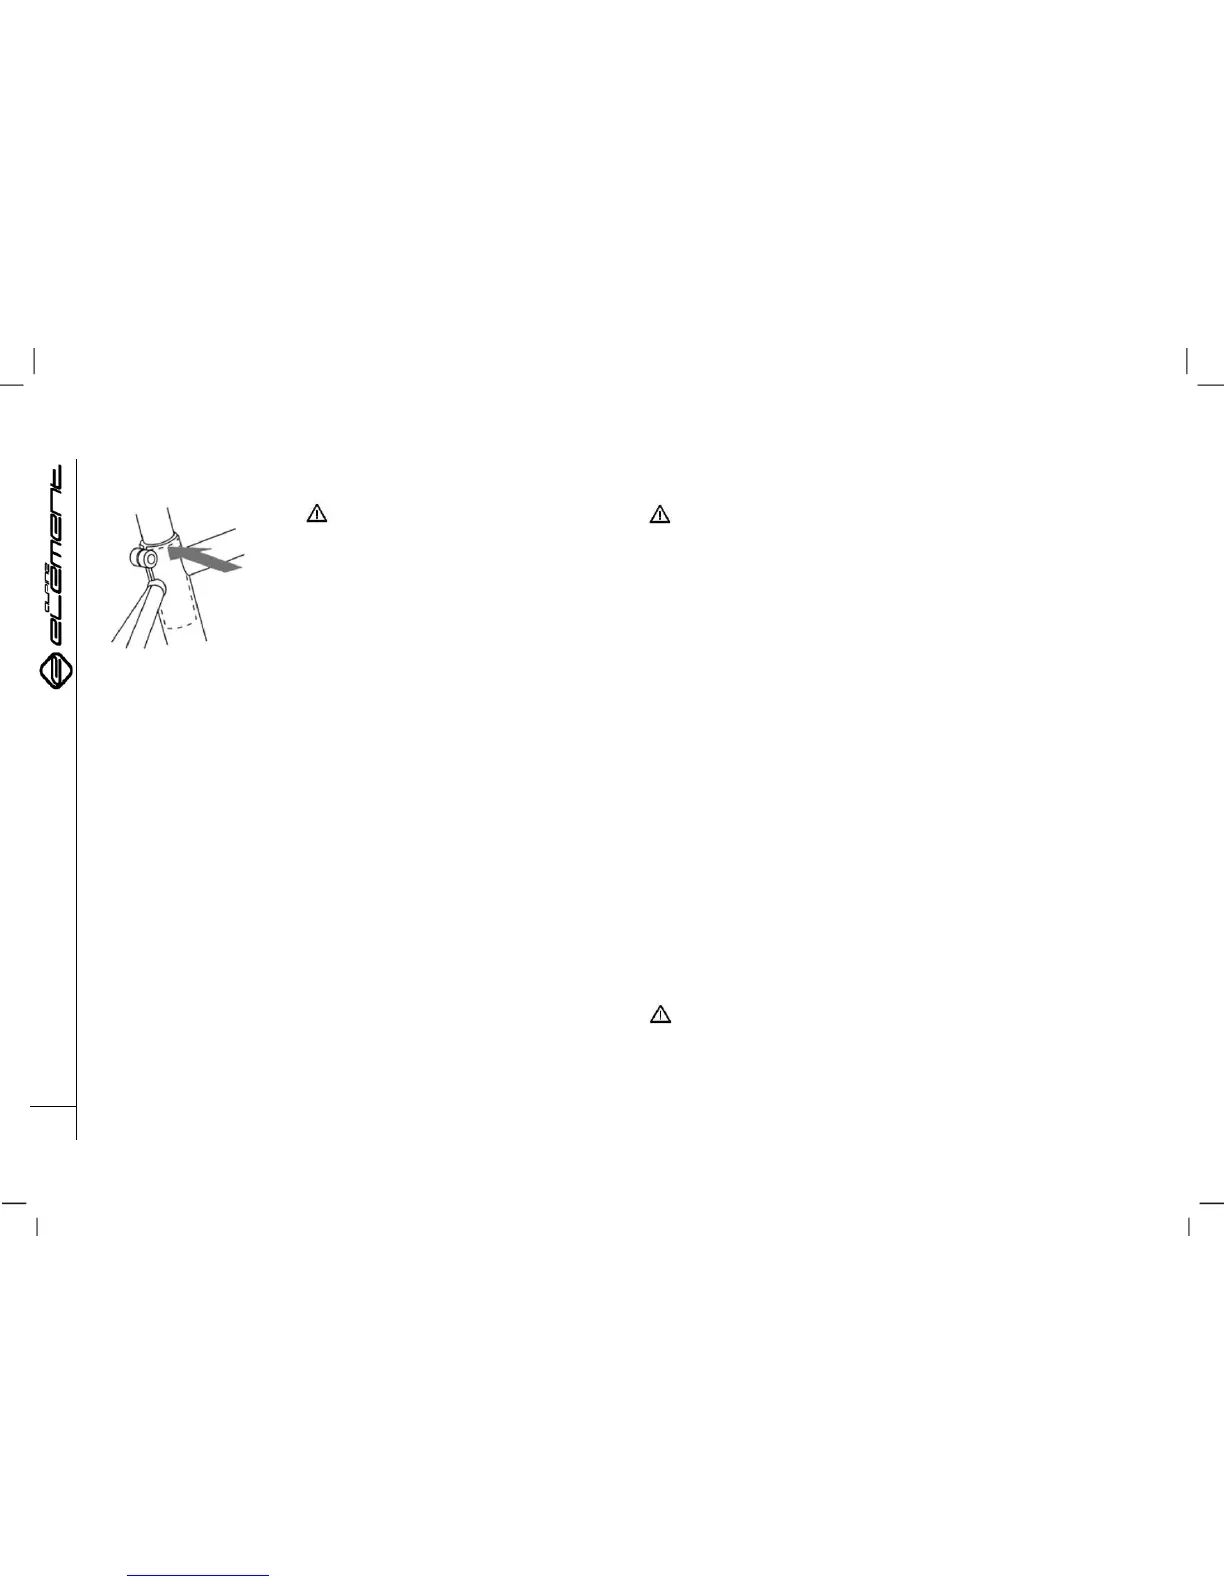
ATTENTION: A seatpost that
protrudes above the “Minimum
Insertion” or “Maximum Extension”
marks can bend or break, which may
result in loss of control and a fall.
2.AXIAL (FORE AND AFT)
DISPLACEMENT ADJUSTMENT
The axial (fore and aft) displacement of the saddle can be adjusted
allowing the saddle to move forward and backward in order to find
its optimum position. Ask the salesperson to adjust the saddle to a
position that is most suitable for you, and to show you how these
adjustments can be made in future.
3. TILT ADJUSTMENT
Most people prefer the horizontal position; however, some prefer
slightly to lower or raise the saddle “nose.” The procedure for the
saddle tilt adjustment depends on the fixing mechanism. The
salesperson can adjust the saddle tilt for you and show you how to
make this adjustment. Slight variations in the saddle position can
significantly affect readability and comfort. Always adjust the saddle
position gradually and only in a single direction, until you achieve
the most comfortable position. Then tighten the fixing mechanism as
tightly as possible.
ATTENTION: After each saddle position adjustment make sure the
fixing mechanism is properly tightened. A loose saddle fixing mechanism
or seatpost quick release clamp can cause the damage to these parts,
resulting in loss of control and a fall. Properly tightened fixing mechanisms
lock the saddle securely in place. Check the mechanism regularly. Each
time you mount the bicycle, make sure that the saddle is securely locked in
place.
If you are still experiencing discomfort after making all possible saddle
adjustments, you will probably need to obtain a different model of saddle.
Like people, saddles are very different and can have different sizes,
shapes, and levels of stiffness.
D) HANDLEBAR HEIGHT AND ANGLE
In most cases, you bicycle will be equipped with a handlebar stem, which
is fastened directly to the outer surface of the fork steerer tube (threadless
system), enabling you to change slightly the handlebar height by installing
spacer rings above or below the handlebar stem. If this adjustment is not
enough, you will need to install a handlebar stem of a different length and
with a different angle. Please contact the salespeople of your bicycle shop.
If your bicycle is equipped with a quill system, and the handlebar stem is
inserted into the fork steerer tube, its height can be adjusted by loosening
the hold-down bolt on the top surface of the handlebar stem. Under no
circumstances must the stem protrude from the fork above the “Minimum
Insertion” or “Maximum Extension” marks.
ATTENTION: If the handlebar stem protrudes above the
“Minimum Insertion” or “Maximum Extension” marks, it can damage
the fork steerer tube or break, resulting in loss of control and a fall.