3. INSTALLATION AND REMOVAL OF BOLT-ON
WHEELS
А. Front wheel removal
1. If your bicycle has V-brakes, disengage them so
that the tyre can pass between the brake pads. For
more details, please see section C, chapter 5 (fig.
12–15).
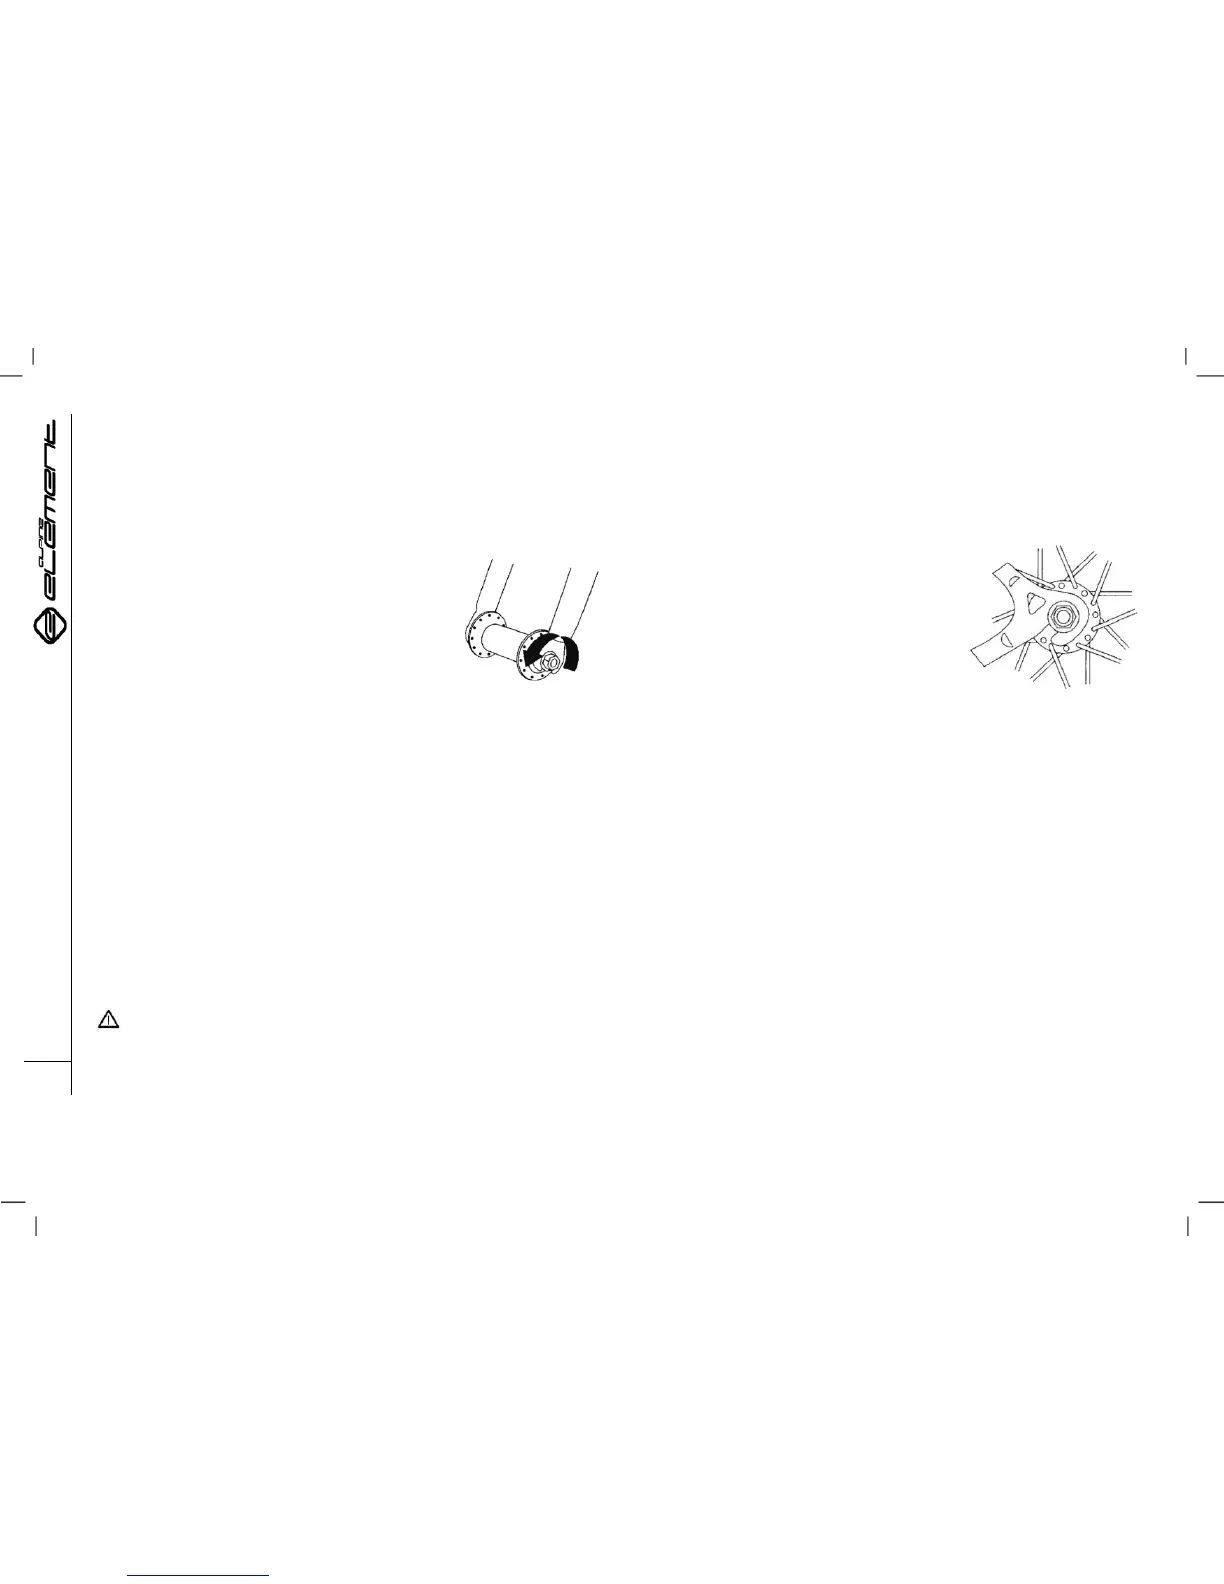
2. Using a wrench of the correct size, loosen the
two axle nuts (fig. 9).
3. Raise the front end of the bicycle 10–15 cm off the ground and tap
the wheel gently out of the fork dropouts.
B. Front wheel installation
1. Install the wheel in place and make sure the hub axle seats
correctly in the fork dropouts. The hub axle washers should be on the
outside, between the nuts and fork legs.
2. Pushing down on the wheel with the fork and centring it at the
same time, tighten the axle nuts as hard as you can.
3. Reconnect the brakes, then turn the wheel to make sure it is
centred correctly and that the rim does not touch the brake pads. After
that, engage the brake and make sure that it is functioning correctly.
C. Rear wheel removal
WARNING: If your bicycle is equipped with an internal gear hub,
do not try to remove the rear wheel. The removal and re-installation of
such hubs require specialist knowledge and tools. Incorrect handling of
the hub can result in hub failure, which can cause you to lose control
and fall.
1. If your bicycle has V-brakes, release
them so the tyre can pass between the
brake pads. For more details, please see
chapter 5, section C (fig. 12–15).
2. Shift the rear derailleur to the highest
gear—the chain should be on the smallest
sprocket.
3. Pull the rear derailleur body back with
your right hand.
4. Using a wrench of the correct size,
loosen the two axle nuts (fig. 10).
5. Lift the rear end of the bicycle 10–15 cm off the ground and,
with the derailleur still pulled back, push the wheel forward and
down until it comes out of the frame dropouts.
D. Rear wheel installation
1. Shift the rear derailleur to the outermost position, pull its body
back to the farthest position from the wheel centre and move the
derailleur body back with your right hand.
2. Put the chain on the smallest cassette sprocket, then insert
the wheel into the frame dropouts and make sure it is seated
correctly. The rear derailleur can then be released. The hub axle
washers should be on the outside, between the nuts and the
frame.
3. Using a wrench of the correct size, tighten the two axle nuts
as hard as you can.
4. Reconnect the brakes and then turn the wheel to make sure it
is centred correctly and the rim does not touch the brake pads.
After that, engage the brake and make sure that it is functioning
correctly.