Version 1.0 ©Copyright 2013, Ambient LLC. All Rights Reserved. Page 4
Table 1
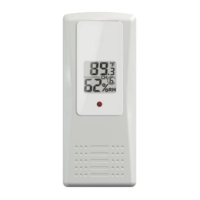
5. Insert two AAA batteries.
6. After inserting the batteries, the remote sensor LED indicator will light for 4 seconds, and
then flash once per 60 seconds thereafter. Each time it flashes, the sensor is transmitting data.
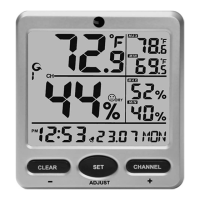
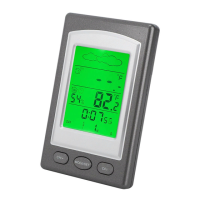
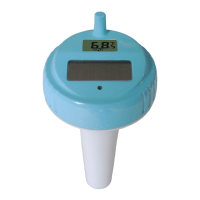
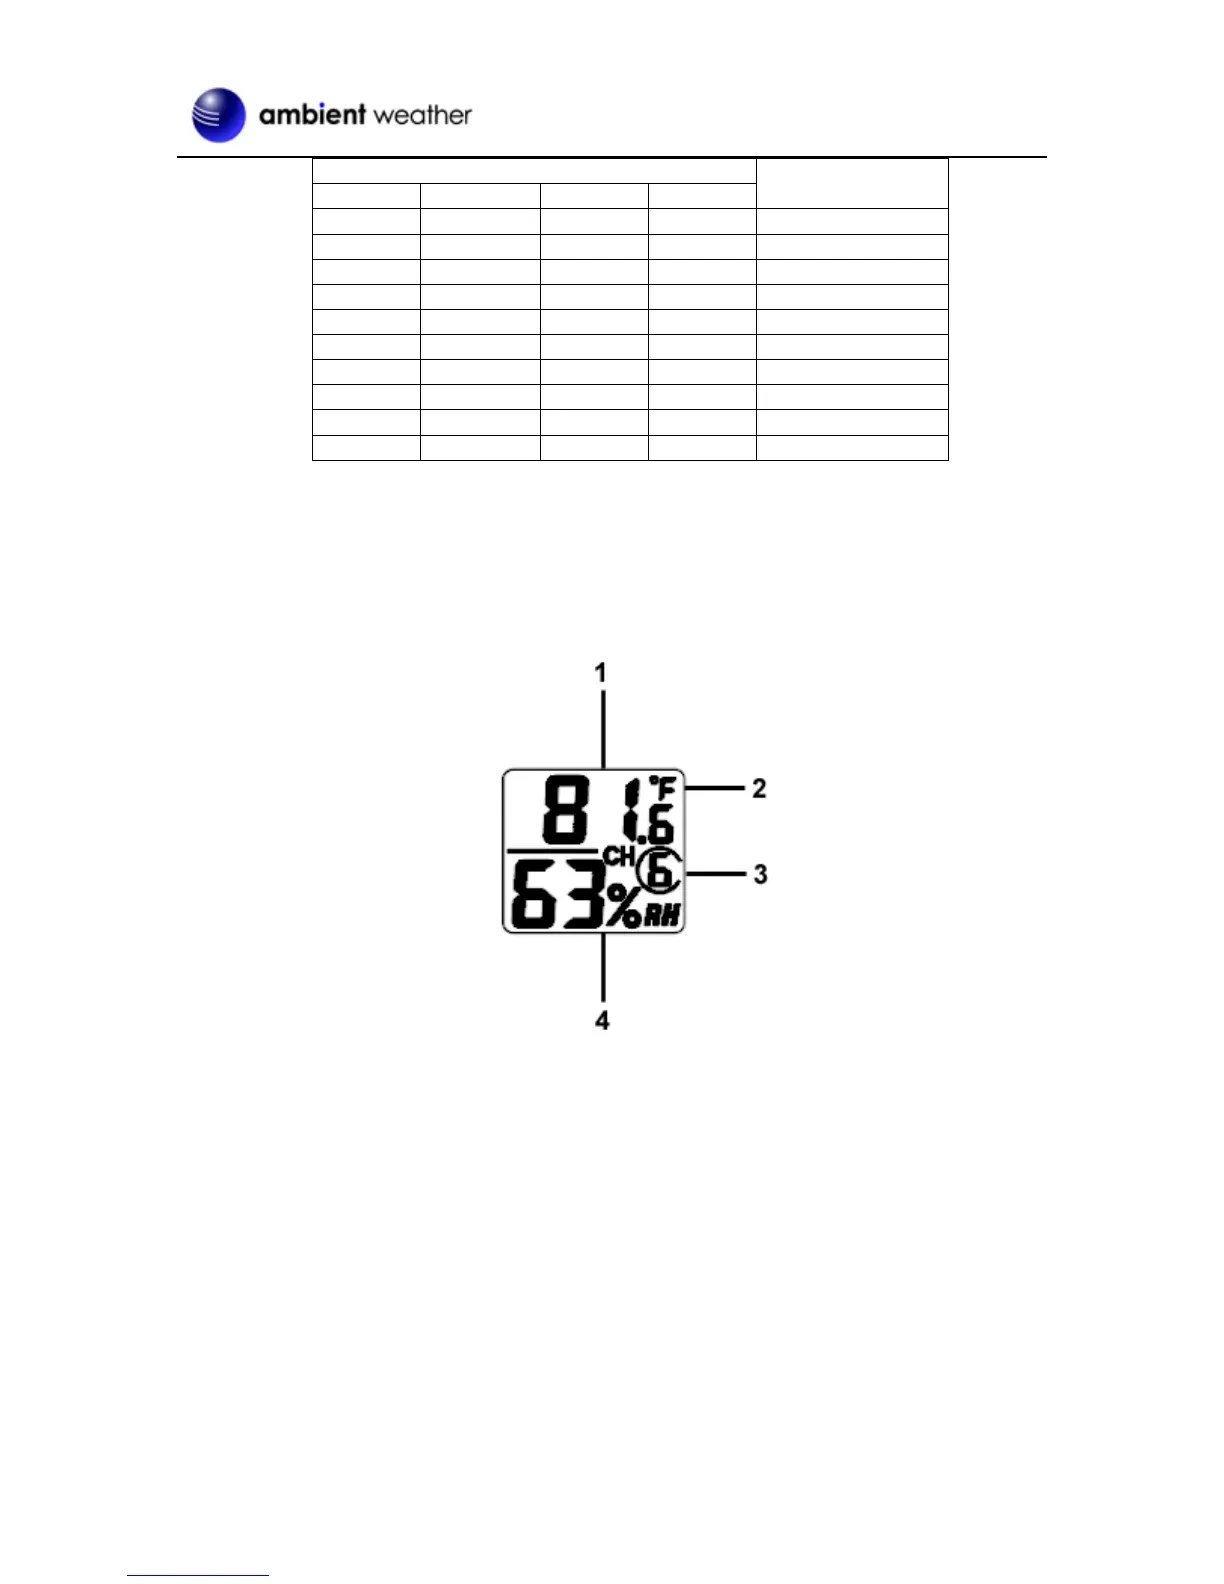
7. Verify the correct channel number (CH) and temperature units of measure (°F vs. °C) are on
the display, as shown in Figure 3.
Figure 3
(1) temperature
(2) temperature units (°F vs. °C)
(3) channel number
(4) relative humidity
8. Close the battery door. Make sure the gasket (around the battery compartment) is properly
seated in its trace prior to closing the door. Tighten the set screw.
2.3 Display Console Set Up
1. Move the remote thermo-hygrometer(s) about 5 to 10’ away from the display console (if the
sensor is too close, it may not be received by the display console). If you have more than one
thermo-hygrometer, make sure they are all powered up and transmitting on different channels.
2. Remove the battery door on the back of the display, as shown in Figure 4. Insert four AAA
(alkaline or lithium, avoid rechargeable) batteries in the back of the display console.
 Loading...