Version 1.0 ©Copyright 2013, Ambient LLC. All Rights Reserved. Page 7
3 Remote Sensor Installation
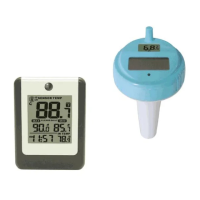
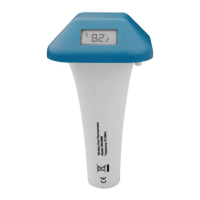
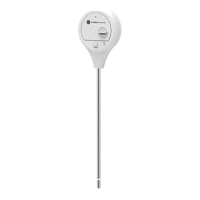
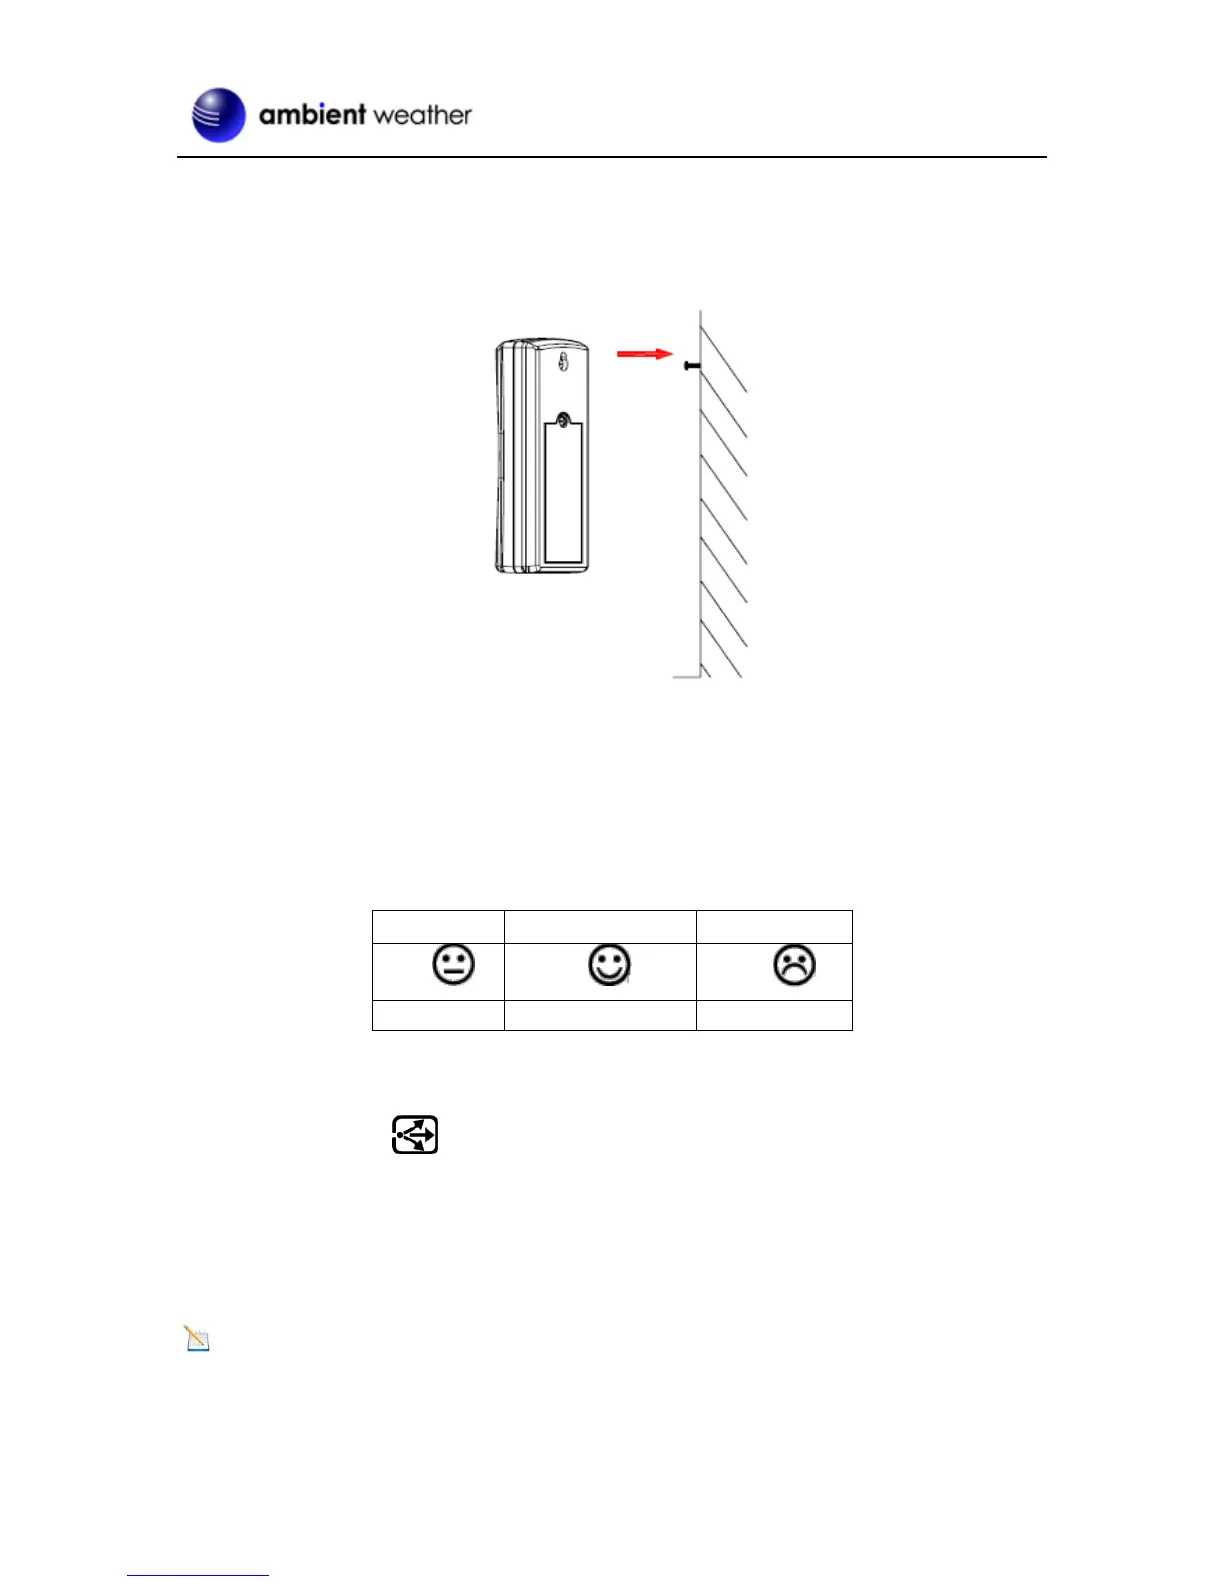
It is recommended you mount the remote sensor on a north facing wall, in a shaded area. Direct
sunlight and radiant heat sources will result in inaccurate temperature readings. Although the sensor is
water resistant, it is best to mount in a well protected area, such as under an eve. Use a screw or nail
(not included) to affix the remote sensor to the wall, as shown in Figure 6.
Figure 6
4 Display Features
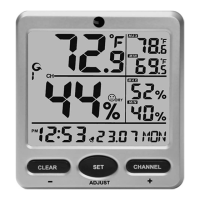
4.1 Comfort Icon
The comfort icon is based on humidity ranges specified in Figure 7. The icon is displayed for indoor
humidity, remote channel 1 humidity and optional remote channels 2 through 8 humidity.
Figure 7
4.2 Rate of Change Icon
The rate of change icon detects rapid changes in temperature and humidity. If the arrow points
upward, the temperature is increasing at a rate of +2°F per 30 minutes (or greater), or humidity is
increasing at a rate of +5% per 30 minutes (or greater). If the arrow points downward, the temperature
is decreasing at a rate of -2°F per 30 minutes (or less), or humidity is decreasing at a rate of -5% per
30 minutes (or less).
5 Console Operation
Note: The console has three buttons for easy operation: MIN/MAX/- button, CLEAR/ADJUST
button, and CHANNEL/+ button.
 Loading...