Version 1.29 ©Copyright 2022, Ambient LLC. All Rights Reserved. Page 8
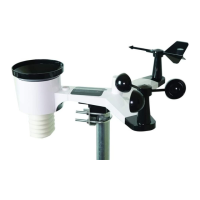
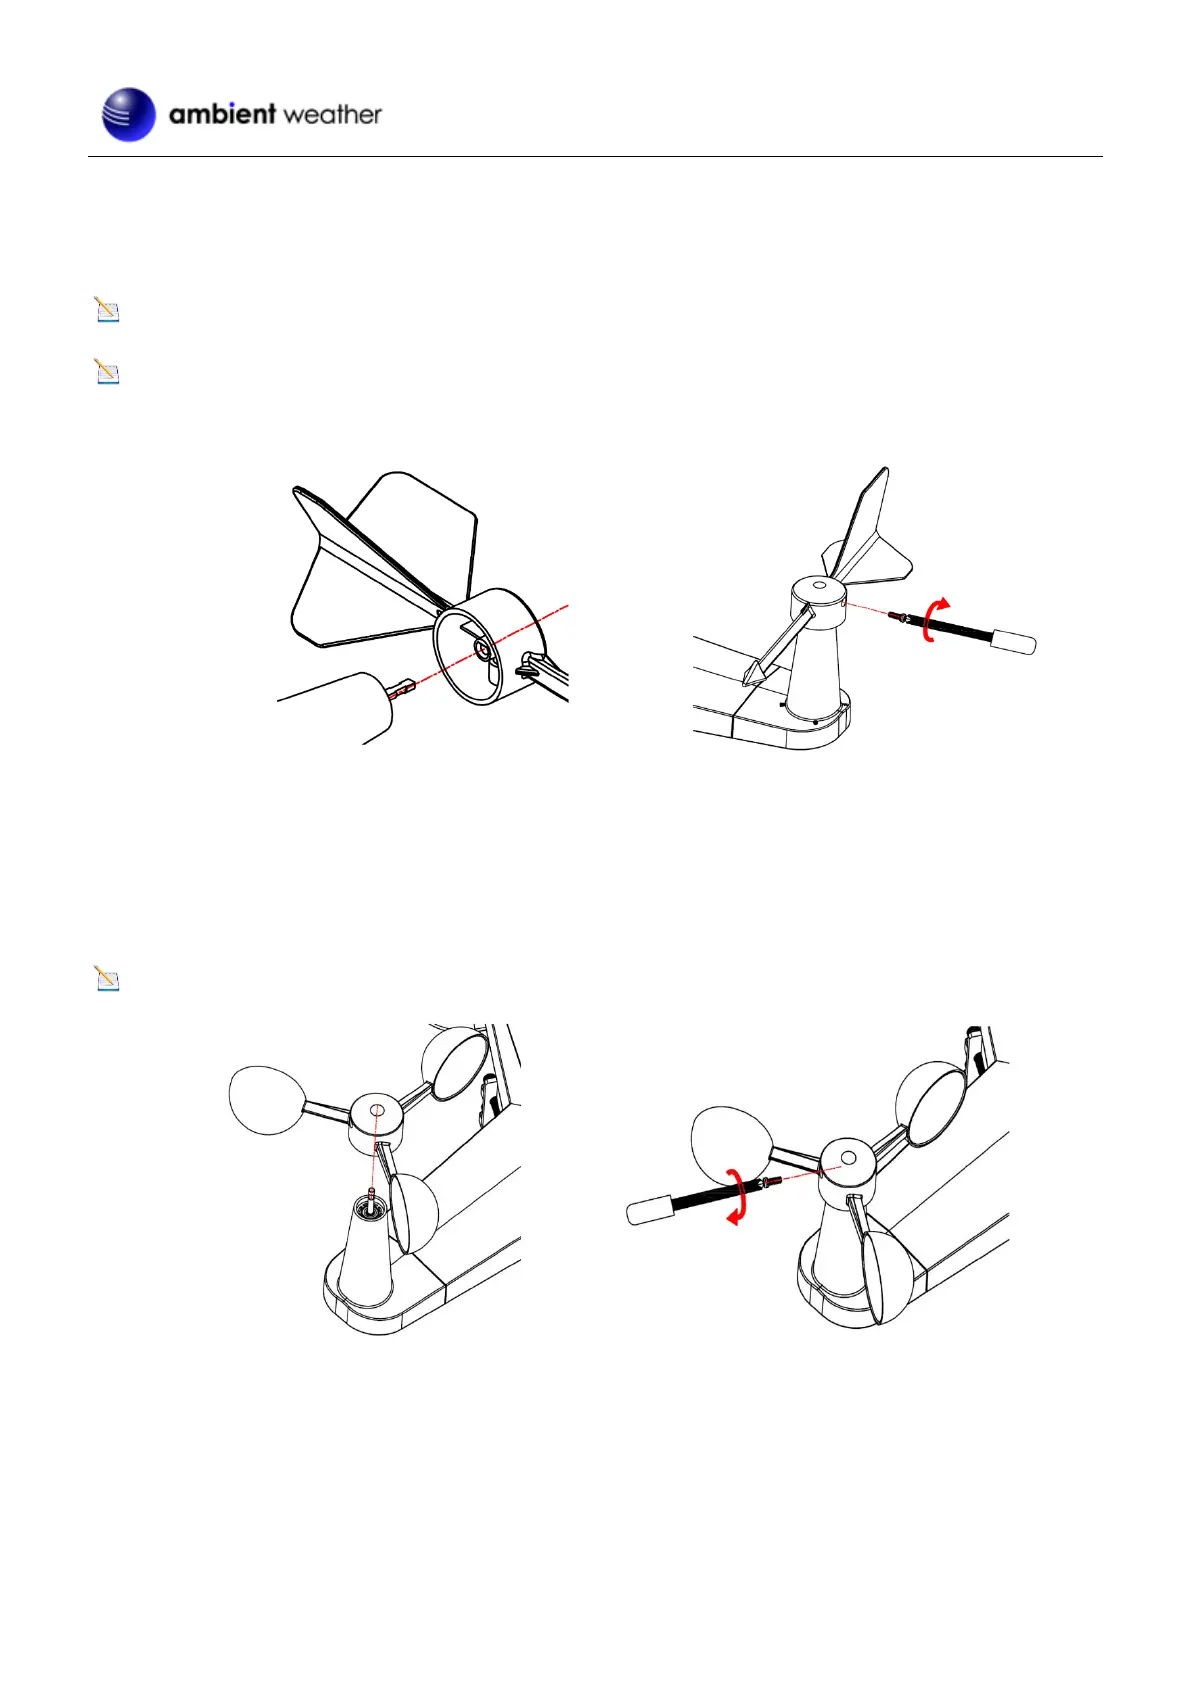
4.4 Wind Vane Installation
Reference Figure . (a) Locate and align the flat key on the Wind Vane Shaft to the flat key on the Wind Vane and push
the vane on to the shaft. (b) Tighten the set screw with a Precision Screwdriver and make sure the Wind Vane spins freely.
Note: You may need to back out the set screw first before sliding the vane onto the shaft.
Note: The Wind Vane shaft does not spin as freely as the Wind Cups. This is by design; the dampening prevents the
Wine Vane from spinning with the slightest breeze, which will result in variable wind all the time. The added resistance
allows the Wind Vane to change direction with 2 – 3 mph, providing much better wind direction tracking.
Figure 2
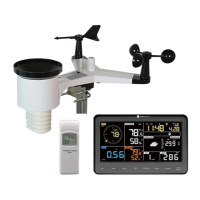
4.5 Wind Cup Installation
Reference Figure . (a) Push the Wind Cups onto the shaft. (b) Tighten the set screw with a Precision Screwdriver and
make sure the Wind Cups spin freely.
Note: You may need to back out the set screw first before sliding the cups onto the shaft.
Figure 3
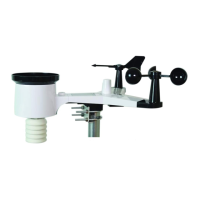
4.6 Rain Gauge Funnel Installation
Reference Figure . Install the Rain Gauge Funnel. Rotate clockwise to attach the funnel to the Sensor Array.
 Loading...