Version 1.0 ©Copyright 2017, Ambient LLC. All Rights Reserved. Page 5
3.3 Powering Up
3.3.1 Power Up Sequence
Note: The power up sequence must be performed in the order shown in this section (remote
transmitters FIRST, Display Console SECOND) to avoid sensor synchronization time out.
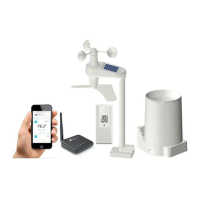
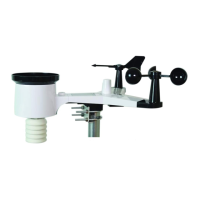
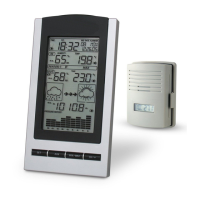
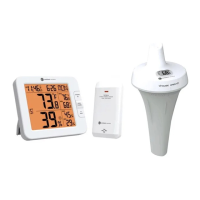
The Indoor/Outdoor Wireless Transmitter(s):
1. Remove the battery door on the sensor(s)
2. If you have more than one sensor, make sure each sensor is on a different channel (reference
Figure 2).
3. Insert 2 x AA batteries into the battery compartment.
4. Replace the battery door.
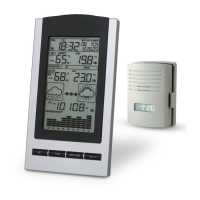
The Console:
Important Note: The power up sequence must be performed in this order (battery first, AC
adapter second) to prevent a low battery indication at power up.
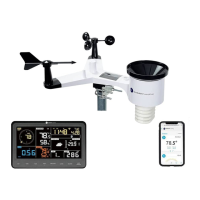
1. Place the wireless sensor(s) about 5 to 10 feet from the display console.
2. Remove the battery door of the main console and insert the fresh CR2032 battery.
3. Replace the battery door.
4. Plug the AC adaptor into the DC jack of the console.
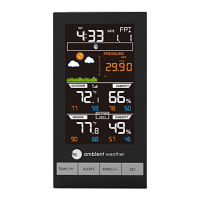
5. After power up, all of LCD segments will be displayed. The console will enter access point
(AP) mode, and the status LED on the back of the console will flash green.
6. Do not touch any buttons until sensor synchronization is complete.
Note: If no display is present after powering up the console, press the [RESET] button on the
back of the console with an open ended paper clip or sharp tool.
3.3.2 Initial Sensor Synchronization
The console will automatically search for and connect to the sensors after it is powered up. You can
also press [WI-FI / SENSOR] button to force the console to search for the sensors, and the console’s
status LED will flash blue during the sensor(s) searching mode.
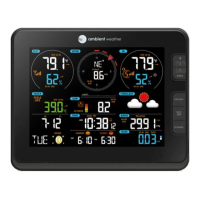
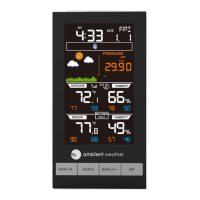
Once the sensor connection is successful, the antenna mark and readings for temperature & humidity
will appear on the display.
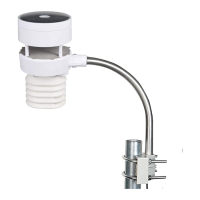
3.4 Mount the Sensor
The sensor can be free standing on a table, or mounted on a vertical wall with a nail ore screw. For
best results, place between 10 and 100 feet of the display console.
 Loading...