September 30, 2011 6-1
193111-095
OPERATION
OPERATION
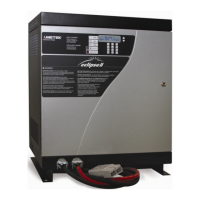
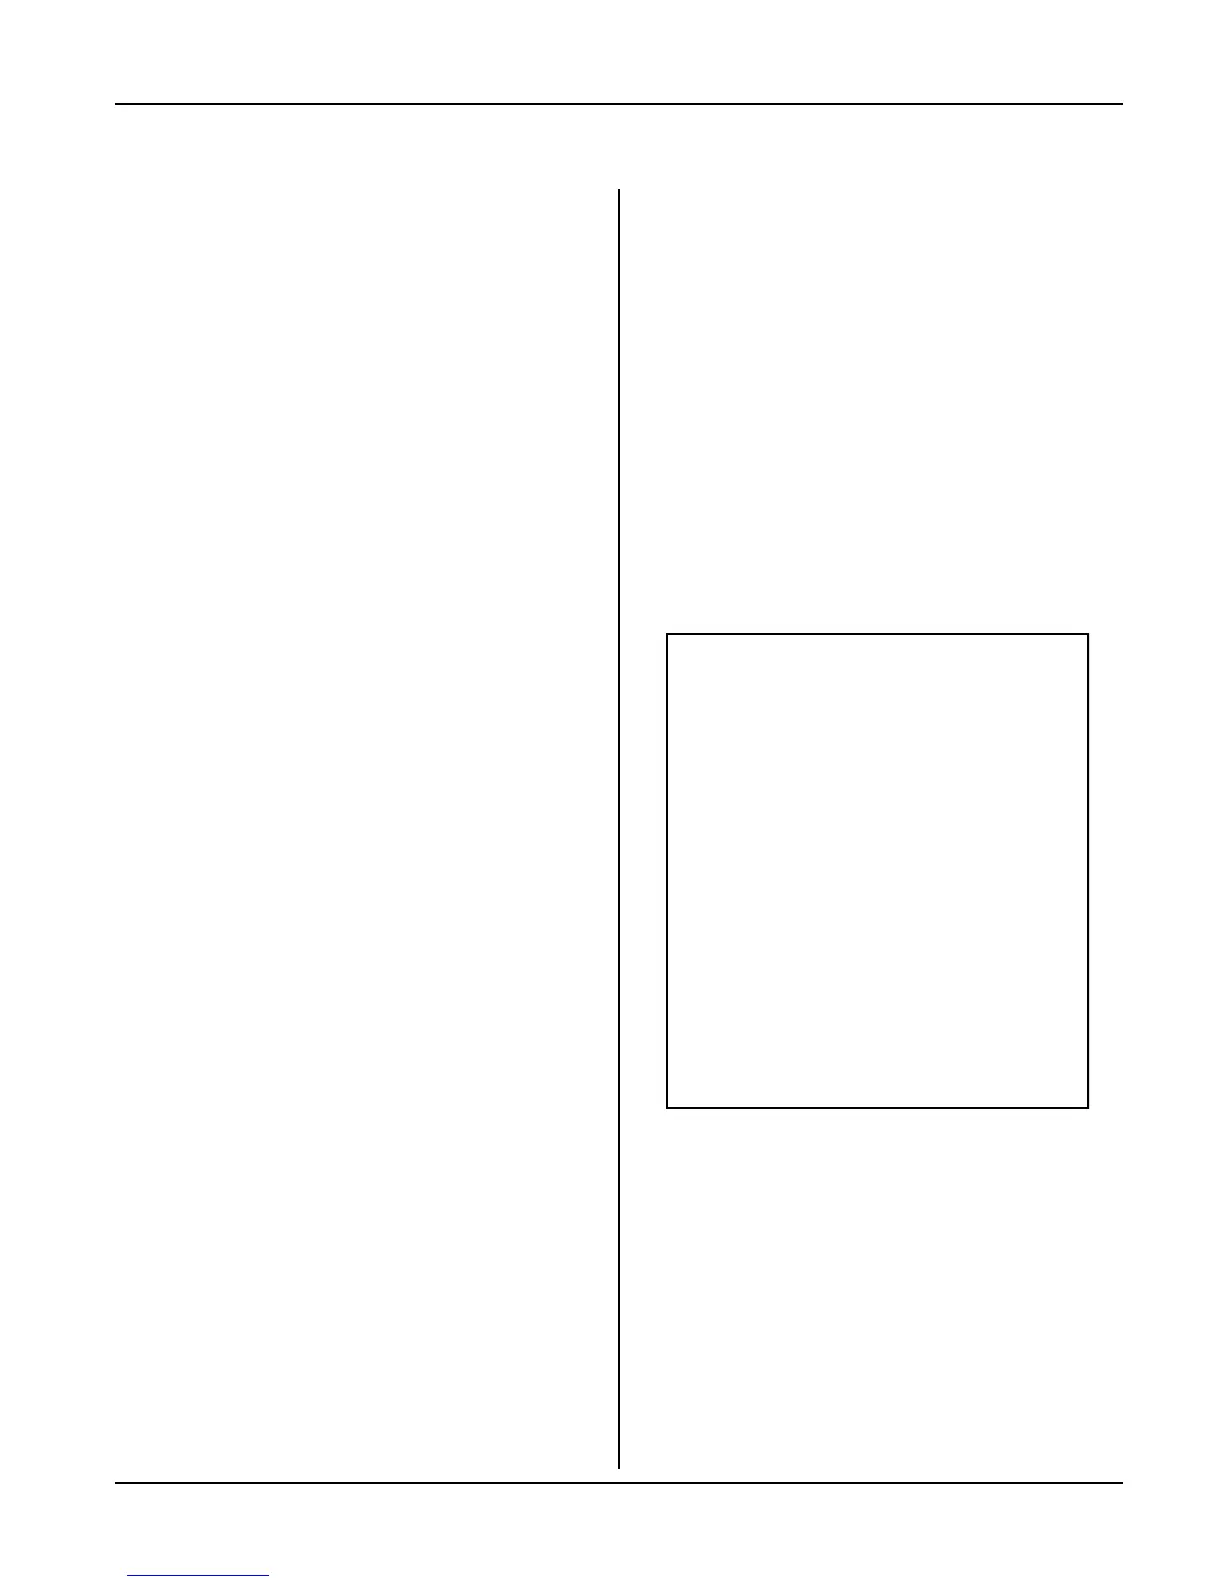
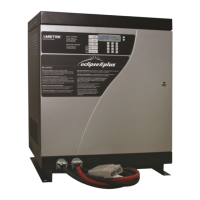
The operating procedure given here explains the
operation of a Prestolite Eclipse II equipped with the
Prestolite EC2000 control.
NOTE: If this charger is equipped with
certain optional features, the operating
procedure may be modified. Refer to
Options chapter of this manual for details.
Options not covered in this chapter will
be described on separate “addendum”
sheets enclosed with the manual.
Preliminary
1. Make sure that charger is installed and grounded as
instructed in this manual.
2. Turn on main fused disconnect switch that supplies
AC power to charger.
3. Maintain electrolyte level in batteries to be charged,
as instructed by battery manufacturer. The volume
of electrolyte will expand during the charge.
Therefore, to avoid overfilling, do not add water
until the battery has received at least an 80%
charge. This will usually be reached at the time
gassing starts.
Normal or Daily Charge
(For batteries with ampere-hour capacity within the
range shown on charger nameplate)
1. Insure that battery size matches the charger and/or
charger setting. (Number of cells is equal to or less
than the charger nameplate rating and ampere-hour
capacity is within charger nameplate rating.)
2. Securely engage the battery and charger
connectors.
3. The charger will display READING BID and update
the progress bar (2 to 7 seconds) as the data is
read into the charger.
4. After a short delay, the charger will turn on and the
―Charge in Progress‖ LED will light. The
alphanumeric display will indicate the cell size and
amp hour settings for the upcoming charge cycle.
Then it will display current charging cycle
information. ―Verifying Battery‖ may appear for
several minutes if the mult-cell mode is on.
5. The ―80% Charged‖ LED will light when the battery
has reached the gassing point.
6. When the charge termination point is reached, the
charger will turn off and the ―Charge Complete‖ LED
will be lit. If an equalize charge has been selected,
the ―Equalize‖ LED will be lit.
NOTE: To disconnect battery from charger
before charge is complete, press the
“Stop” key on the charger control panel.
NOTE: While not normally required, the
charging rate may be adjusted to compensate
for unusual ambient temperature, age of
battery, etc. Refer to items 33 through 42
in Programming Your EC2000 chapter of
this manual.
WARNING: EXPLOSION HAZARD
- Do not connect or disconnect a
battery unless the ―Charge in
Progress‖ LED is off; otherwise,
damage to charger, arcing and
burning of connector parts or a
battery explosion may result
(batteries produce explosive
gases). Keep sparks, flame,
and cigarettes away. Ventilate
when charging in an enclosed
area. Always shield eyes when
working near batteries.
Disconnect battery if charger is
to be turned off for prolonged
periods of time.