8.2.1 Removing Sensors
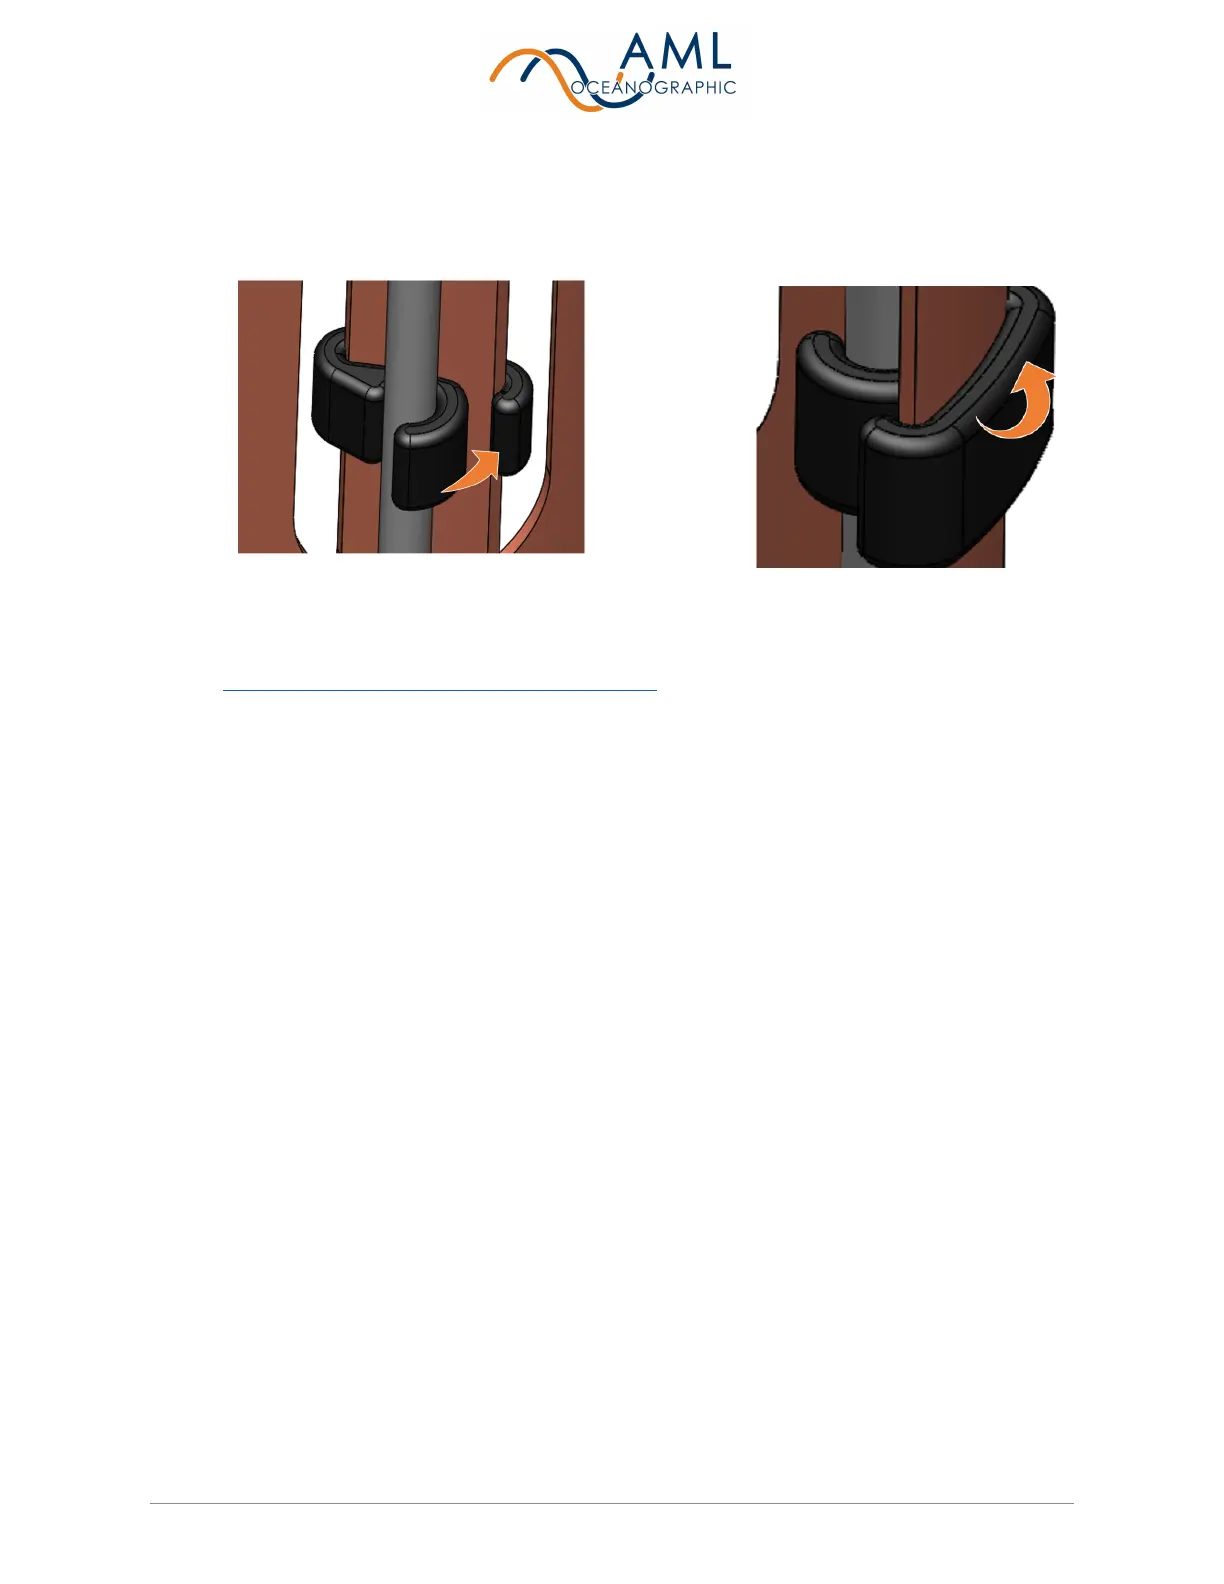
1. If a UV antifouling system is installed, the retaining clip must be removed prior to
removing the sensor cage.
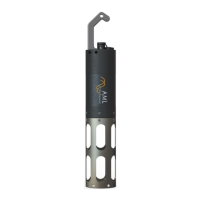
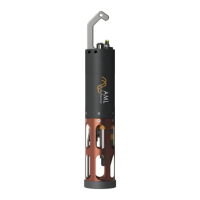
2. Configuring the sensors on the end cap is easiest when the sensor cage is removed
( See notes on each instrument's sensor cage ).
3. Rotate the orange locking sleeve of the sensor you wish to remove counter-clockwise
until you can gently pull the X2Change™ sensor from the sensor port.
8.2.2 Installing Sensors
1. Before installing X2Change™ sensors, ensure that the instrument socket is clean and
dry.
2. Check the X2Change™ sensor’s o-rings for cleanliness and replace if damaged. Apply
o-ring grease to the new o-ring before replacing it.
3. Align the sensor with the sensor port so that the lock and key of the lemo connectors are
aligned.
4. Place the sensor into the port.
5. Push the sensor until it drops down into the port enough to allow the orange locking
sleeve threads to engage the port threads.
6. Screw down the orange locking sleeve until it stops. The bottom of the sleeve should be
within 1 mm of the instrument end cap.
Notes:
● X2Change™ sensors are identified by their orange locking sleeve matching AML-3 and
AML-6's orange sensor ports.
 Loading...