Assembly
1.
First, take the styrofoam container out of the cardboard carton and lay it on its side, paying attention to which
side is labeled up. Remove the tape and open the container carefully so as to avoid dropping and damaging the
optical items. Check carefully to ensure that all parts and accessories are intact.
2.
Check the packing list to ensure that you’re received all items.
-
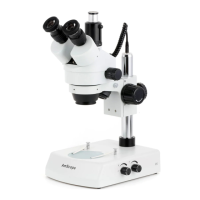
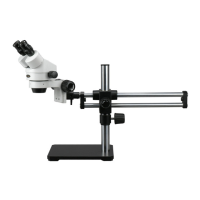
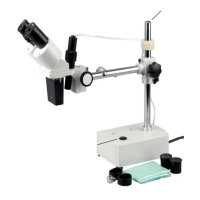
Stereo Microscope Body & Stand
-
5x Widefield Eyepieces (X models only)
-
10x Widefield Eyepieces (Typically these come on the microscope)
-
15x Widefield Eyepieces (Y models only)
-
20x Widefield Eyepieces (Z models only)
-
Dust Cover
-
Tungsten Light Source
-
Tension Adjustment Wrench
3.
Remove the microscope body from the box and remove the plastic protective covering. The body of the micro-
scope is composed of the head of the microscope and the base.
4.
Insert the vertical pillar into the base if not already installed. Wrap the cable around the top to avoid slack in
the cable if desired.
5.
Insert the boom into the joint and secure. Attach light to the head via inserting it in the rear of the head of the
microscope.
6.
Remove the eyetube caps and drop the desired eyepieces into the eyepiece ocular tubes. Be sure to avoid
touching the lens to ensure no artifacts appear in your image.
7.
Remove the cap from the objective lens.
8.
Plug in the microscope and turn it on.