Replacing the Lithium Batteries
26
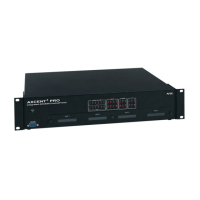
Axcent
3
and Axcent
3
Pro Integrated Axcess Controllers
6. Carefully push the lithium battery, located in position B2, out of its socket, and remove with
non-conduction pliers. With the rear of the unit facing you, insert the new battery with the
positive (+) polarity side facing left.
7. Plug the AXlink and power connectors back into the AXLINK/PWR connectors on the
controller. Then, remove the connectors again. Be sure to write down the next replacement date
on a sticker or label by adding five years to the replacement date, and then attach it to the back
panel of the controller.
8. Repeat step 6 and 7 for the battery in position B1.
9. Place the top panel on the controller and align the screw holes. Insert the six Phillips-head
screws and tighten. Then, insert screws in the left and right side of the controller and tighten.
10. Place the controller in the equipment rack, and align the mounting holes. Then, install the
mounting hardware and tighten.
11. Connect all power and data cables back into the controller.
Do not use any type of conductive tools to remove the battery. Doing so will damage
the battery.
 Loading...