25
8 Quick Start-Up
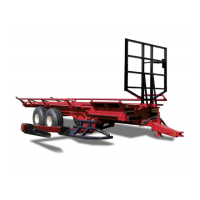
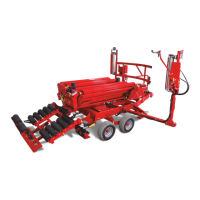
Installation on the Tractor
1. Attach the trailer to the tractor.
2. Lift up the jack.
3. Connect the 6 hydraulic hoses to the tractor (OR the 4 hydraulic hoses and the
selection valve to the 12 V current of the tractor).
Note that the utmost cleanliness is recommended whenever you connect
these parts to avoid oil contamination problems.
4. Check that the hoses are properly placed between the tractor and the trailer so
that they won’t twist, get stuck, or wear out prematurely during operation.
5. Check the adjustments of the trailer based on the dimensions of the bales to be
transported.
6. Remove the U-shaped retainer from the cylinder of the loading arm (see Figure
2.1).
7. Pull the hydraulic controls one by one to make sure that each hose is connected
to the right place.
8. Raise the loading arm.
The trailer is ready to load and transport bales.
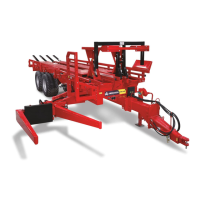
Loading the Bales
1. Place yourself next to the bale.
2. Lower the loading arm to the ground.
3. Line up the fork with the farthest side of the bale.
4. Without stopping, hit the bale to rotate it so that it is parallel with the forks of the
loading arm.
5. Raise the loading arm until the bale falls on the platform.
6. Load a second bale and, without stopping, activate the pusher.
7. Repeat the process until the full load indicator lets you know that the trailer is
full.
Unloading the Bales
Bring the tractor to a stop in the desired location, raise the unloading platform as high as
possible, and move forward slowly.