1-8 GPIB Interconnection and Setup General GPIB Information
1-12 PN: 10370-10374 Rev. F MG369xC GPIB PM
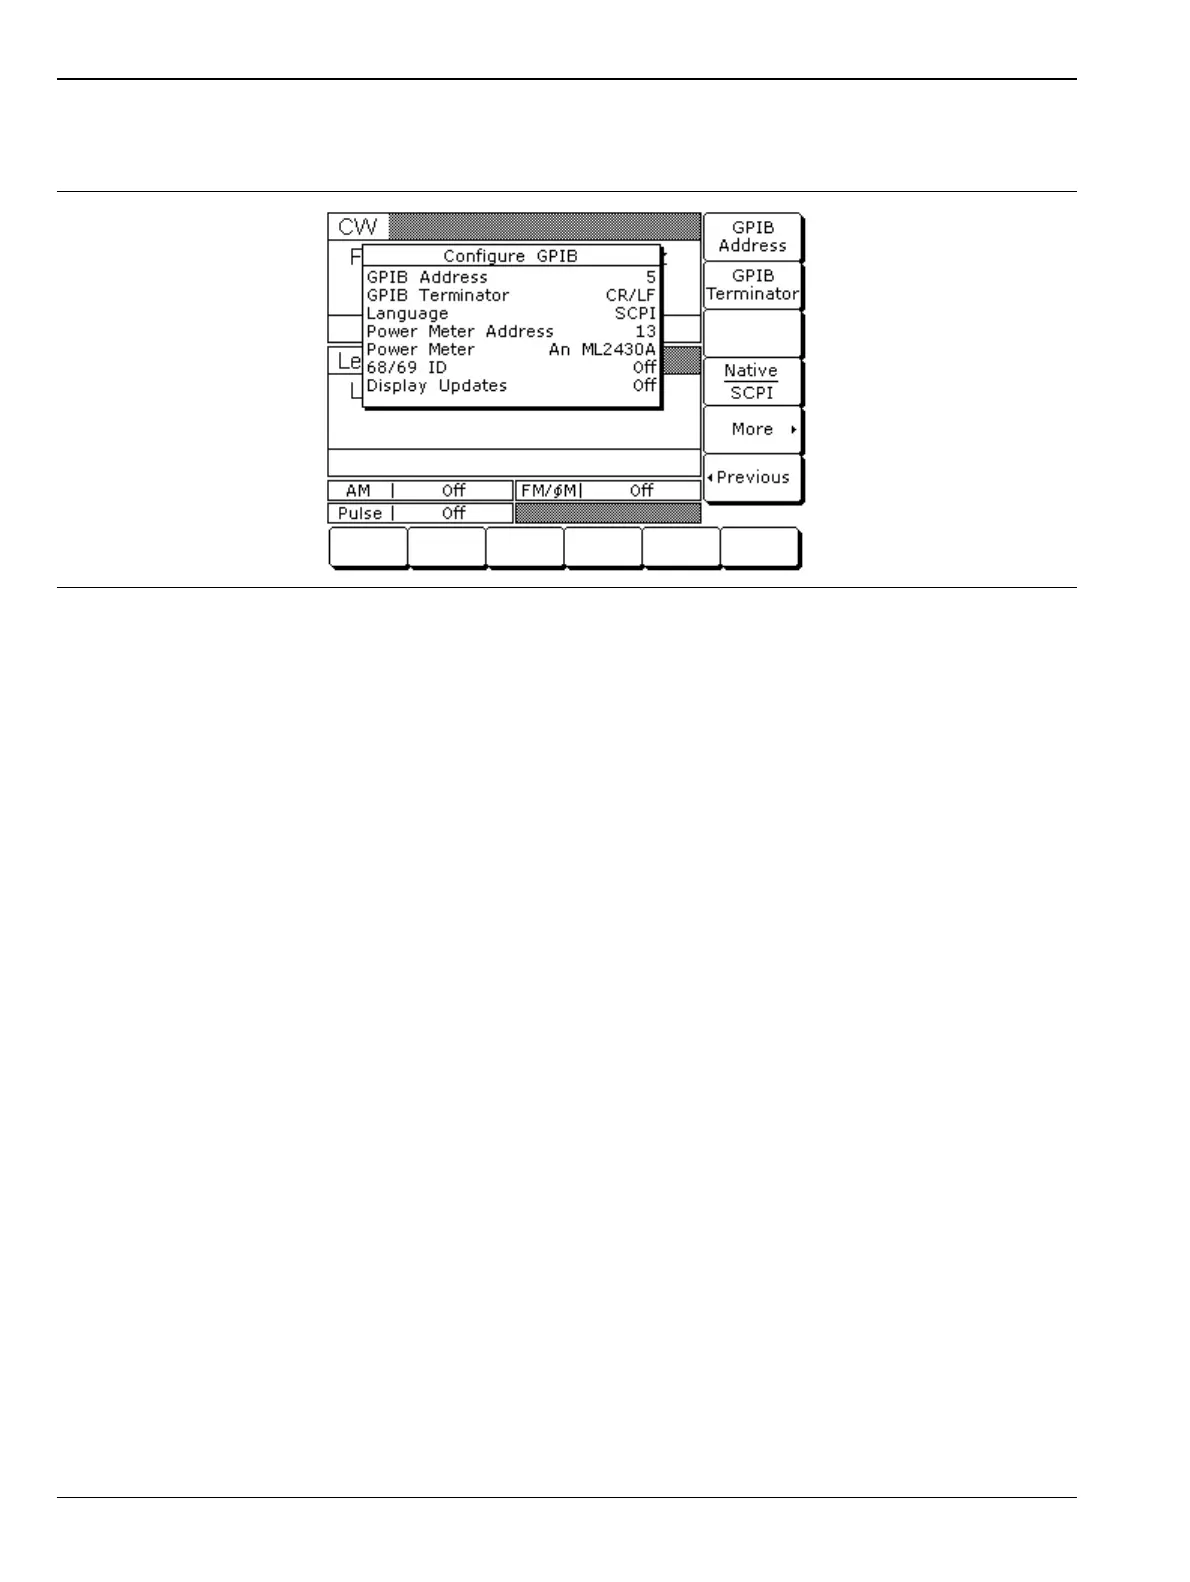
3. To access the Configure GPIB menu from this menu, press the GPIB > soft key.
The Configure GPIB menu (Figure 1-4) is displayed.
4. Press the menu soft key GPIB Address [ADD] to change the current GPIB address of the signal generator.
5. Enter a new address using the cursor control keys or the data entry keypad and the terminator soft key
[ADR].
The new GPIB address will now appear on the display. The entry must be between 1 and 30 to be
recognized as a valid GPIB address.
Selecting the Line Terminator
Data is delimited on the GPIB by either the carriage return (CR) ASCII character or both the carriage return
and line feed (CR/LF) ASCII characters. Which character is used depends upon the requirements of the system
controller. Most modern controllers can use either CR or CR/LF, while many older controllers require one or
the other. Consult the controller's manual for its particular requirements.
6. From the Configure GPIB menu display, you can select which GPIB terminator to use by pressing the
menu soft key GPIB Terminator.
This menu soft key toggles the GPIB terminator between CR and CR/LF. The current selection appears
on the display.
Figure 1-4. GPIB Configuration Menu
 Loading...