5 pH Measurement
5.1 Preparation
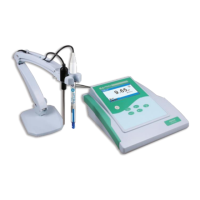
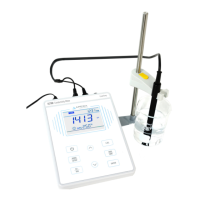
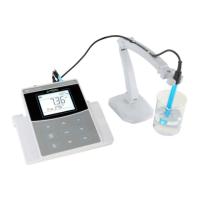
5.1.1 Set up the Flexible Electrode Holder
The flexible electrode holder is composed of a base and an electrode holder. Place the electrode
holder right above the metal stick on the base through the hole underneath; push down; and adjust
the nut on electrode holder to finish installation.
5.1.2 Connect the power adapter
Plug the power adapter tightly into the DC9V socket. The power’s voltage should meet the
requirements listed on the power adapter.
5.1.3 Things needed in addition to what’s included in the box
A clean cup, distilled or deionized water (8-16oz), and tissue papers for rinsing and drying the probe.
5.2 pH Electrode Information
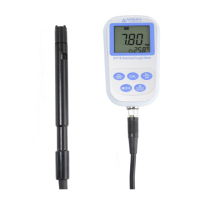
5.2.1 pH Electrode
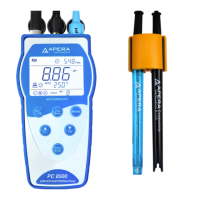
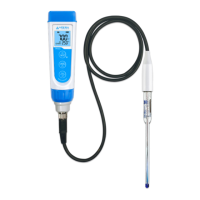
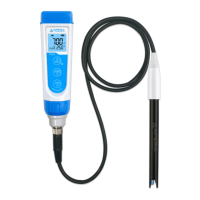
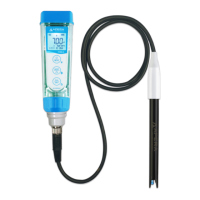
The meter comes with the 201T-F 3-in-1 combination electrode with a built-in temperature sensor,
which enables the automatic temperature compensation. This electrode is only suitable for regular
water solutions’ pH testing. Please refer to Section 10 for ideal pH electrodes to use for other specific
applications. The electrode’s housing adopts polycarbonate materials, which is resistant to shocks
and corrosion. A 3M KCL storage bottle comes with the electrode, which is for storing the electrode
when not in use to keep the sensitivity of the probe.
5.2.2 Technical Specifications of the 201T-F pH Electrode
Measurement Range: 0 - 14 pH, 0 - 80˚C (32 – 176˚F)
Junction: Single Ceramic
Reference Electrode: Ag/AgCl
Connector: BNC/RCA
Size: ø12*160 mm
Temperature unit: 30KΩ Thermistor
5.2.3 Electrode Connectors
The pH electrode has two connectors: the BNC connector connects the pH probe; the RCA
connector connects the temperature sensor. Plug these two connectors into ‘pH/mV” and “TEMP”
sockets. Please note not to pull the cables in case of poor contact. Please keep the connectors clean
and dry. Refer to section 4.7 regarding how to properly maintain the pH electrode.
5.2.4 How to Measure with the Electrode
Screw off the KCL storage bottle, and put it aside (do not dump or spill the KCL solution). Prepare a