6 7
INSTALLATION
OUTDOOR TEMPERATURE SENSOR (INCLUDED)
OPTIONAL WIRELESS OUTDOOR TEMPERATURE AND HUMIDITY SENSOR
Outdoor temperature can be measured by installing an 8052 sensor to the ODT terminals and enabling the outdoor
sensor in the installer setup menu. When an outdoor sensor is installed, the features below will be enabled.
In heat pump mode the outdoor temperature sensor can be used to efficiently utilize an air source heat pump:
• When the outdoor temperature is less than the Low Balance Point, the heat pump will be locked out and only
auxiliary heating will be used to provide heating.
• When the outdoor temperature is higher than the High Balance Point, the auxiliary heating will be locked out and
only the heat pump will be used to provide heating.
Indoor Air Quality functions can use the outdoor temperature sensor to:
• Control humidification setpoint based on outdoor temperature to prevent condensation
• Lock out humidification for temperatures over 60°F or below -30°F.
• Lock out ventilation based on high and/or low outdoor temperatures.
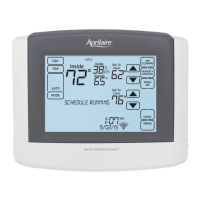
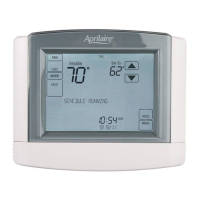
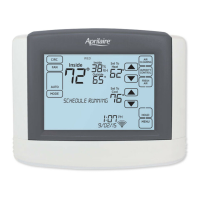
• Display outdoor temperature on thermostat.
Outdoor temperature sensor should
be mounted:
• On side of building out of direct sunlight
(north side recommended).
• Above snow line.
• At least 3’ away from exhaust vents and
condensing lines.
• Using less than 300’ of wire.
• Do not route wires along 120 VAC lines.
For installations where it is difficult to wire the included 8052 outdoor temperature sensor, a Model 8056 wireless
outdoor sensor can be used. The Model 8056 module has two radio units, one that is placed on the equipment control
module as shown below, and a second radio that is placed outside. See the Model 8056 Installation Instructions for
detailed directions regarding installation.
Outdoor Sensor
INSTALLATION
LEAVING AIR TEMPERATURE SENSOR (OPTIONAL)
Leaving air temperature can be measured by attaching an 8052 sensor to the LAT terminals. The leaving air
temperature sensor measurement is displayed during the installer test for diagnostic purposes.
IMPORTANT
Do not mount the sensor in direct line-of-sight of the heat exchanger, cooling coils, or UV lights as this may cause
the sensor to report false temperature readings.
1. Locate the Aprilaire Model 8052 sensor in the supply trunk, after the heat exchanger and cooling coils. (See
shaded areas in figure below.)
2. Mount the sensor according to the installation instructions provided with the sensor.
3. Wire the sensor to the equipment control module LAT terminals.
LOCATE
SENSOR
IN SHADED
AREA.
RETURN AIR TEMPERATURE SENSOR (OPTIONAL)
Return air temperature can be measured by attaching an 8052 sensor to the RAT terminals. The return sensor must
be enabled in the installer setup menu. The return air temperature sensor provides protection in the event that the
equipment control module loses connection with the thermostat. In the event that the thermostat connection is lost,
the equipment control module will use the return air temperature sensor to maintain a temperature greater than 40°F
and less than 100°F.
1. Locate the Aprilaire Model 8052 sensor
in the return trunk.
2. Mount the sensor according to the
installation instructions provided with
the sensor.
3. Wire the sensor to the equipment
control module RAT terminals.
 Loading...