READ AND SAVE THESE INSTRUCTIONS
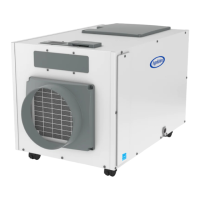
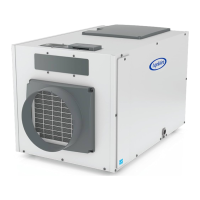
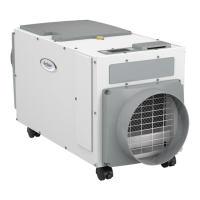
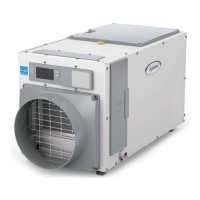
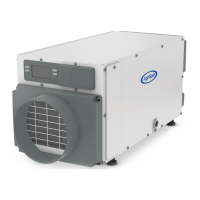
Model E130C Dehumidifier
Installation and Operating Manual
SAFETY INSTRUCTIONS
WARNING
1. 120 Volts may cause serious injury from electric shock. Disconnect electrical power before starting installation or servicing. Leave power
disconnected until installation/service is completed.
2. Dropping may cause personal injury or equipment damage. Handle with care and follow installation instructions.
3. Sharp edges may cause serious injury from cuts. Use care when cutting plenum openings and handling duct work.
CAUTION
1. Read all instructions before beginning installation.
2. Improper installation may cause property damage or injury. Read instructions before installation, service or maintenance.
3. Do not use in pool applications. Pool chemicals can damage the dehumidifier.
4. Do not use solvents or cleaners on or near the circuit board. Chemicals can damage circuit board components.
5. Wait 24 hours before running the unit if it was not shipped or stored in the upright position
6. Do not use dehumidification to prevent window condensation in the winter. To address window condensation, use ventilation to lower
indoor humidity in the winter.
7. This appliance is not intended for use by persons (including children) with reduced physical, sensory or mental capabilities, or lack of
experience and knowledge, unless they have been given supervision or instruction concerning use of the appliance by a person responsible
for their safety.
8. Children should be supervised to ensure that they do not play with the appliance.
9. If the supply cord is damaged, it must be replaced by a special cord or assembly available from the manufacturer or its service agent.
TABLE OF CONTENTS
SAFETY INSTRUCTIONS � � � � � � � � � � � � � � � � � � � � � � � � � � � � � � � � � � � � � � � � � 1
SPECIFICATIONS � � � � � � � � � � � � � � � � � � � � � � � � � � � � � � � � � � � � � � � � � � � � � � � � 2
REMOVE SHIPPING BRACKET � � � � � � � � � � � � � � � � � � � � � � � � � � � � � � � � � � � � 2
LOCATION CONSIDERATIONS � � � � � � � � � � � � � � � � � � � � � � � � � � � � � � � � � � � � 3
DRAIN INSTALLATION � � � � � � � � � � � � � � � � � � � � � � � � � � � � � � � � � � � � � � � � � � � 3
Condensate Pump and Float Switch � � � � � � � � � � � � � � � � � � � � � � � � � � � � � 3
SETTING THE DESIRED HUMIDITY LEVEL � � � � � � � � � � � � � � � � � � � � � � � � �4
MAINTENANCE� � � � � � � � � � � � � � � � � � � � � � � � � � � � � � � � � � � � � � � � � � � � � � � � � � 5
DUCT COLLAR INSTALLATION� � � � � � � � � � � � � � � � � � � � � � � � � � � � � � � � � � � �6
Control Location� � � � � � � � � � � � � � � � � � � � � � � � � � � � � � � � � � � � � � � � � � � � � � �6
DUCTING � � � � � � � � � � � � � � � � � � � � � � � � � � � � � � � � � � � � � � � � � � � � � � � � � � � � � � � 7
Ducting in Basement � � � � � � � � � � � � � � � � � � � � � � � � � � � � � � � � � � � � � � � � � � 7
Ducting to Whole Home without an Air Handler� � � � � � � � � � � � � � � � � � 8
TROUBLESHOOTING � � � � � � � � � � � � � � � � � � � � � � � � � � � � � � � � � � � � � � � � � � � �9
Table 1 – Diagnostic Codes � � � � � � � � � � � � � � � � � � � � � � � � � � � � � � � � � � � � �9
Table 2 – Troubleshooting Guide � � � � � � � � � � � � � � � � � � � � � � � � � � � � � � � 10
SERVICE PARTS � � � � � � � � � � � � � � � � � � � � � � � � � � � � � � � � � � � � � � � � � � � � � � � � �11
LIMITED WARRANTY � � � � � � � � � � � � � � � � � � � � � � � � � � � � � � � � � � � � � � � � � � � 12
1