4
4. Installation
4.1 Unpacking And Inspection
Before installation, please inspect the unit. Be sure that nothing inside the package is damaged. You should
have received the following items inside of package:
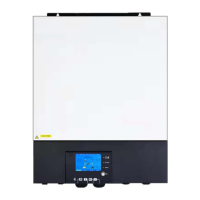
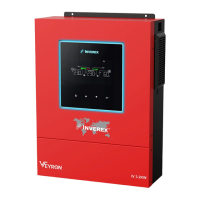
The inverter x1
User manual x 1
RS232 Communication cable
x 1
USB Communication cable
x 1
Parallel communication cable x 1(No parallel machine ,No need)
Current sharing cable x 1 (No parallel machine ,No need)
PV connectors x 2 sets
4.2 Preparation
Before connecting all wire, please take off bottom cover by removing two screws.
NOTE: The following picture is only a schematic diagram of the equipment .If the actual chassis does not
conform to the schematic due to a structural upgrade, it is subject to prior notice.
4.3 Mounting The Unit
Consider the following points before selecting where
to install:
1.Do not mount the inverter on flammable construction
materials.
2.Mount on a solid surface
3.Install this inverter at eye level in order to allow the
LCD display to be read at all times.
4.The ambient temperature should be between -10°C
and 55°C to ensure optimal operation.
5.The recommended installation position is to be adhered
to the wall vertically.
6.Be sure to keep other objects and surfaces as shown
in the right diagram to guarantee sufficient heat dissipation
and to have enough space for removing wires.
WARNING:SUITABLE FOR MOUNTING ON CONCRETE OR OTHER NON-COMBUSTIBLE SURFACE
ONLY.
50cm
50cm
20cm 20cm