22
UK
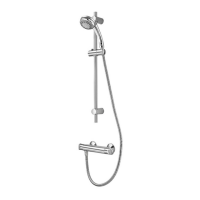
Attach the wall fixing bracket to the riser rail connector.
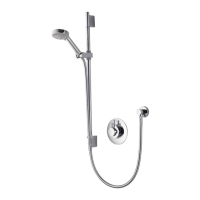
Attach the fixed riser arm to the riser rail connector rotating the
riser rail until it tightens. Using the hexagonal key supplied tighten
the grub screw in the wall fixing bracket to secure the riser rail
connector.
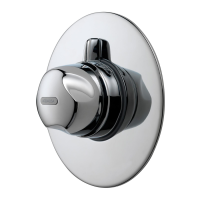
Position the riser rail assembly onto the mixer valve outlet
ensuring the washer is in place. Tighten the fixing nut hand
tight.
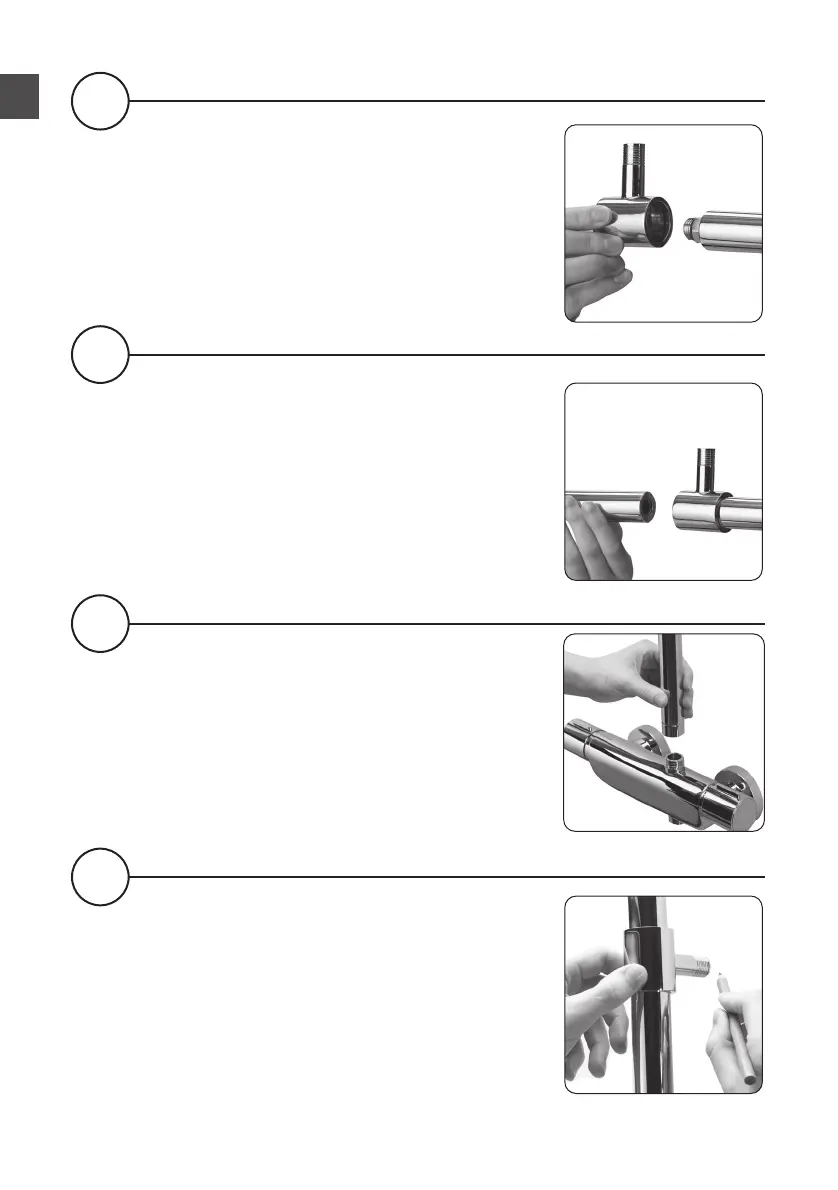
Ensuring the riser rail assembly has been correctly positioned and
attached to the mixer valve, mark the position of the wall fixing
bracket. Remove the riser rail assembly from the valve and remove
the wall fixing bracket assembly from the riser rail assembly.
7
9
8
10