10-02-2020 Page 10 of 32 ARB Copyright 2017 3789736
If you have any queries regarding the installation of this product please contact the distributor from whom it was purchased, or alternatively the ARB office in your state.
Head Office – ARB Corporation Ltd VIC: 42-44 Garden Street, Kilsyth, Victoria, 3137 Tel: (03) 9761 6622 Fax: (03) 9761 6807
WA:(08) 9244 3553 NSW: (02) 9821 3633 ACT: (02) 6280 7475 SA: (08) 8244 5001 QLD: (07) 3872 3872 NT: (08) 8947 2262 TAS: (03) 6331 4190
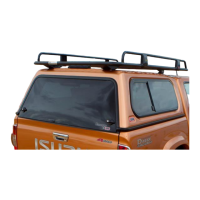
2.10) Apply to either end of the front mount rail a bridge
seal (668PM005), by removing the backing paper
off the adhesive side and sticking it down to the
dimensions shown opposite. The ramp profile
should go between the front header rail and the
side of the tub as a bridge.
!! IMPORTANT !!
POSITION THE SEAL BRIDGE EACTLY AS
SHOWN OR FRONT CORNER WATER LEAKS
COULD OCCUR
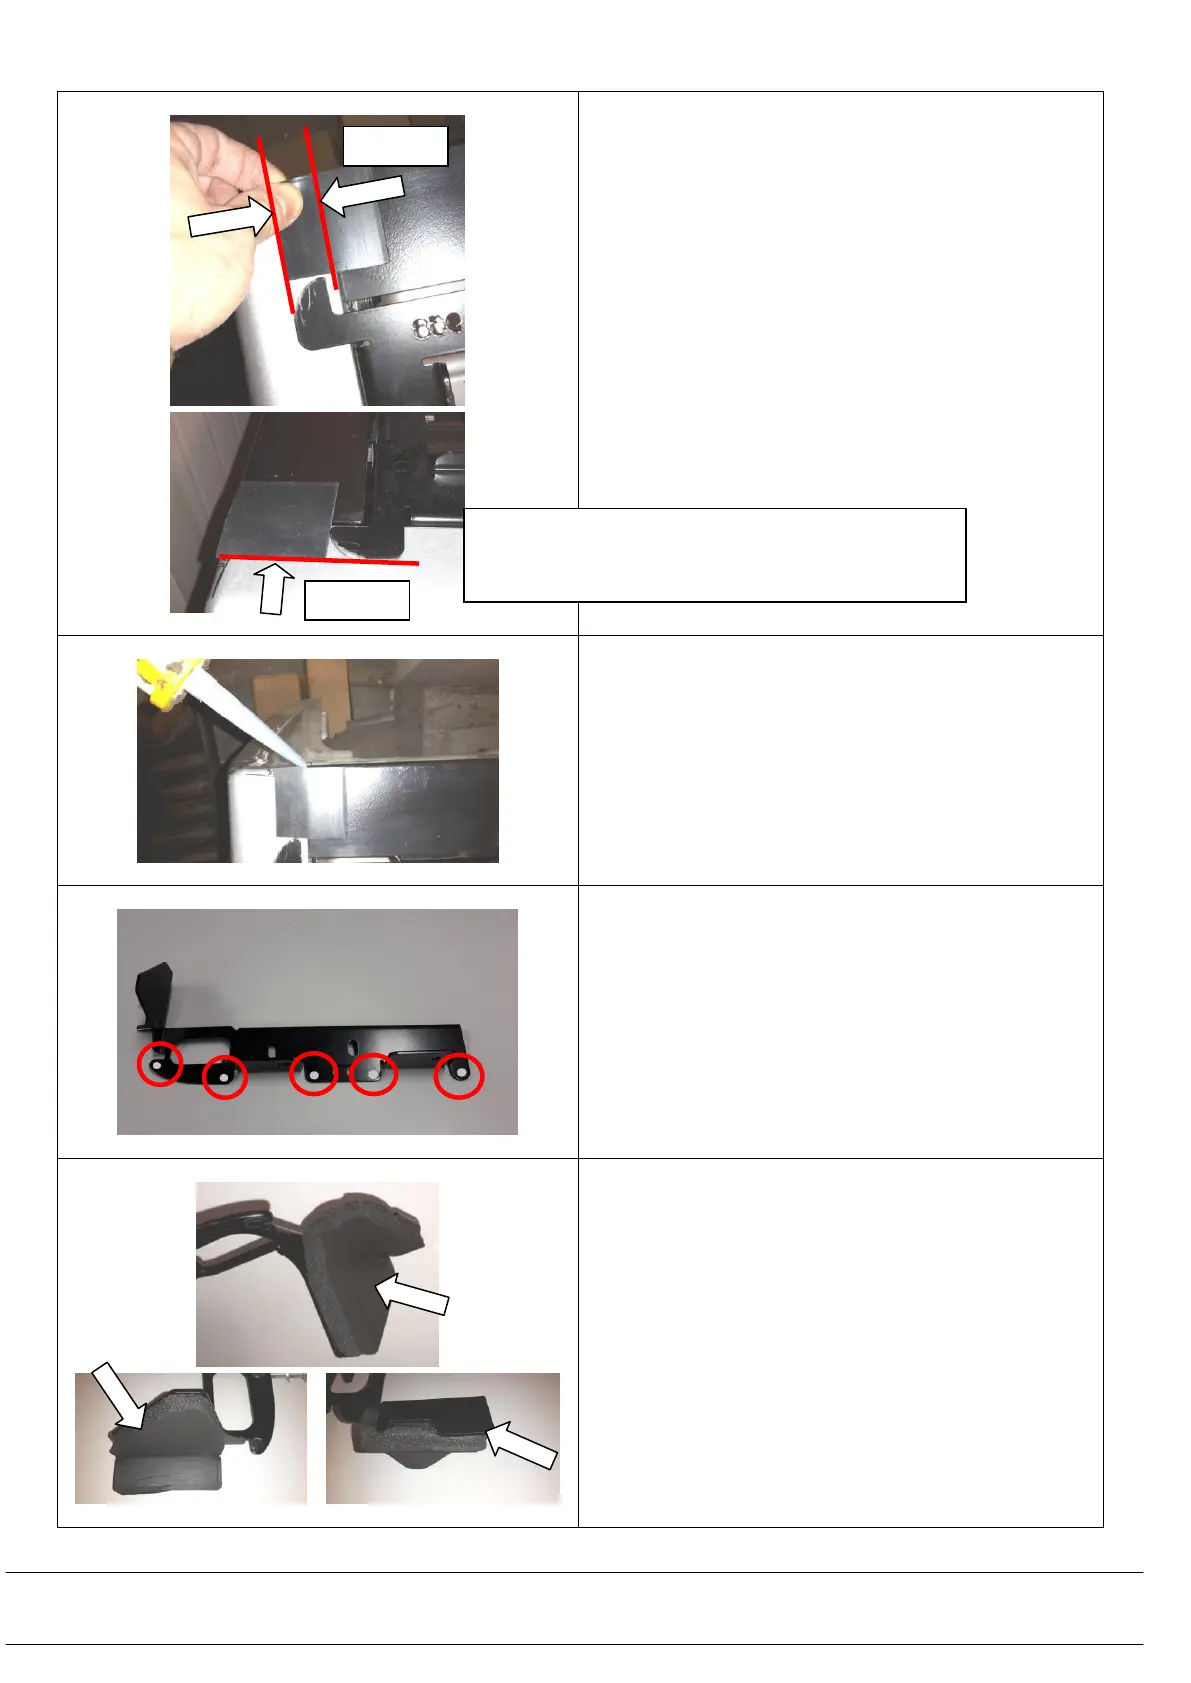
2.11) Apply silicon to the join areas underneath the
bridge seal to stop water leaks.
The bridge seal provides a transition from the
front tub mount rail to the top of the side tub walls
to provide a sealing surface to the seal that is
mounted on the underside of the canopy.
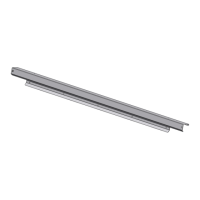
2.12) Prepare a pair of rear tub mounting bracket
(3759969R&L) with self-adhesive bumpons
(665076) applied in 5 places as shown. These
legs are to sit with the bumpons face down
touching the top edge of the vehicle’s tub once
the bracket is fitted
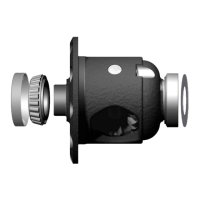
2.13) Apply Foam Pad 668PB023 to the rear of the
Rear Mounting Brackets as shown opposite by
aligning the foam pad with the edges of the
bracket
Repeat for the opposite hand
Align seal bridge front edge 5mm rearward from
the front edge of front mount rail and 20mm over
onto the side tub rail. Do this on both sides.