1.12 (continued)
Step 4. Scroll to the end of the LLP Settings to save/exit the settings.
Scroll to the end of the LLP setting by pressing the FILTER button until you
reach the end of the LLP settings. The Spa will then perform a reboot.
Step 5. Turn o the Electrical Power to the Spa
Turn of the power to your spa at the spas breaker.
Step 6. Turn on Electrical Power to the Spa
Turn on the power to your spa at the spas breaker.
Wait until the spa reboots fully.
Step 8. Scroll to the end of the LLP Settings to save/exit the settings.
Scroll to the end of the LLP setting by pressing the FILTER button until you
reach the end of the LLP settings. The Spa will then perform a reboot.
Step 7. Conrm Spa has been assigned valid IP Address
Conrm Spa has been assigned a valid IP Address by entering LLP
setting and scrolling through the LLP settings until the Spas IP address is
displayed.
Note: .0 or .100 may not be a valid IP Address.
onSpa and Web Connect User Guide
onSpa and Web Connect User Guide Version 1 Revision Draft 1
Page 14 of 24 Issued Mar 2016
Steps to Access LLP to ensure your Spas IP Address is set to Dynamic (dy)
and your Spa has been assigned an IP Address
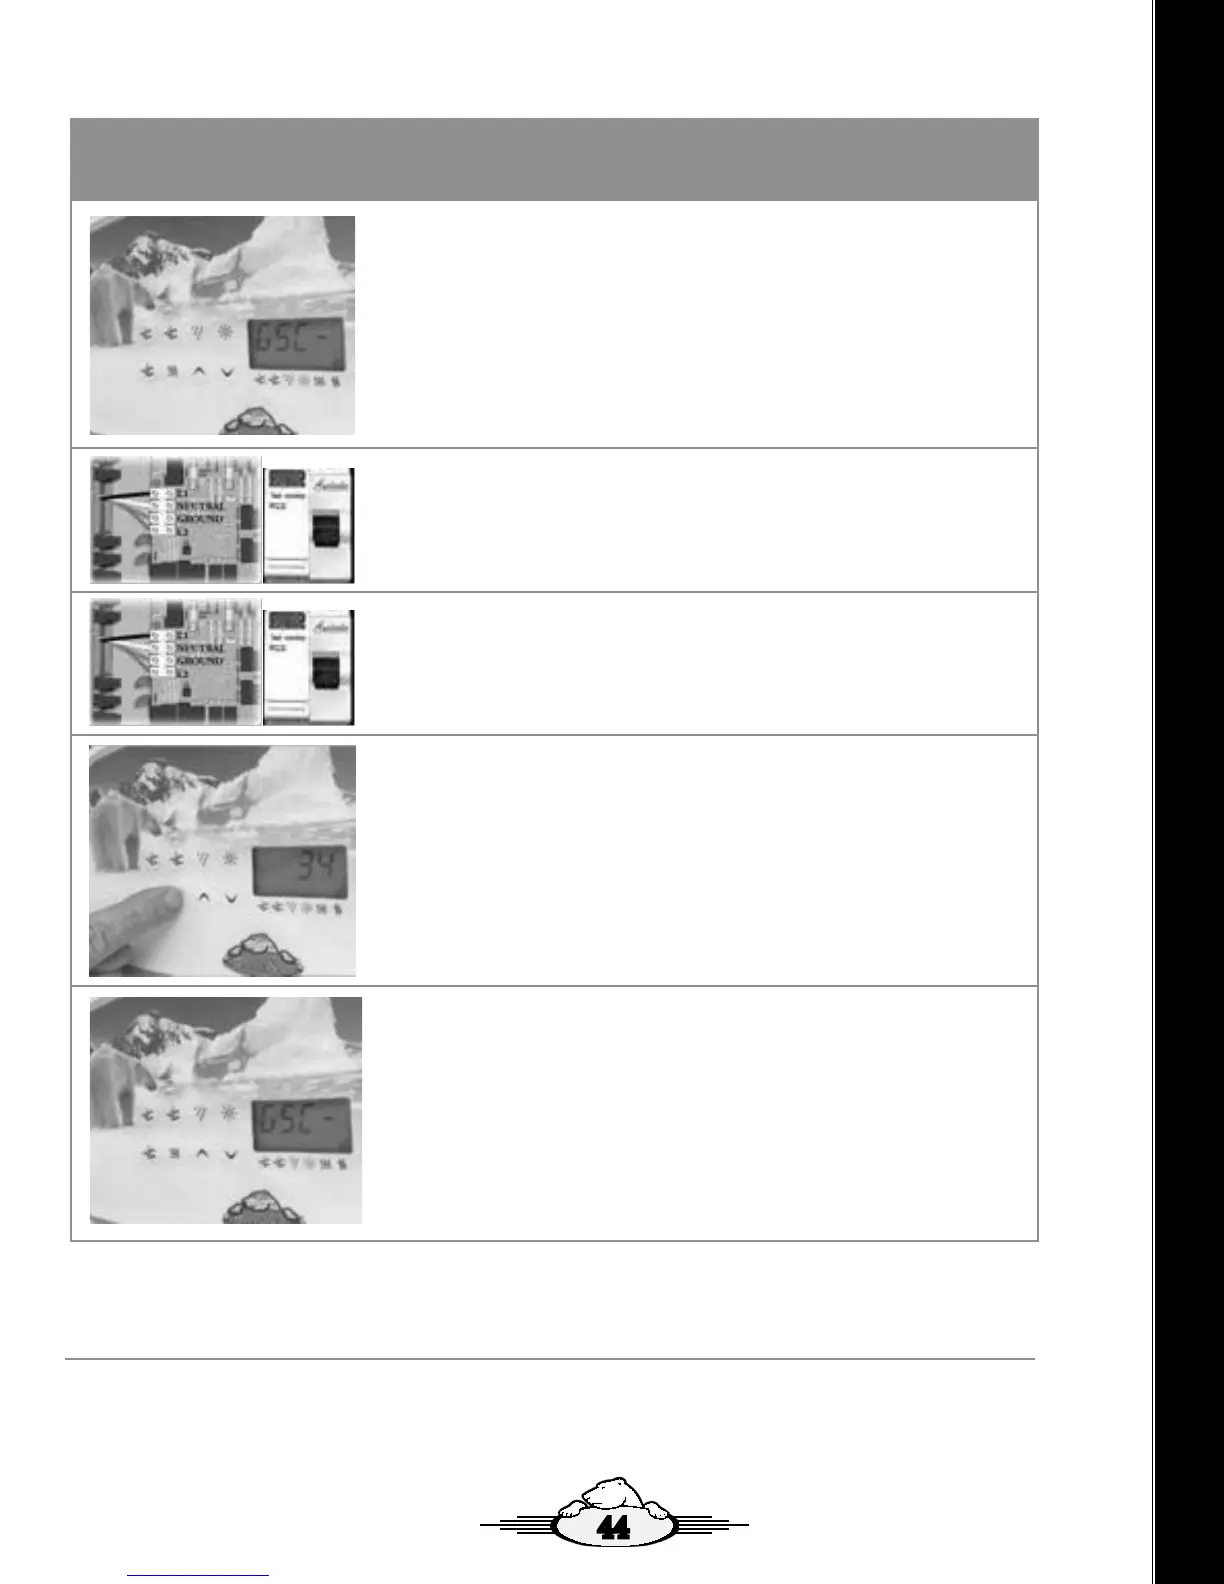
Step 3. Scroll to next LLP Setting to view the Spas IP
Address Assigned as Displayed on the Topside
Controller.
Scroll to the next LLP setting by pressing the FILTER button
to display the IP Address assigned to the Spa.
Note: .0 or .100 is not a valid IP Address.
Step 4. Scroll to the end of the LLP Settings to save/exit
the settings.
Scroll to the end of the LLP setting by pressing the FILTER
button until you reach the end of the LLP settings. The Spa
will then perform a reboot.
Step 5. Turn off the Electrical Power to the Spa
Turn of the power to your spa at the spas breaker.
Step 6. Turn on Electrical Power to the Spa
Turn on the power to your spa at the spas breaker.
Wait until the spa reboots fully.
Step 7. Confirm Spa has been assigned valid IP Address
Confirm Spa has been assigned a valid IP Address by
entering LLP setting and scrolling through the LLP settings
until the Spas IP address is displayed.
Note: .0 or .100 is not a valid IP Address.
Step 8. Scroll to the end of the LLP Settings to save/exit
the settings.
Scroll to the end of the LLP setting by pressing the FILTER
button until you reach the end of the LLP settings. The Spa
will then perform a reboot.
onSpa and Web Connect User Guide
onSpa and Web Connect User Guide Version 1 Revision Draft 1
Page 14 of 24 Issued Mar 2016
Steps to Access LLP to ensure your Spas IP Address is set to Dynamic (dy)
and your Spa has been assigned an IP Address
Step 3. Scroll to next LLP Setting to view the Spas IP
Address Assigned as Displayed on the Topside
Controller.
Scroll to the next LLP setting by pressing the FILTER button
to display the IP Address assigned to the Spa.
Note: .0 or .100 is not a valid IP Address.
Step 4. Scroll to the end of the LLP Settings to save/exit
the settings.
Scroll to the end of the LLP setting by pressing the FILTER
button until you reach the end of the LLP settings. The Spa
will then perform a reboot.
Step 5. Turn off the Electrical Power to the Spa
Turn of the power to your spa at the spas breaker.
Step 6. Turn on Electrical Power to the Spa
Turn on the power to your spa at the spas breaker.
Wait until the spa reboots fully.
Step 7. Confirm Spa has been assigned valid IP Address
Confirm Spa has been assigned a valid IP Address by
entering LLP setting and scrolling through the LLP settings
until the Spas IP address is displayed.
Note: .0 or .100 is not a valid IP Address.
Step 8. Scroll to the end of the LLP Settings to save/exit
the settings.
Scroll to the end of the LLP setting by pressing the FILTER
button until you reach the end of the LLP settings. The Spa
will then perform a reboot.
Steps to Access LLP to ensure your Spas IP Address is set to Dynamic (dy) and your Spa has been
assigned an IP Address
1.13 How to Connect Your Spa to the My Arctic Spas
Server (Web Connect)
Once you have connected your Spa to your Home Network, ether by EoP WIFI Extender or LAN Cable you can take full
advantage of onSpa by establishing a Web Connection to the My Arctic Spa Server.
To do this, you must rst open a free account with myarcticspa.com and register your Spa on the My Arctic Spa server
which is linked to the myarcticspa.com webpage.
44
 Loading...