Chapter 3: Install and connect your Telephony Gateway
Note: You must set up your computer and other client devices to work with the
security settings on the TG4492. Refer to the documentation for your client device for
instructions on setting security. On most computer systems you only need to select
the network name (SSID) and enter the encryption key. If your computer or client
device supports Wi-Fi Alliance WPS (Wireless Protected Setup), activate WPS on your
computer or client device and the TG4492 simultaneously to easily set up your system
security.
If you need to modify the Telephony Gateway's default wireless security settings, or if you
want to configure any other wireless LAN settings, refer to the following instructions.
Access the configuration interface
1. If security has been properly set up on your computer to access the wireless LAN on the
TG4492, use the connection utility for your operating system to connect to the wireless
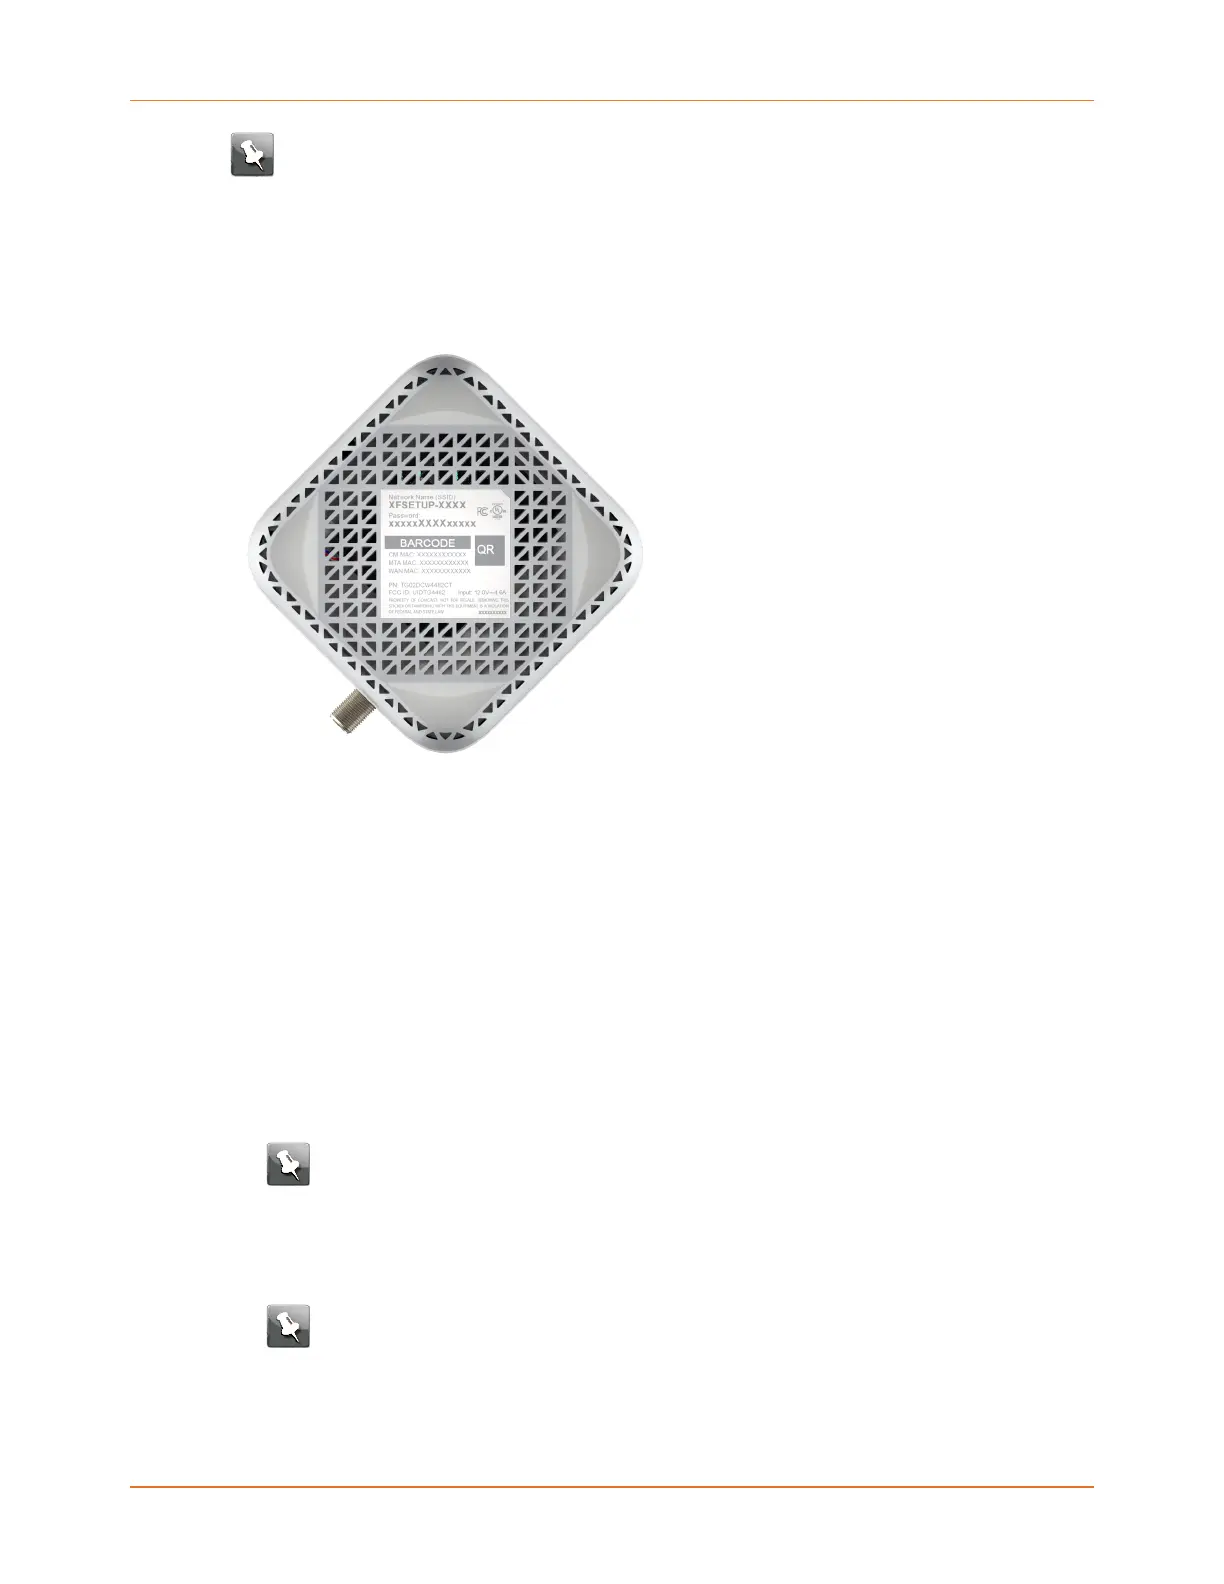
LAN using its network name (SSID), as shown on the security label.
2. If you cannot access the wireless LAN, you must first establish a wired Ethernet
connection between your computer and the TG4492.
3. In your web browser, navigate to http://192.168.0.1/ to access the wireless router setup.
The Login screen appears.
Note: The default user name is admin. The default password is password, in
lower case letters.
4. Enter the user name and password, and click Apply to log in.
The System Basic Setup screen appears.
5. Use the online help information to set configuration parameters as required.
Note: Most configuration parameters that you may want to set can be accessed
on the System Basic Setup screen, including the security mode and setting a
system password.
Touchstone TG4482 Telephony Gateway User Guide DRAFT Revision 1.3 20



 To Next Page