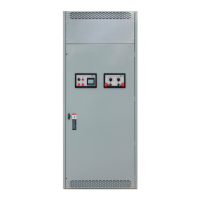
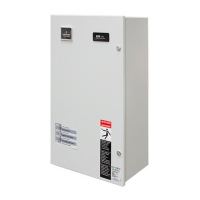
ASCO Series 300 Quick Connect Power Panel
381333-476 www.ascopower.com
7
Set-up – Continued
D.
Continue with connections, beginning with the rear of the
cabinet
and working forward.
E.
Complete the Phase (hot) connections
i.
Should the phase rotation of the generator (as
determined in
Step 5.B.3. above) and utility power
(label found on the inside of
the door for the Cam
connection chamber) match, connect the
Hots as
follows:
Generator Hot
ASCO Series 300 Quick Connect
Power Panel Hot
A A
B
B
C
C
ii.
Should the phase rotation of the generator (as
determined in
Step 7.3. above) and utility power
(label found on the inside of
the door for the Cam
connection chamber) NOT match, connect
the Hots as
follows:
Generator Hot
ASCO Series 300 Quick Connect
Power Panel Hot
A
B
B
A
C
C
Proper connection (Figure 6):
A.
Grasp connector jacket and firmly insert cam connector
into cam
plug
B.
Push on cam connector jacket until connector fully seats
in cam
plug
C.
Rotate cam connector jacket counterclockwise until it
stops
5.
Continue with connections, beginning with the rear of the
cabinet
and working forward
6.
Complete ALL Phase connections working from back to
front prior
to proceeding
7.
Make sure all connections are right and secure
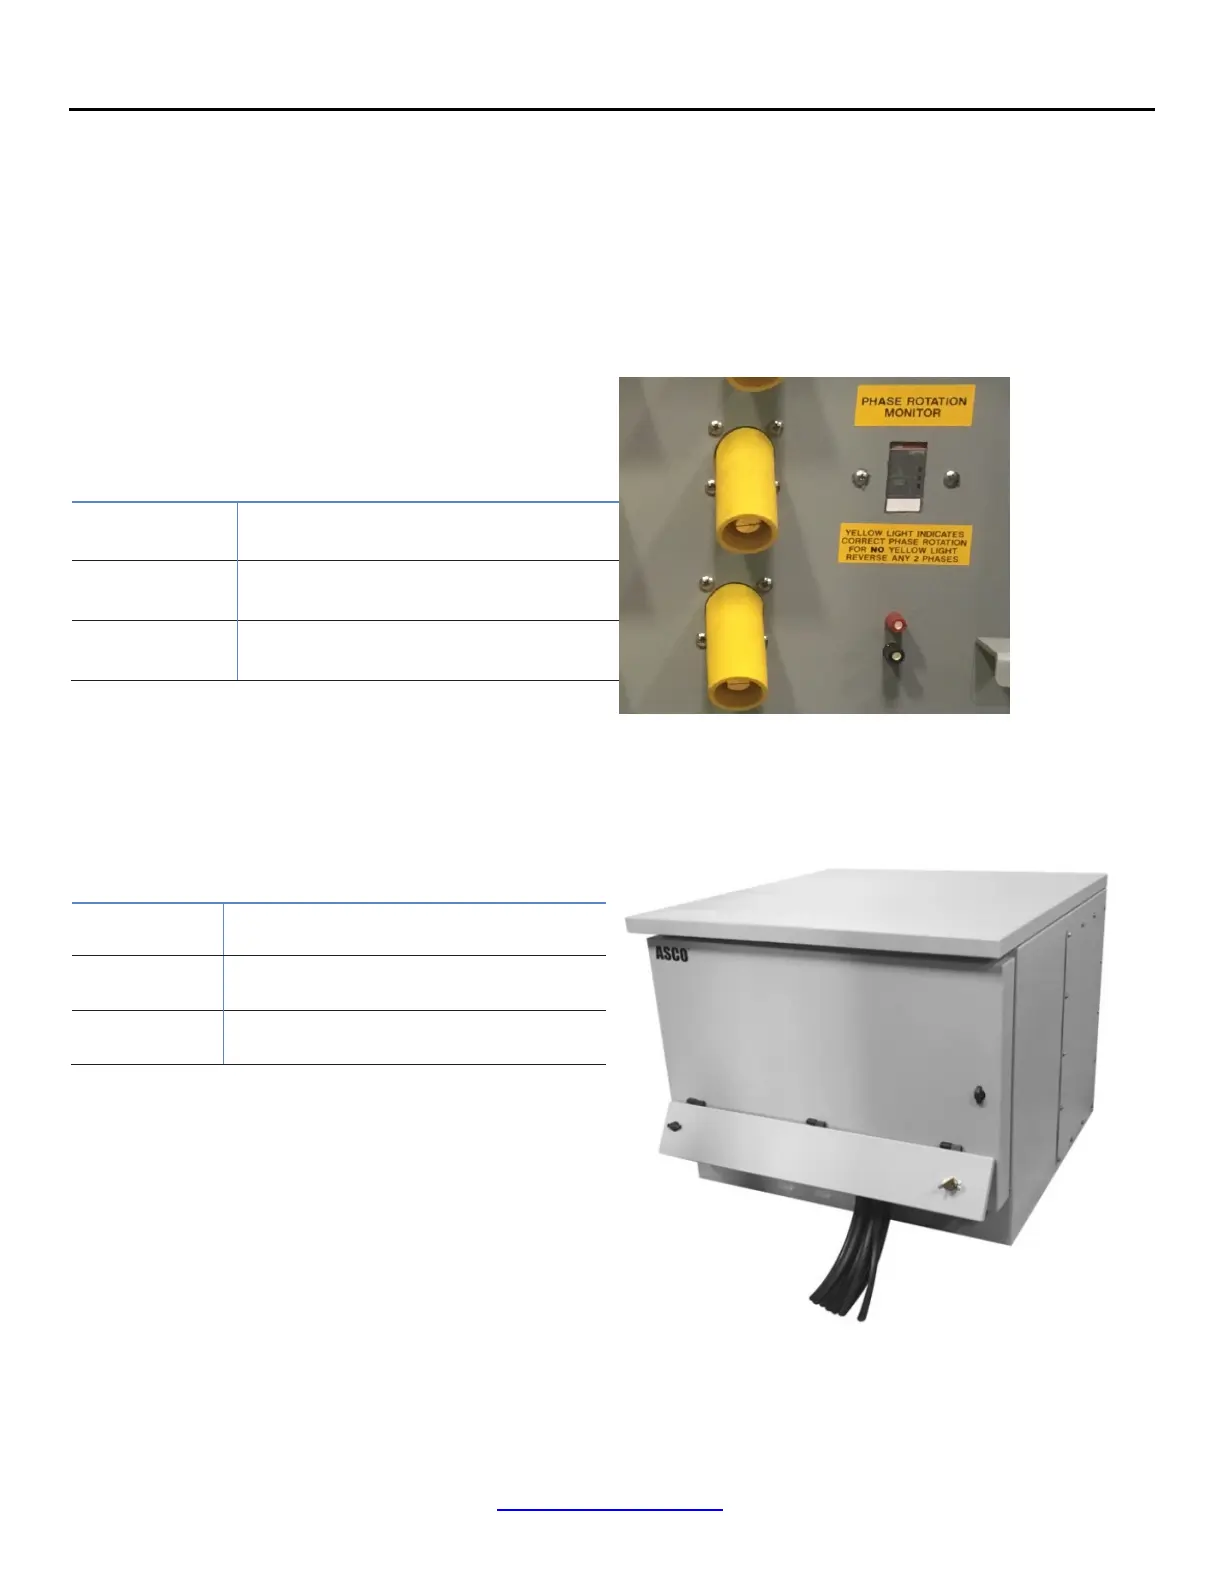
Step 10: Connect 2 wire auto start circuit
1. Connect 2 wire auto start circuit from transfer
switch to terminal post located in the upper right
corner of the Quick Connect Panel.(Figure 7)
2. Connect the 2 wire auto start circuit from generator
to terminal post.
Figure 7
Step 11: Close and lock lower chamber door,
allowing cables to exit through smaller cable
door
(See Figure 8)
Figure 8

 Loading...