Copyright © 2020-2021, ASSA ABLOY Inc. All rights reserved. Reproduction in whole
or in part without the express written permission of ASSA ABLOY Inc. is prohibited.
6
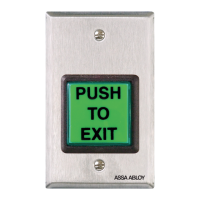
2.1.6 Remove Actuator Post Assembly
• Remove the Flat Head Socket Cap Screw (
1
/
4
"-20).
• Remove the Actuator Post Assembly, Push Rod, and Spring
Tube-Spring from the Shipping Board.
• Hold the Mating Pull in place while removing
the Actuator Post Assembly.
• Remove the Mating Pull from the
Shipping Board.
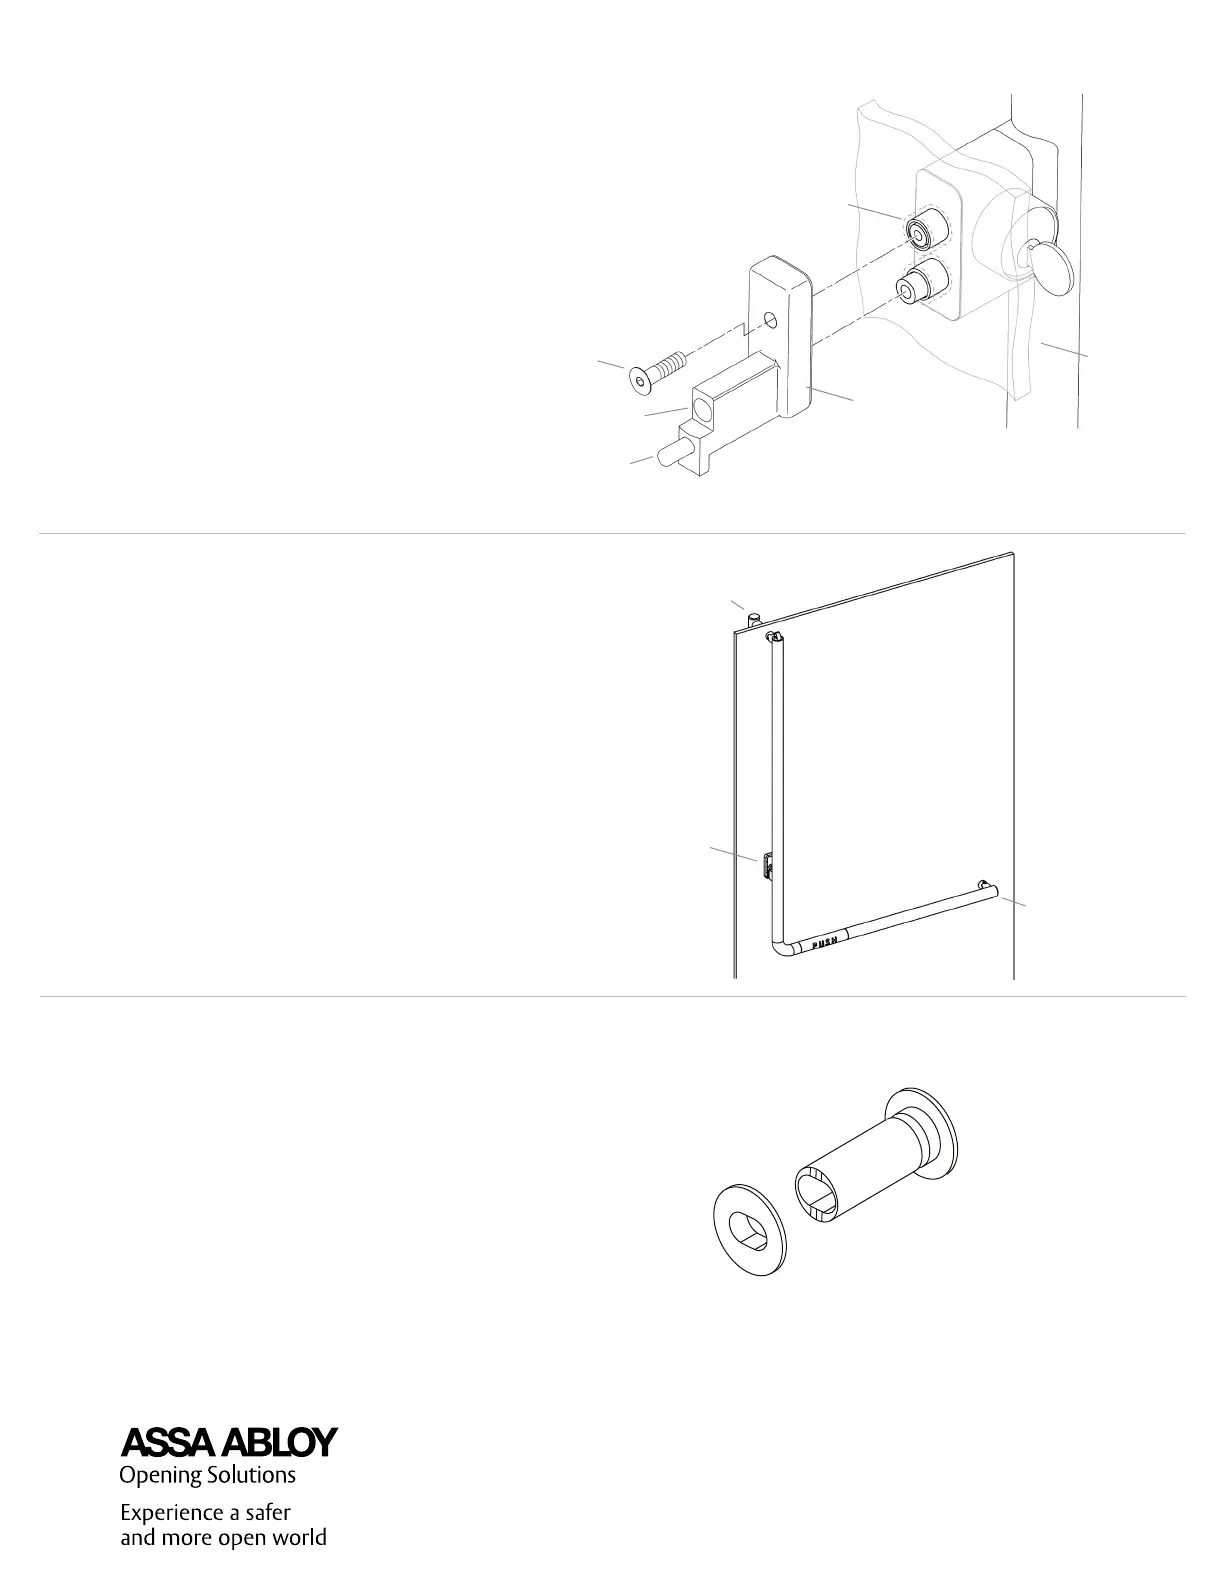
• Remove the Door Bushing.
CAUTION: Make sure to contain the
Spring inside the Spring Tube-Spring.
Flat Head
Socket Cap
Screw
Spring Tube-Spring
Actuator Post
Assembly
Mating Pull
Assembly
Holes in Door
Push Rod
• You can adjust the Alignment Bushing and Spacer by
rotating it.
• Make the necessary adjustment to get equal spacing
between the sides of the Actuator Post Assembly and
the tube opening.
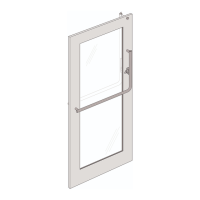
2.2.2 Install Alignment Bushing and Spacer
• Lay the door flat with the exterior side facing down
on a pair of saw horses.
2.2.1 Install Panic Device on Door
2.2 Panic Device Installation
Vertical Door
Mount Assembly
Actuator Post-Cylinder
Housing Assembly
Horizontal
Door Mount
Assembly
 Loading...