ISW73 07/21
Copyright © 2021, ASSA ABLOY Accessories and Door Controls Group, Inc. All rights reserved. Reproduction in whole or
in part without the express written permission of ASSA ABLOY Accessories and Door Controls Group, Inc. is prohibited.
6
Model W73, Wood Frame
Figure 7
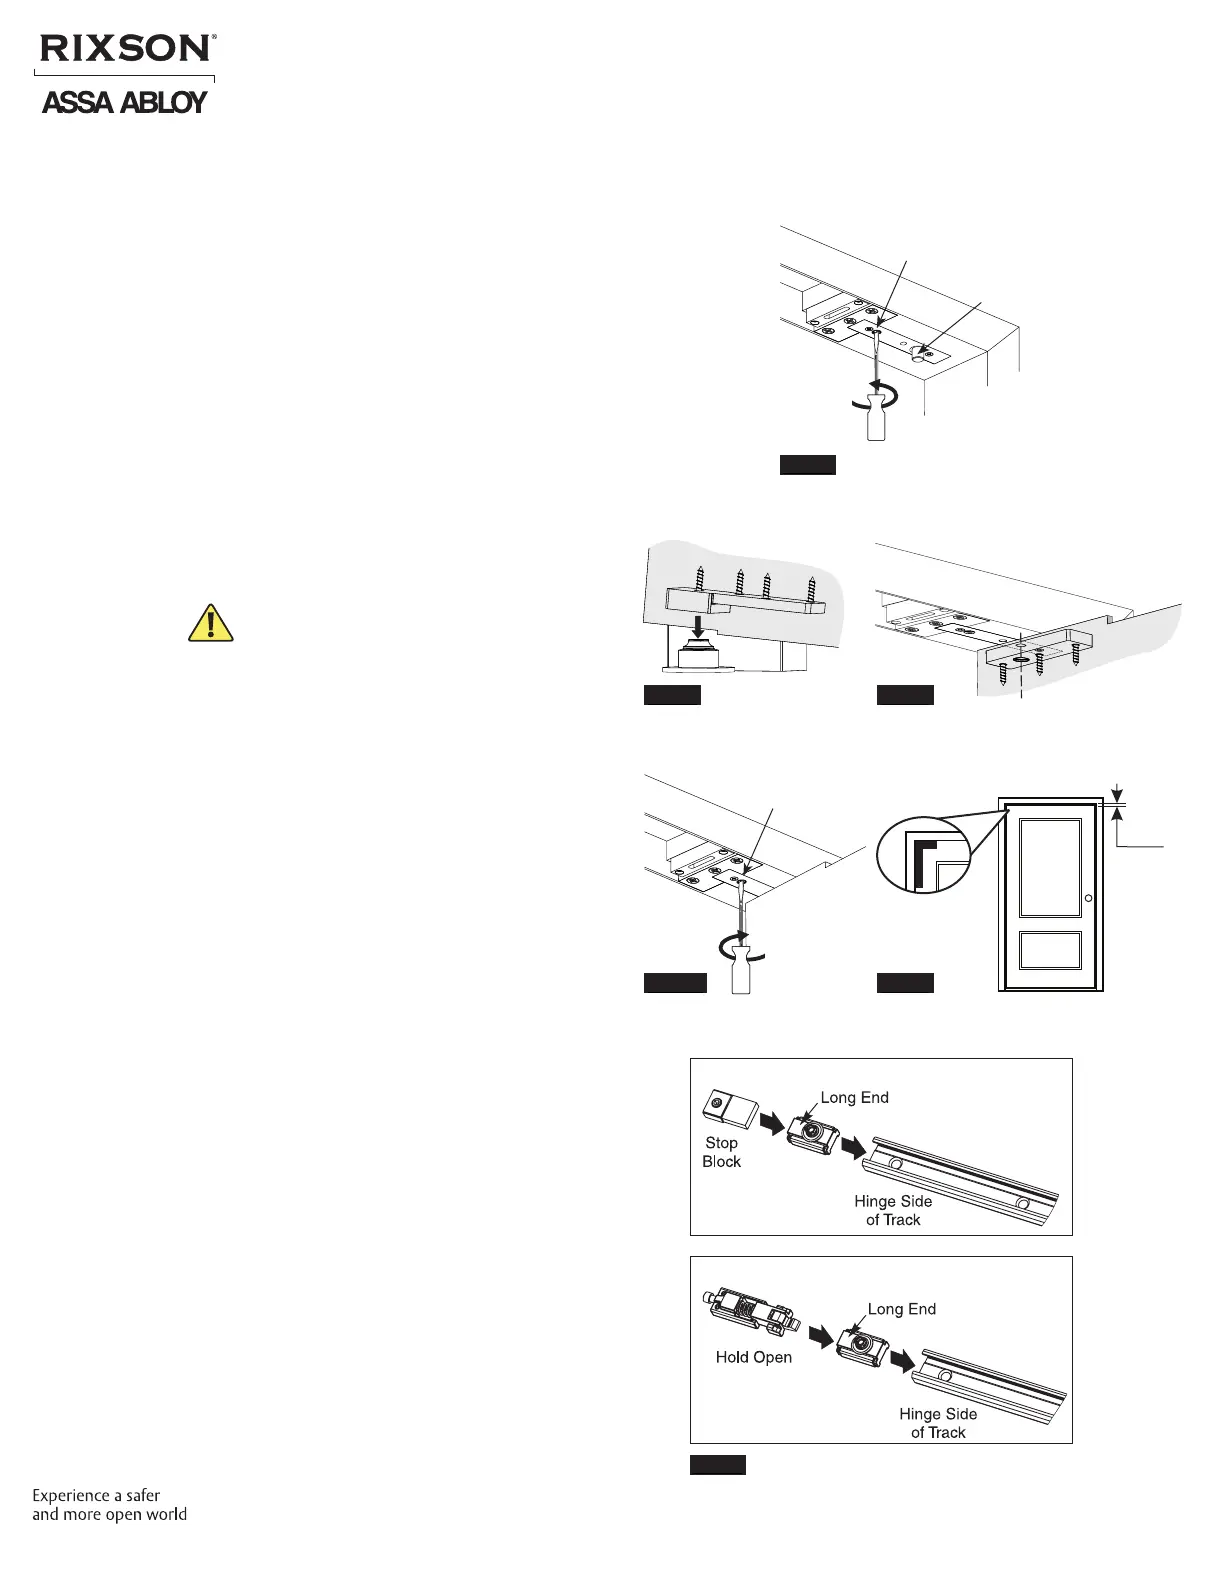
F. Assemble track.
1. Slide track components into track.
(Figure 11)
NOTE:
• All track components must be placed in
track before installing track into door.
• Insert slider into track rst.
• Stop block (or optional hold open) should
be last component at hinge side of door.
• The longer end of slider should be pointed
towards hinge side of door.
Figure 6
Non Hold Open Track Components
Optional Hold Open Track Components
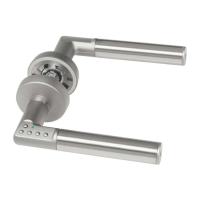
E. Hang door.
1. Ensure pivot stud is fully retracted into pivot
by turning pivot adjustment screw counter
clockwise with a athead screwdriver. (Figure 6)
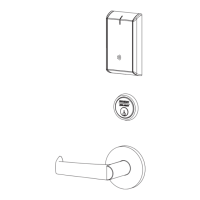
2. With door in open position about 90° to jamb,
carefully t door onto bottom pivot at a slight
angle. (Figure 7)
3. Tip door into vertical position aligning frame
portion pivot stud to door portion hole.
(Figure 8)
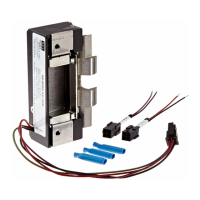
4. With top pivot stud aligned with door portion
hole, use a athead screwdriver to turn pivot
adjustment screw clockwise to extend pivot
stud into door pivot portion. (Figure 9)
IMPORTANT: Fully tighten adjustment screw to
ensure pivot stud is fully extended into door
portion. There is a door tipping hazard until
door is held vertical by pivot stud.
5. Verify frame is square by using a framing square.
Gaps between door and frame should be
consistent. Gap should be 1/8" (3mm) at jamb
and header. (Figure 10)
NOTE: Door should swing freely.
• If vertical height adjustment is necessary,
use shims between door bottom and
bottom pivot portion to increase clearance.
• To decrease clearance, increase mortise in
bottom of door.
• To remove door, retract pivot stud and tip
door out of vertical position then lift door
from bottom pivot.
Pivot Stud
Pivot Adjustment
Screw
Slider
Slider
1/8"
()3
CCW
Pivot Adjustment
Screw
CW
Figure 9 Figure 10
Figure 11
Figure 8
Installation