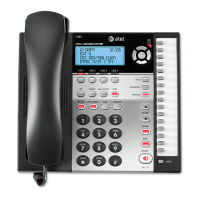
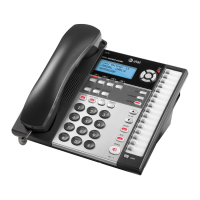
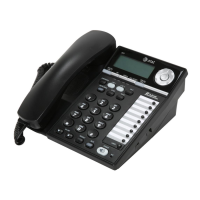
Starting at the upper left of Figure 1 and continuing clockwise:
1) Handset
2) Call appearances/
feature buttons
3) Display
4) Speakerphone/
headset adapter jack
(on back of terminal)
5) Line jack (on back
of terminal)
For placing and answering calls. In most cases, you must lift
the handset (go off-hook) before you can use a feature. Also
known as the receiver.
These 5 buttons may be used to handle incoming and
outgoing calls (call appearances), labeled with an extension
number. Each has a red in-use light to tell you the line is
being used or that this is the line you will get when you lift
your handset. The green status light next to each call
appearance and feature button tells you the line or feature is
being used.
For showing information (2-line, 24-character display).
For connecting an external speakerphone or a headset
adapter to your voice terminal. Located on the back of your
voice terminal, labeled
For connecting a line cord to your voice terminal. Located on
the back of your voice terminal, labeled “LINE.”
6) Speaker/
For accessing the speaker
or
the built-in speakerphone and
Reset Spkr button
microphone combination. When you touch
-Select
and
Speaker-Reset Spkr
you hear a series of tones as the speakerphone
performs an acoustic test of the environment and adjusts the
speakerphone to the surrounding environment for optimal
performance. When the tones stop, the speakerphone is ready
for use.
Note:
Your voice terminal can be set for either the Speaker
(listen-only) feature
or
the Speakerphone (listen and talk)
feature. Check with your System Manager to see how your
Speaker button is to be used.
7) Mute button
For turning off the microphone of the built-in speakerphone
or the handset so the other person cannot hear you.
Note:
If your voice terminal is set for the Speaker (listen-
only) feature, pressing the Mute button will affect only the
handset. When the Speaker feature is in use, the Mute light
will always be on.
8) Two-level feature
These 3 feature buttons access 2 features, one printed on the
buttons (with lights)
top half of the label and one printed on the bottom half of
the label. Each has a green light beside it so that you know
when it is active. In order to access the top feature, press
-Select
and then the feature button.
2
 Loading...