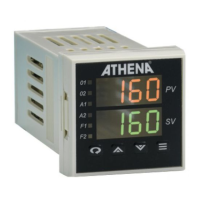
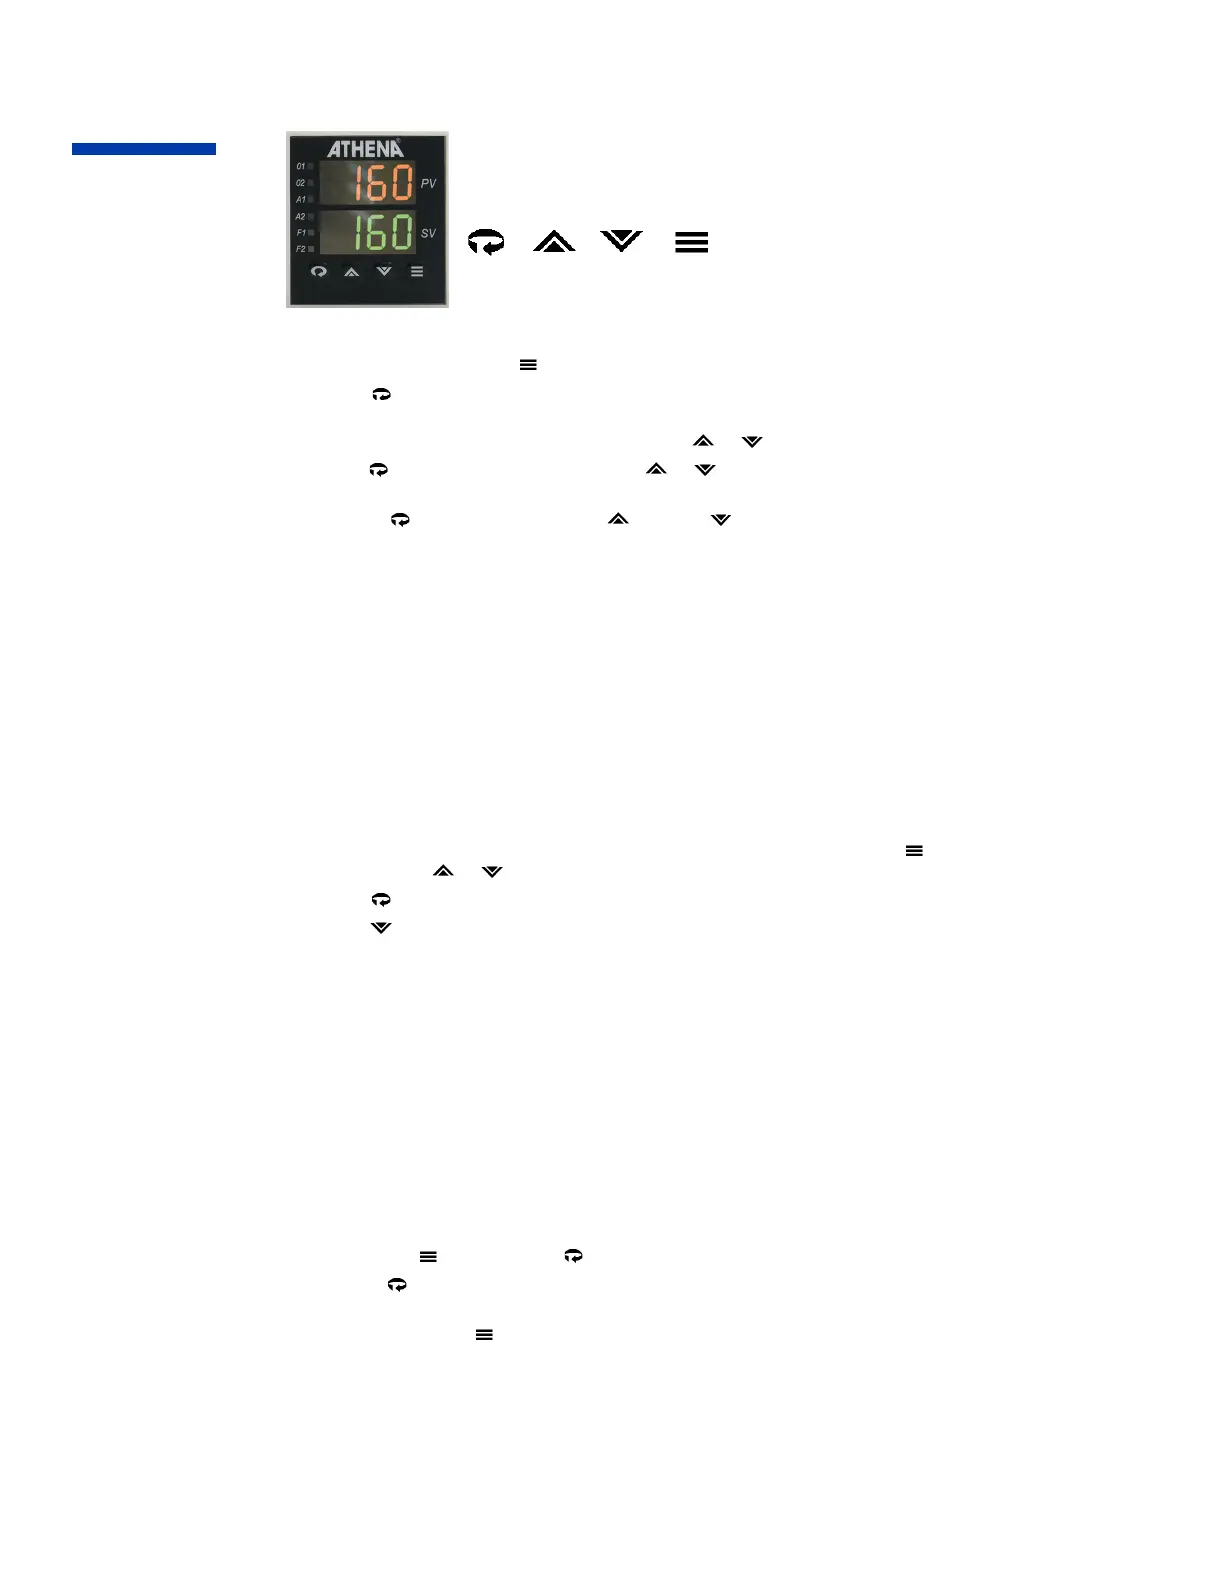
34
Experienced users, already familiar with mounting and wiring the Series 16 may use these condensed
instructions to autotune the controller and get started quickly.
These quick setup instructions are not meant as a substitute for reading the full
instruction manual. Please be sure to read through the manual for specific details of
operation and, most importantly, for safety precautions.
Access Raise Lower Mode
1. Apply power. After self-check display stops, immediately place the controller into Standby mode by
pressing and holding the key for four seconds until [ StbY ] flashes.
2. Press key until [Ac.Cd. ] flashes. (This can take anywhere from one to eleven seconds, depending on
the menu level at which the controller is currently set.)
3. If the controller is not at menu level “05”, press
or until “05” appears.
4. Press
until [ SnSr ] flashes. Then use
or to select Sensor Type.
NOTE: Unless otherwise instructed, the following steps require that you first press the Parameter/
Access
key, and then the Raise
or Lower key to select the appropriate parameter value.
5. Select Heating Mode or Alarm on Output 1 [ OUt 1 ].
[ Ht.P ] = PID [ Ht.O ] = On/Off [ ALr ] = Alarm
Repeat for Cooling Mode on Output 2 [OUt 2 ].
[ CL.P ] = PID [ CL.O ] = On/Off [ ALr ] = Alarm
Important: If only one output is PID, set the other output to either On/Off or Alarm.
6. Select Cooling Type [ CoL.t ].
[ nor ] = standard/no cooling [ H2o ] = water-cooled extruders
7. Select Alarm [ AI.H.L.], either [ HI ] or [ Lo ].
8. Select Alarm Type [ A1.P.d. ], either Process [ Pr ] or Deviation [ dE ].
9. Select Alarm Operation [ Al.O.P.], either Normal [ nor ], Latching [ LAt ] or Off [ OFF ].
10. Repeat Steps 7 through 9 for Alarm 2, if applicable.
11. Select Temperature Units [ Unlt ], either [ F ] or [ C ], then press Mode key once to display
setpoint. Use
or keys to select Setpoint Value.
12. Press
key once to return controller to [ Ac.Cd ] display.
13. Press key twice to select menu level “03”.
14. Select Alarm Trip Points [ ALr1 ] and/or [ ALr2 ], if applicable. Note: This menu parameter will not
appear if Alarm Operation (Step #9) is set to [ OFF ].
15. Select Cycle Times [ CY.t1 ] and/or [ CY.t2 ] as follows:
For Control Output Type — Select Cycle Time (in seconds)
B 15
E 00
F 00
S 00
T 15
Y 15 (Output 2 only)
16. Scroll to Setpoint Target Time [ SP.tt ] and set to [ OFF ].
17. Select Lower Setpoint Limit [ L.SP.L ] and Upper Setpoint Limit [ U.SP.L ] to the desired value.
18. Press Mode key once, then
key once to restore [ Ac.Cd ] display. Change to menu level “02”.
19. Use the key to scroll through to the Damping menu parameter [ dPnG ]. Select normal [ nL ]. Note: If
your process is subject to thermal lag.
20. Press and hold the key until [ tUnE ] appears. When the display stops and the Setpoint Value
appears, the controller is tuned. For safety and security purposes, you may want to change to key-
lockout menu level “00” or Limited Access Run menu level “01” before beginning your process
operations.
Quick Setup
Instructions
 Loading...