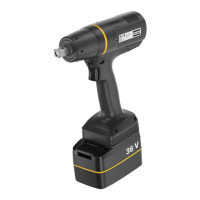
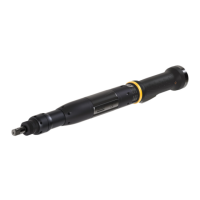
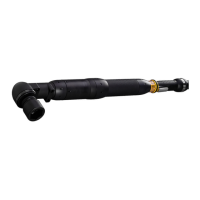
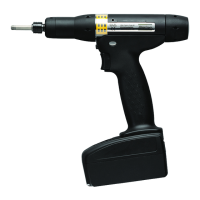
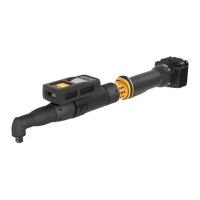
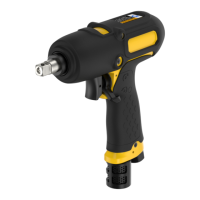
EP5PTI19 HR10-MT EN Operation
© Atlas Copco Industrial Technique AB - 9839 0661 01
13
■
If the valve is too closed, the AutoTrim will not shift to full speed and power when pulsing starts. Turn
the valve counter clockwise 90 degrees to find the correct switching point. Repeat until correct switch-
ing point is reached.
■
If the valve is too open, the AutoTrim will shift to full speed and power too quickly (during rundown).
Turn the valve clockwise 90 degrees to find the correct switching point. Repeat until correct switching
point is reached.
Re-setting the switching point of the AutoTrim valve
1. Close the switching valve completely, by turning it clockwise, until it stops.
2. Open the valve counter clockwise 6.5 turns with an Allen key.
3. If needed, turn the valve 90 degrees at a time to find the correct switching point, as described above.
4. If correct switching cannot be achieved with 5-8 turns, from fully closed, then service may be needed,
see Service section.
AutoTrim settings for custom pressure tools
Model Reduced (free) speed (rpm) Distance A (mm)
1
EP5PTI19 HR10-MT 4x-5y
EP6PTI32 HR10-MT 4x-5y
EP7PTI55 HR10-MT 4x-5y
EP8PTI70 HR10-MT 4x-5y
EP13PTI150 HR13-MT 4x-5y
1
The distance is an approximate preset. If needed, adjust to achieve the correct recommended reduced
(free) speed.
AutoTrim settings for low pressure tools
Model Reduced (free) speed (rpm) Distance A (mm)
1
EP5PTI15 HR10-MT-L 4x-5y
EP6PTI25 HR10-MT-L 4x-5y
EP7PTI35 HR10-MT-L 4x-5y
EP8PTI45 HR10-MT-L 4x-5y
EP13PTI110 HR13-MT-L 4x-5y
Improper AutoTrim function may result in:
■
Increased scatter (wrong torque).
■
Longer tightening time.
■
No shut-off.
Setting of tightening torque
The adjusting screw (the slotted screw) is the only screw that initially should be adjusted. Start at a low
torque adjustment and gradually increase the setting until you reach the desired torque level. See detailed
illustrations for setting of the tightening torque when using AutoTrim function and Trim function respec-
tively. Using the tool at a higher torque, than recommended maximum torque, might result in improper
function and faster wear.
Always check the setting on your actual joint.
Initial setting of torque
To minimize the risk of damage to the actual joint we recommend to set the torque slightly lower on the
test joint than the torque wanted for the application. Make sure to use the same equipment, such as for
example extensions, sockets and air pressure on the test joint as will be used on the actual joint.
 Loading...