Transport And Installation 19
Atlas Cyclops
5.2.1 Power connections
Before connecting up the machine, carefully check:
• power line specifi cations correspond to machine requirements as shown on
the machine plate;
• there is a ground wire the same or greater in length as max section of the
power cables.
• that all the component parts of the power line are in good condition;
Connect the machine up by means of the 3-prong plug into a wall socket or a
surge protector.
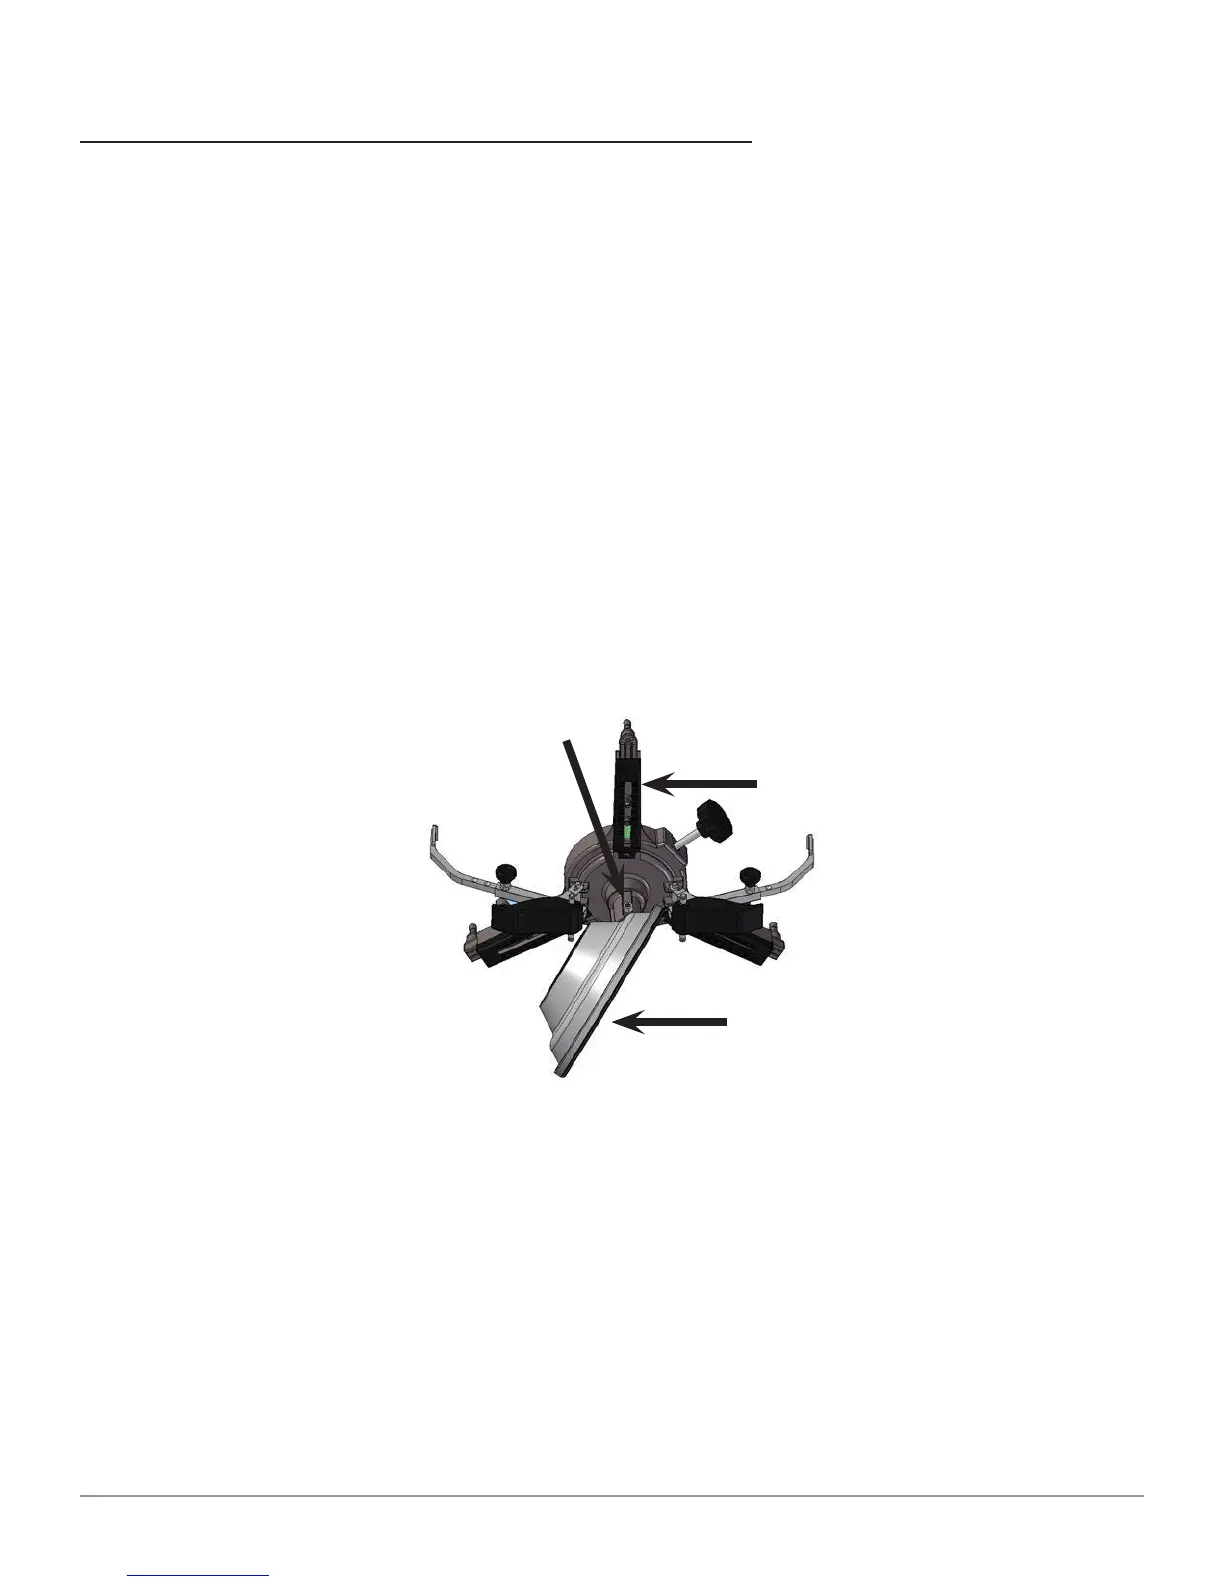
5.2.2 Clamp/Target Mounting
Targets have to be mounted onto wheel clamps at an angle of 20°. To do this
accurately, adopt the following procedure:
Figure 7
Mount targets onto wheel clamps at an angle of approximately 20° and fi t them
to the vehicle. Make sure that wheel clamps are secured in place with the spokes
positioned strictly vertically (12 o’clock), as shown in Figure 7.
In the menu item “Confi guration” select the option “target assembly”.
As soon as targets are in place and have been optimized, the screen represented
in fi gure 8 will appear.
Carefully align the 4 targets by matching the arrows with the targets above. If
Ta rget or ient ed
~ 2 0 °
Fixing scre w
Spok e posit ioned
at 1 2 o’Clock