7
3.0 Setting up
Setupthedeviceonalevel,rmsurface.
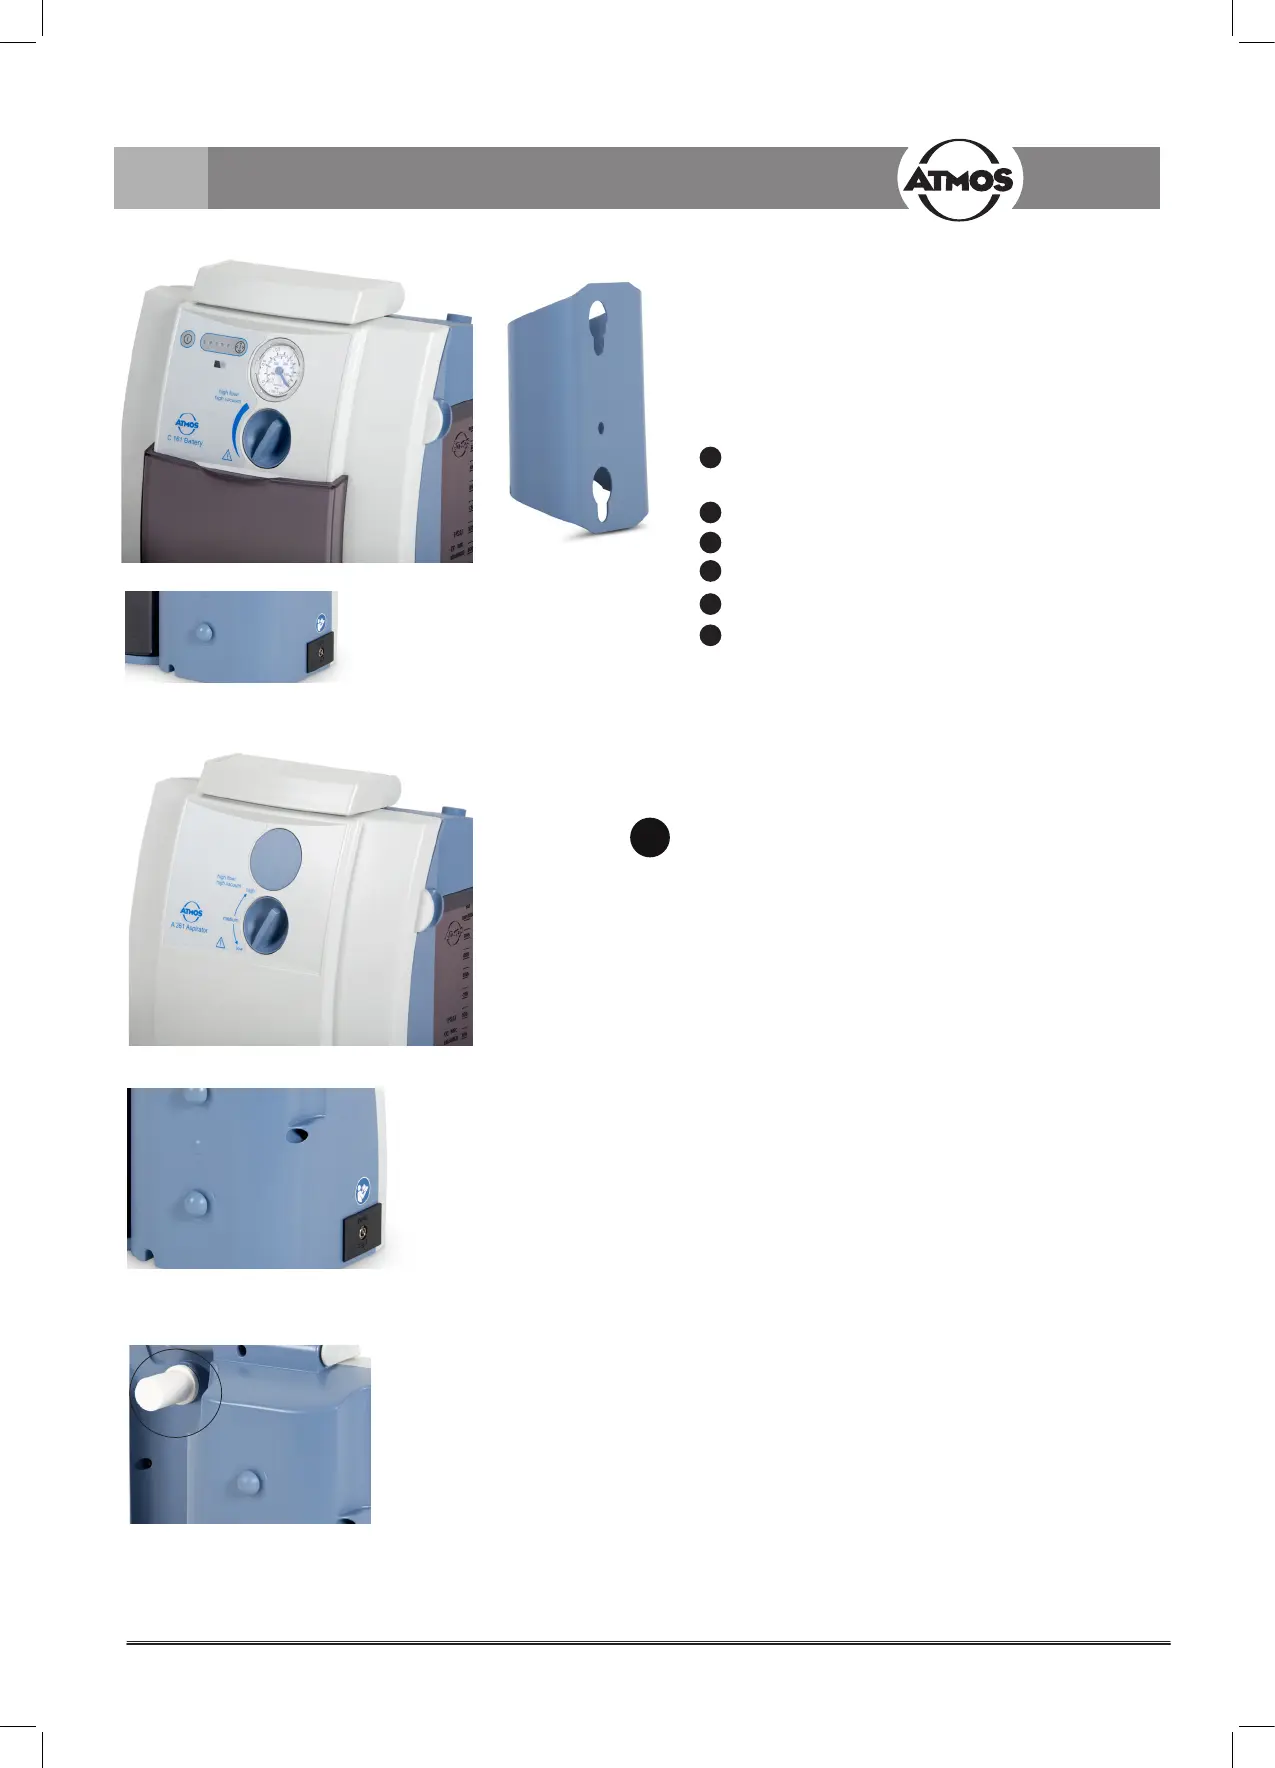
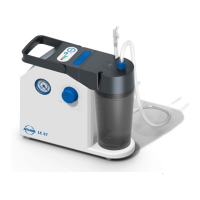
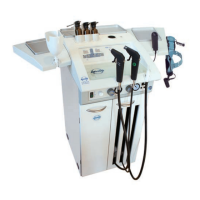
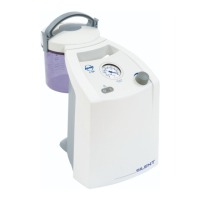
3.1 Operating elements
1
Shove blind for covering the operating elements
(ATMOS C 161 / 261 Aspirator)
2
Vacuum adjustment
3
Vacuum gauge (ATMOS C 161 / 261 Aspirator)
4
Hosestorage(g.1,page4)
5
Suction hose storage (accessory)
6
Switch On I/OO
3.2 Connection
Themainvoltagespeciedonthetypeplatemustmatch
the power supply system.
Check mains cable for damages. Damaged cables must be
replaced immediately!
3.0 Setting up and starting
3.3 Starting up
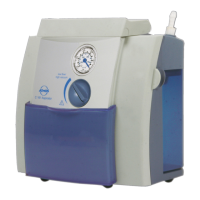
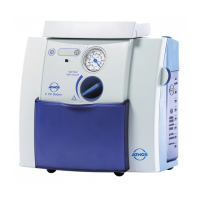
● The ATMOS A / C 161 / 261 Aspirator is delivered
ready for use.
● Lift the unit out of the cardboard. Check whether the
voltage values on the data plate correspond with the
inbuilding voltage.
● Setupthedeviceonalevel,rmsurface.
● Prior torst operation, pay attention to the safety
information in chapter 2.0.
● The unit must be allowed to stand for up to six hours
atroomtemperaturepriortostartingupfortherst
time following transport at temperatures below
freezing. The unit may not be operated if it has not
acclimatised as this might damage its diaphragms.
● ATMOS A / C 161 / 261 Aspirator / DDS: Always hold
ready at least one ATMOS DDS bacterial filter, as
the device may not be operated without one!
Fig 3.
Fig 2a.
Fig 4.
Fig 5.
Fig 2b.