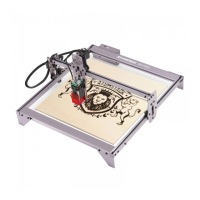
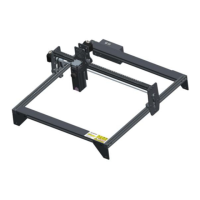
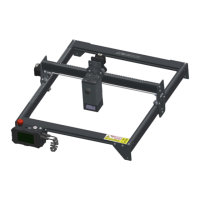
EasyManuals Logo

ATOMSTACK A6 PRO User Manual

ATOMSTACK A6 PRO
45 pages
To Next Page IconTo Next Page
To Previous Page IconTo Previous Page
Page #14 background image
9. Auxilia Positioning
10. About
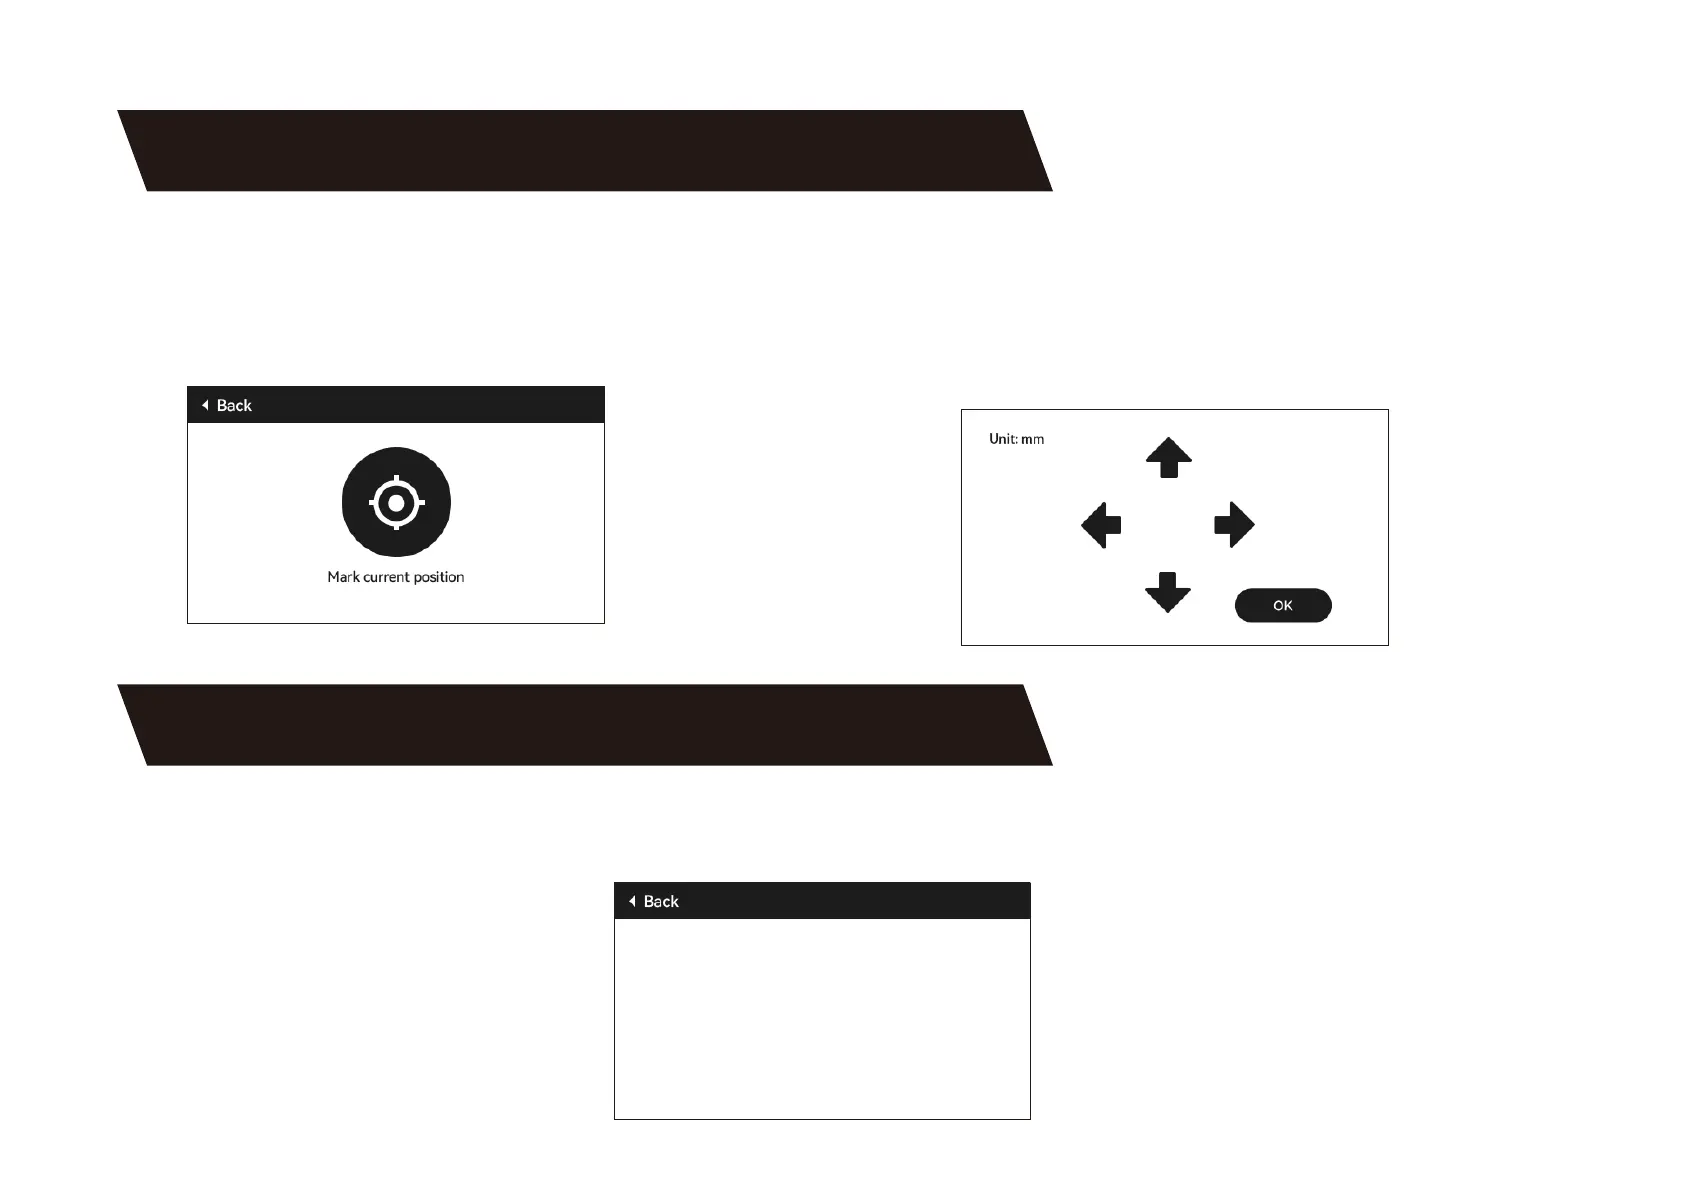
10.2.2 Click the triangle symbol next to "Red Cross
Positioning Calibration" to enter the calibration page,
as shown in the following gure. Then, click the "Mark
Current Position" button again, and the laser will sta
engraving the crosshair.
10.2.3 Obsee the error between the marked position
and the crosshair laser. If there is an error, proceed to
the next calibration step.
10.2.4 Click the up, down, left, and right buttons to the
position of the marked position (error value <1mm).
After calibration, click "Conrm".
(1) Machine's eective size
(2) Screen version number, mainboard version number
X:365.0 , Y:305.0
control board:V1.055
Screen rmware:V1.055
12

Other manuals for ATOMSTACK A6 PRO

Questions and Answers:

Question and Answer IconNeed help?

Do you have a question about the ATOMSTACK A6 PRO and is the answer not in the manual?

ATOMSTACK A6 PRO Specifications

General IconGeneral
Laser Output Optical Power5.5W
Laser Wavelength450nm
Engraving Accuracy0.01mm
Control SoftwareLaserGRBL, LightBurn
ConnectivityUSB
Focusing MethodManual
Laser Protective CoverYes
Laser TypeDiode
Engraving Area400mm x 400mm
Supported Materials (Engraving)Wood, Bamboo, Paper, Plastic, Leather
Supported Materials (Cutting)Wood, Leather, Acrylic, Plastic, Bamboo, Paper
Input FormatBMP, JPG, PNG, SVG
Power SupplyAC 100-240V
Frame MaterialAluminum

Related product manuals