EasyManuals Logo

Audio Technica AT-LPW40WN User Manual

Audio Technica AT-LPW40WN
25 pages
To Next Page IconTo Next Page
To Previous Page IconTo Previous Page
Page #8 background imageLoading...
Page #8 background image
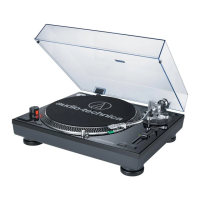
Leveling the turntable
1. After positioning the product where you want to use it, adjust the feet so that the product is level.
Use a level (sold separately) as needed to ensure that the product is level.
Assembling the tonearm
1. Remove the cable tie used to secure the tonearm at the time of delivery.
Use the clamp to temporarily secure the tonearm to the tonearm rest.
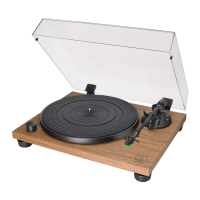
2. Insert the headshell into the tonearm.
Hold the right and left edges of the headshell so that you do not damage the stylus or cut the cartridge’s
wires.
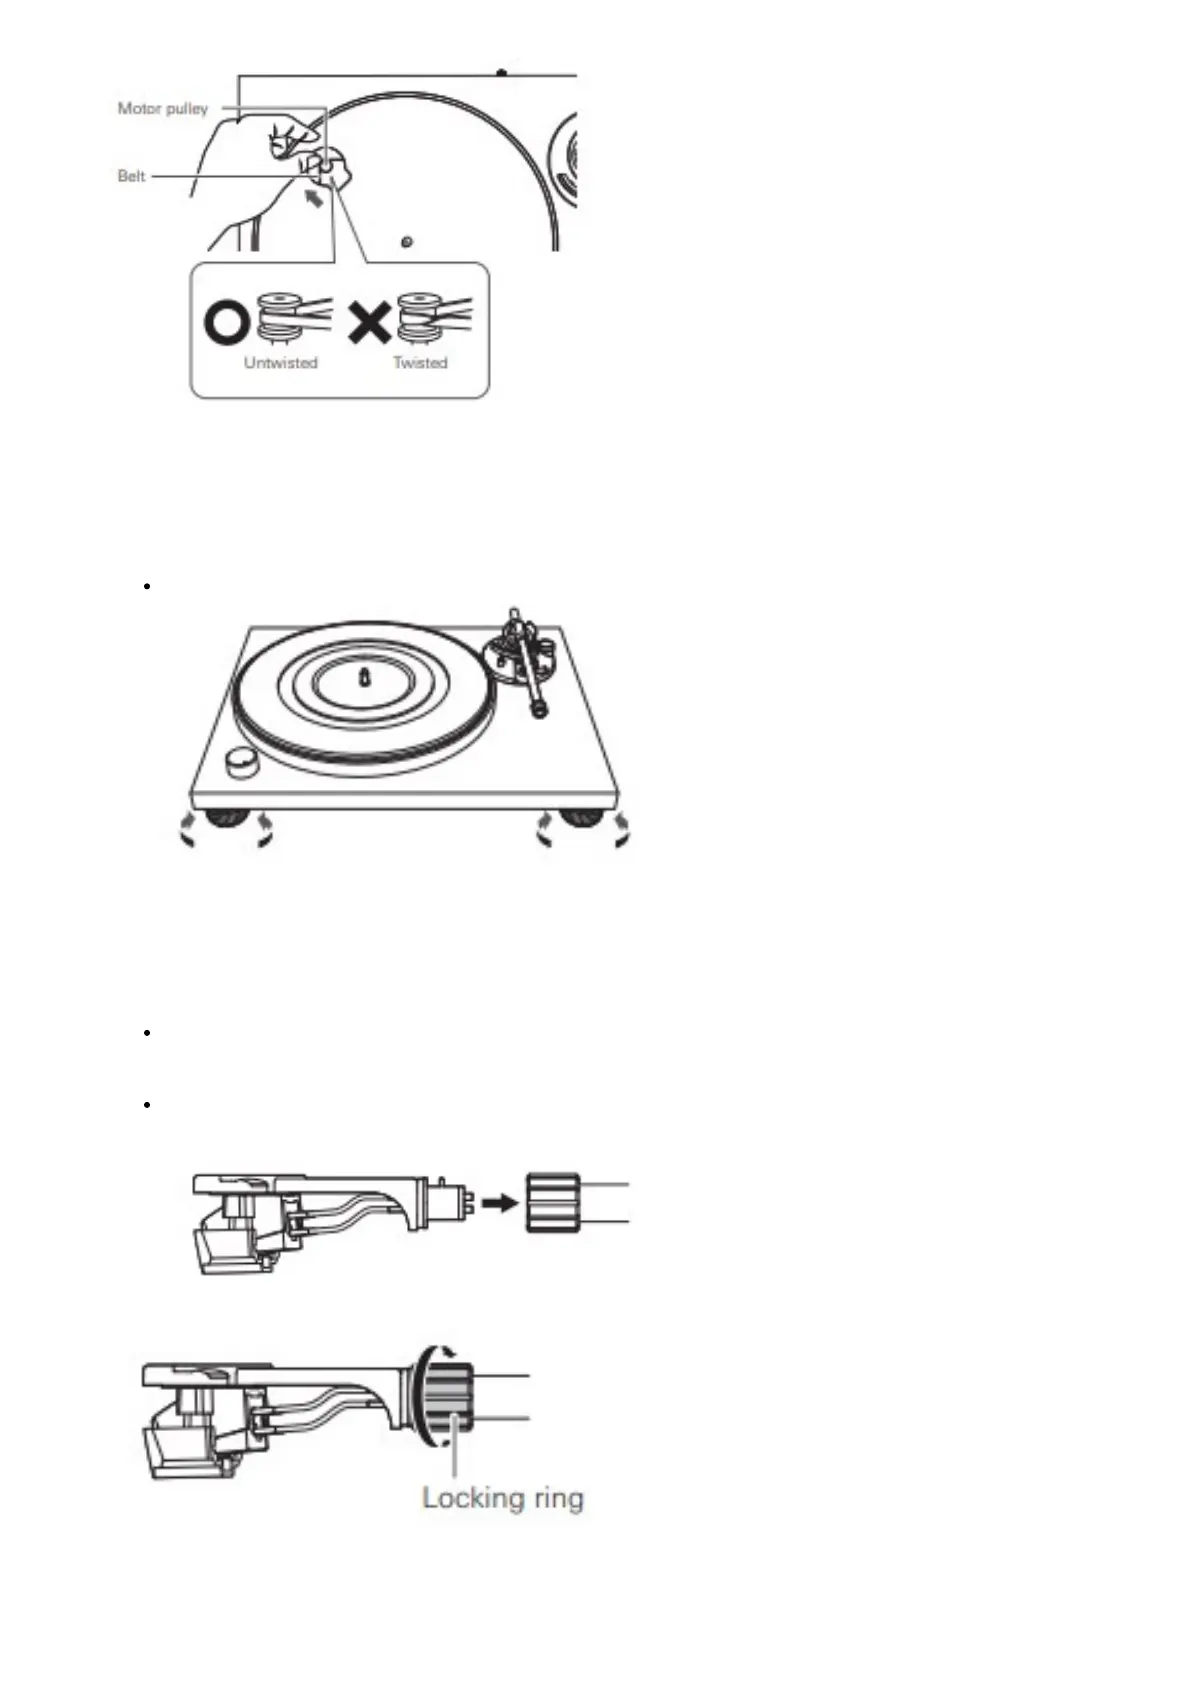
3. With the headshell inserted, turn the locking ring counterclockwise (to the left).
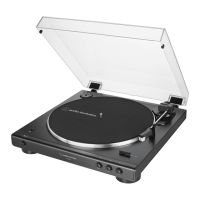
Locking ring Untwisted Twisted
4. With the tracking force gauge ring facing forward, attach the counterweight to the back of the tonearm, and

Other manuals for Audio Technica AT-LPW40WN

Questions and Answers:

Question and Answer IconNeed help?

Do you have a question about the Audio Technica AT-LPW40WN and is the answer not in the manual?

Audio Technica AT-LPW40WN Specifications

General IconGeneral
Drive MethodBelt-drive
Speeds33-1/3 RPM, 45 RPM
MotorDC servo motor
CartridgeAT-VM95E
Stylus0.3 x 0.7 mil elliptical
Replacement StylusAT-VMN95E
Phono PreampBuilt-in switchable
PlatterAluminum
Dimensions420.0 mm (16.54") W x 340.0 mm (13.39") D x 116.9 mm (4.6") H
Tonearm TypeStraight
OutputRCA
Power Supply100-240V AC, 50/60 Hz

Related product manuals