Table 33:
Short overview on push button functions
FunctionPush but-
tons
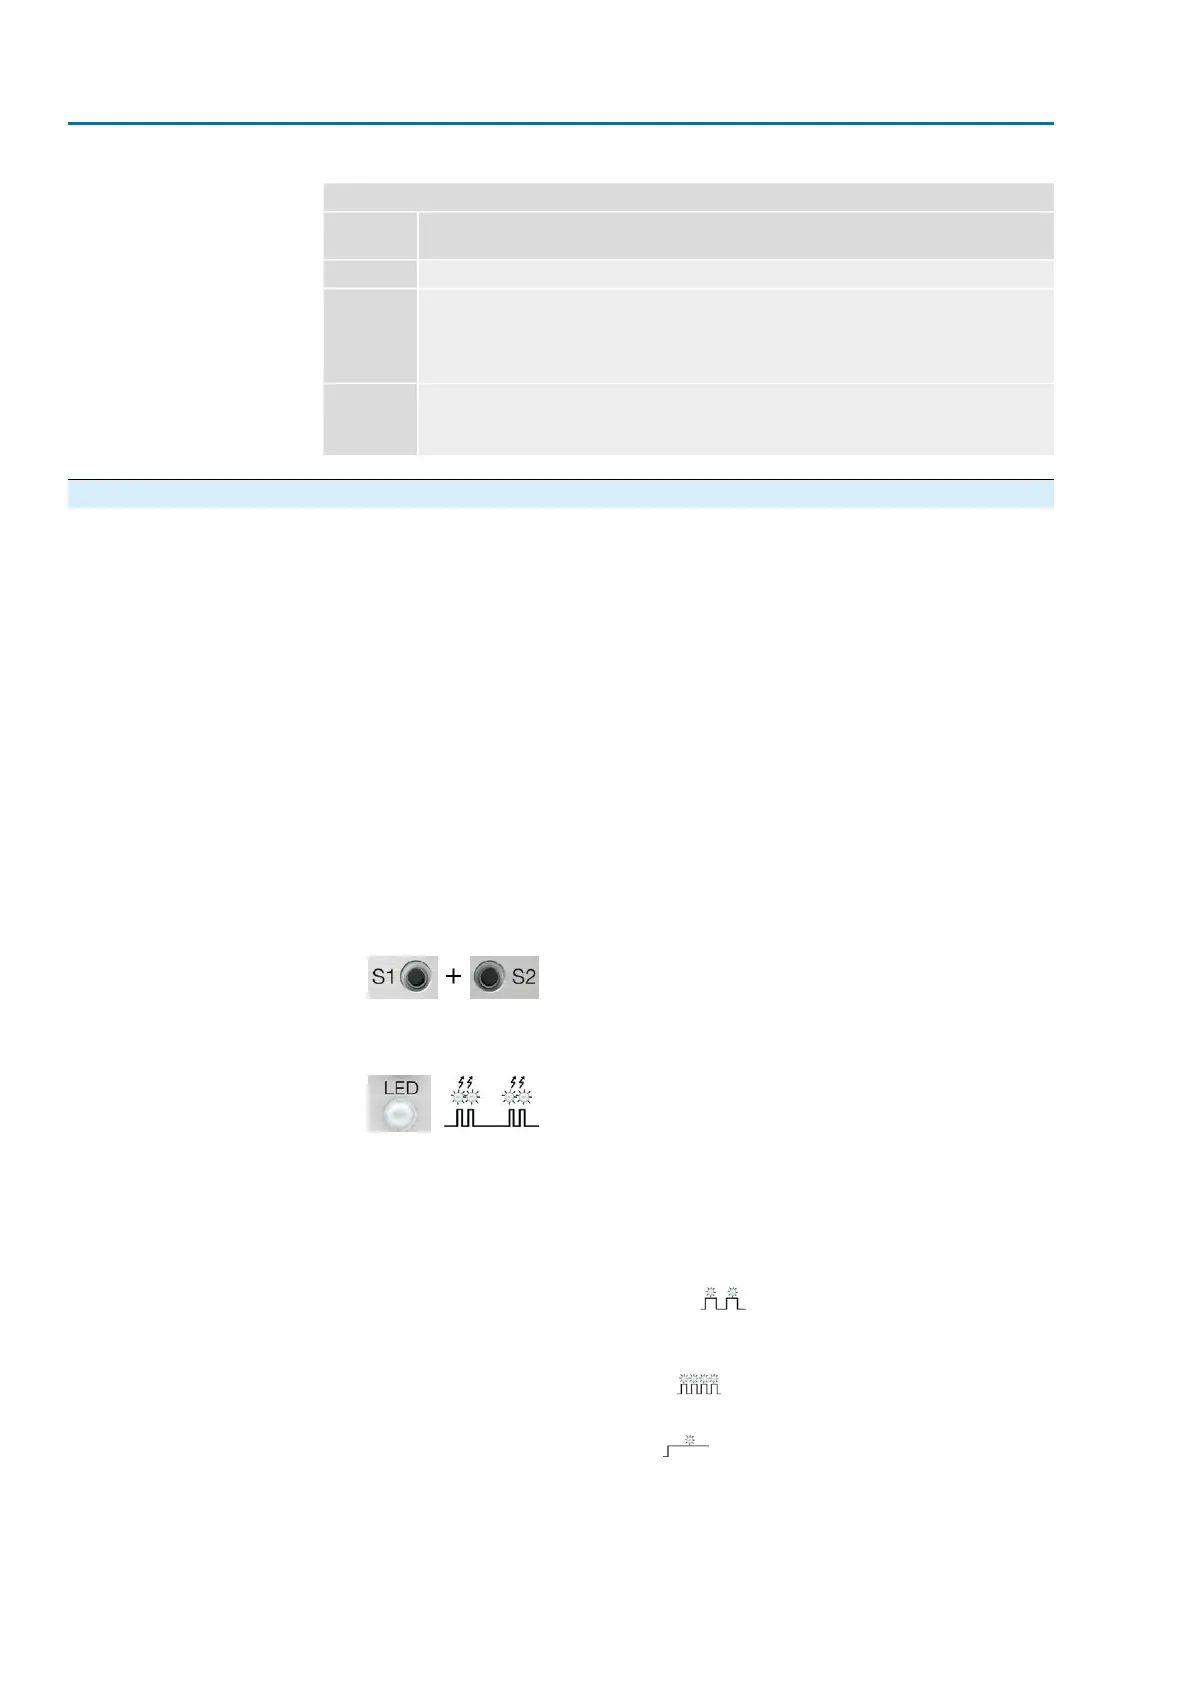
→ press simultaneously for 5 s: Activate setting mode[S1] + [S2]
→ press in setting mode for 3 s: Set 4 mA
→ press in setting mode for 6 s: Set 0 mA (only possible for 3-/4-wire version)
→ press in operation for 3 s: Switch on/off LED end position signalling.
→ touch in end position: Reduce current value by 0.02 mA
[S1]
→ press in setting mode for 3 s: Set 20 mA
→ press in operation for 3 s: Switch on/off LED end position signalling.
→ touch in end position: Increase current value by 0.02 mA
[S2]
11.1.1. Measuring range: set
For measuring range setting, voltage must be applied at the position transmitter.
For output current verification, connect a test device for 0 – 20 mA to measurement
points (+/–) (for 2-wire systems, connecting a test device is imperatively required).
Information
●
Both measuring ranges 0/4 – 20 mA and 20 – 0/4 mA (inverse operation) can
be set.
During setting process, the measuring range (normal or inverse operation) is
assigned to the end positions by push button S1/S2 assignment.
●
For 2-wire systems, switch off <LED end position signalling> prior to setting the
measuring range.
●
Setting mode activation clears the settings in both end positions and sets the
output current to a value of 3.5 mA. After activation, both end values (0/4 mA
and 20 mA) need to be reset.
●
In case of inadvertent incorrect adjustment, the settings can always be reset
by renewed activation of the setting mode (simultaneous pressing of [S1] and
[S2]).
Activate setting mode
1. Press both push buttons [S1] and [S2] and hold down for 5 seconds:
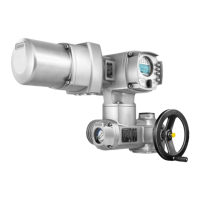
➥
By pulsing double flashes, the LED indicates that the setting mode is correctly
activated:
➥
For any other LED flash sequence (single/triple flashing): Refer to <Faults
during commissioning>.
Set measuring range
2. Operate valve in one of the end positions (OPEN/CLOSED).
3. Set desired output current (0/4 mA or 20 mA):
→
for 4 mA: Hold down push button [S1] for approx. 3 seconds,
until LED is blinking slowly .
→
for 0 mA: Hold down push button [S1] for approx. 6 seconds (only
possible for 3-/4-wire version)
until LED is blinking fast .
→
for 20 mA: Hold down push button [S2] for approx. 3 seconds,
until LED is illuminated .
Information: For 2-wire systems read current values at test device.
4. Operate valve into opposite end position.
➥
The value set in end position (0/4 mA or 20 mA) does not change during travel
in setting mode.
76
SAEx 07.2 – SAEx 16.2/SAREx 07.2 – SAREx 16.2 Control unit - electromechanical
Commissioning (optional equipment settings) ACExC 01.2 Intrusive Modbus RTU