Ethernet Communications Modules, 3rd Edition, Rev. D
7-10
Chapter 7: Maintenance and Troubleshooting
1
2
3
4
5
6
7
8
9
10
11
12
13
14
A
B
C
D
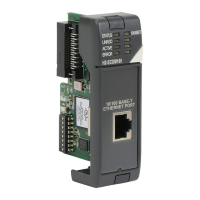
Replacing the ECOM Module
If you are experiencing a communication problem, and you think the ECOM may be defective,
try replacing the ECOM module with a new one or one that you know is working properly.
If that corrects the problem, then the original module is probably defective (assuming the
replacement module was set up the same as the original and no changes have been made to the
communication program or other network components). The diagnostic LEDs will help you
determine which applies in this case. If replacing the module does not correct the problem, then
the problem is probably not in the module.
If you are replacing an existing ECOM module with a new one, you need to set up the new
module with the same network identifiers as the module you are replacing. If you used the DIP
switch to set the Module ID, you will need to set the DIP switch on the replacement module to
the same Module ID. See Chapter 2 to review the procedure for setting the Module ID using
the DIP switch.
If you set up your original ECOM module using one of the software utilities, you will need to
refer to your record of the module’s network identifiers in Chapter 2 and duplicate the settings
in the new module using the same procedures. See Chapter 3 to review the procedures for using
the software utilities.
To replace the ECOM module, disconnect power from the PLC and remove the original
module. Insert the replacement ECOM module, connect the module to your network and
apply power to the PLC. Links to other network devices will automatically be reestablished and
communications between devices will resume.
WARNING: Your system can be damaged if you install or remove system components before disconnecting
the system power. To minimize the risk of equipment damage, electrical shock, or personal injury,
always disconnect the system power before installing or removing any system component.
 Loading...