VALVE SERVICE 47
Rev A
3. Reconnect wires.
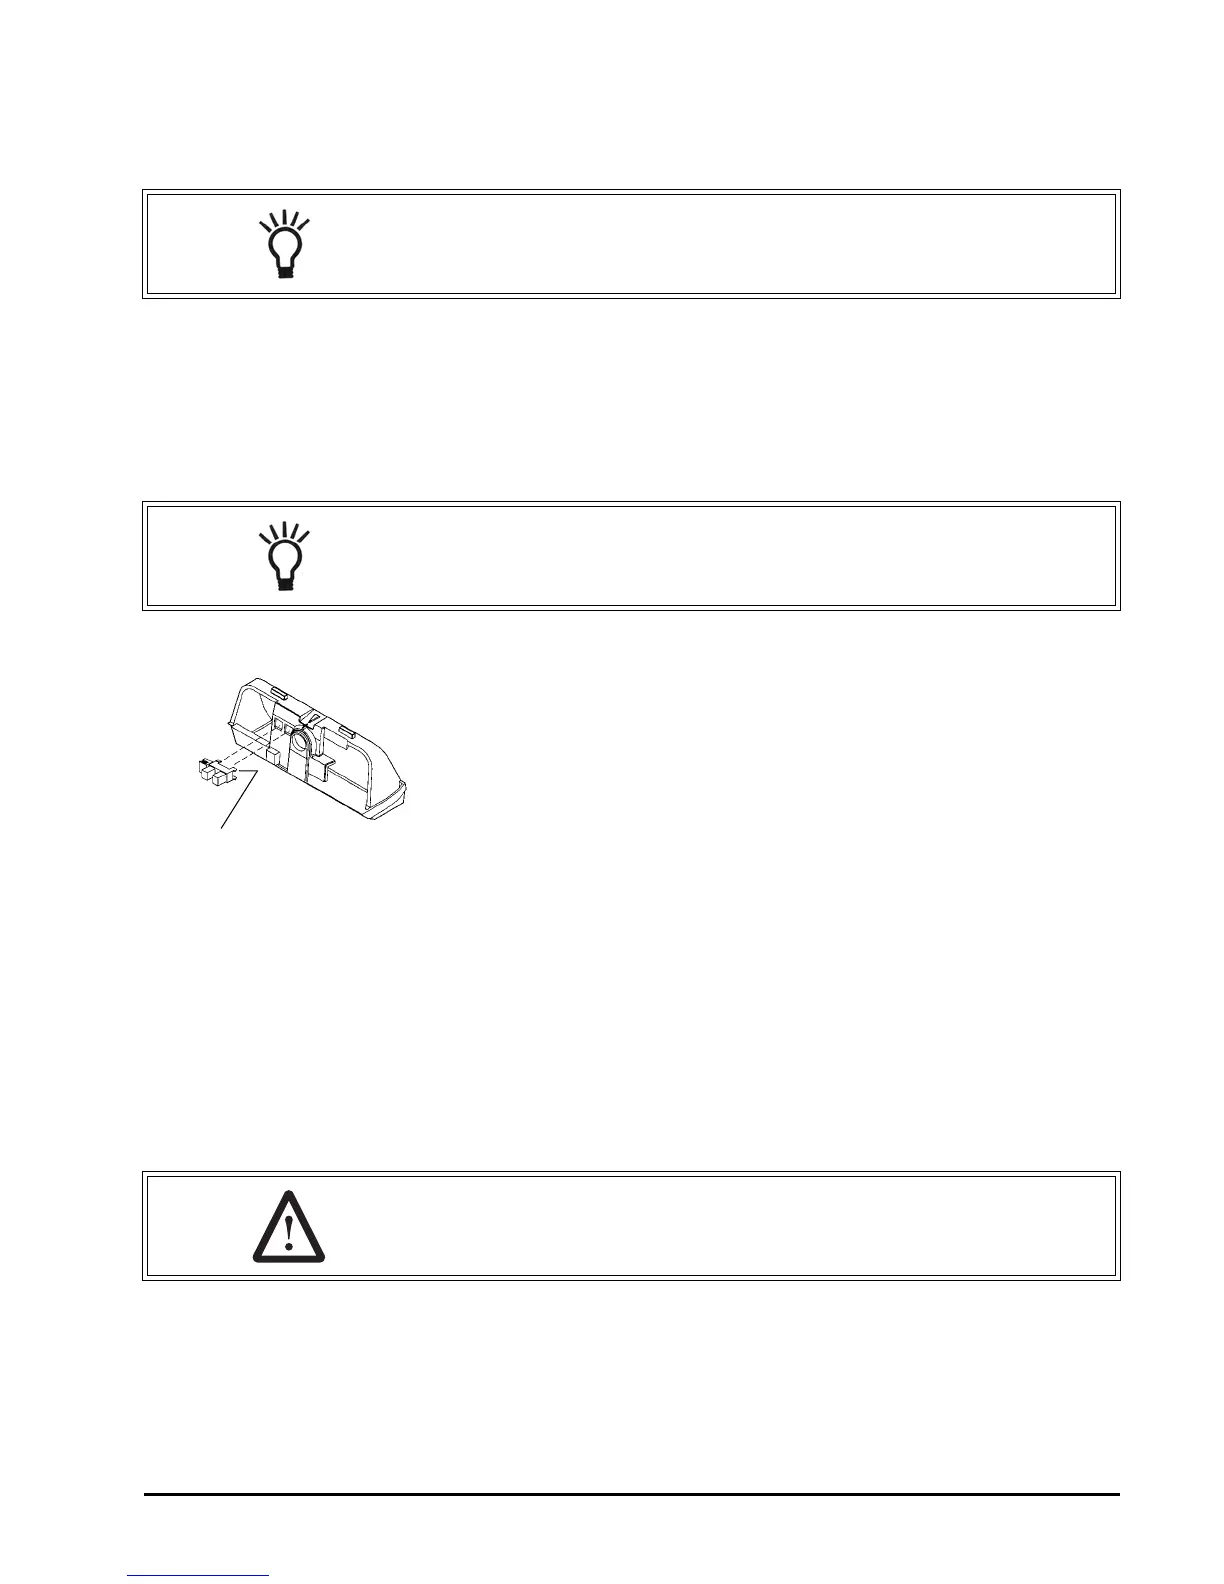
Optical Sensor
The optical sensor is mounted to the top plate. The camshaft cup rotates
through the sensor and the slots are detected. A signal is sent to the
controller for each slot.
To remove optical sensor:
1. Disconnect power to the unit.
2. Remove cover.
3. Remove controller.
4. From the controller side, pinch the legs of the sensor holder in the top
plate.
5. Pull the holder away from the mounting surface.
6. Remove wires.
To install optical sensor:
1. Attach wires. Wires should point away from camshaft.
2. Place leading edge of sensor holder into opening.
3. Pivot holder into place. Legs should enter slots and snap in place.
NOTE:
It is not necessary to pre-position the camshaft or the motor. When the
controller is powered up the camshaft will be rotated to the "home" position.
NOTE: Damaged sensors should be replaced. Sensors may be cleaned with
compressed air or a soft brush.
Do not bend the legs on
the optical sensor
WARNING: The optical sensor legs are fragile and may break. If the
optical sensor legs break or crack, we recommend replacement. A
damaged sensor may result in improper regeneration.