VALVE SERVICE 55
Rev A
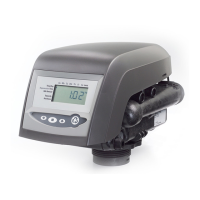
To install relay:
1. Disconnect power to the unit.
2. Remove cover.
3. Remove controller.
4. Use self-tapping screws to secure the relay to the left side of top plate.
Screw bosses are available for connecting relay.
5. Connect wires to the controller.
6. Clip wires with plastic tie-wrap to ensure that the wires do not tangle
in camshaft.
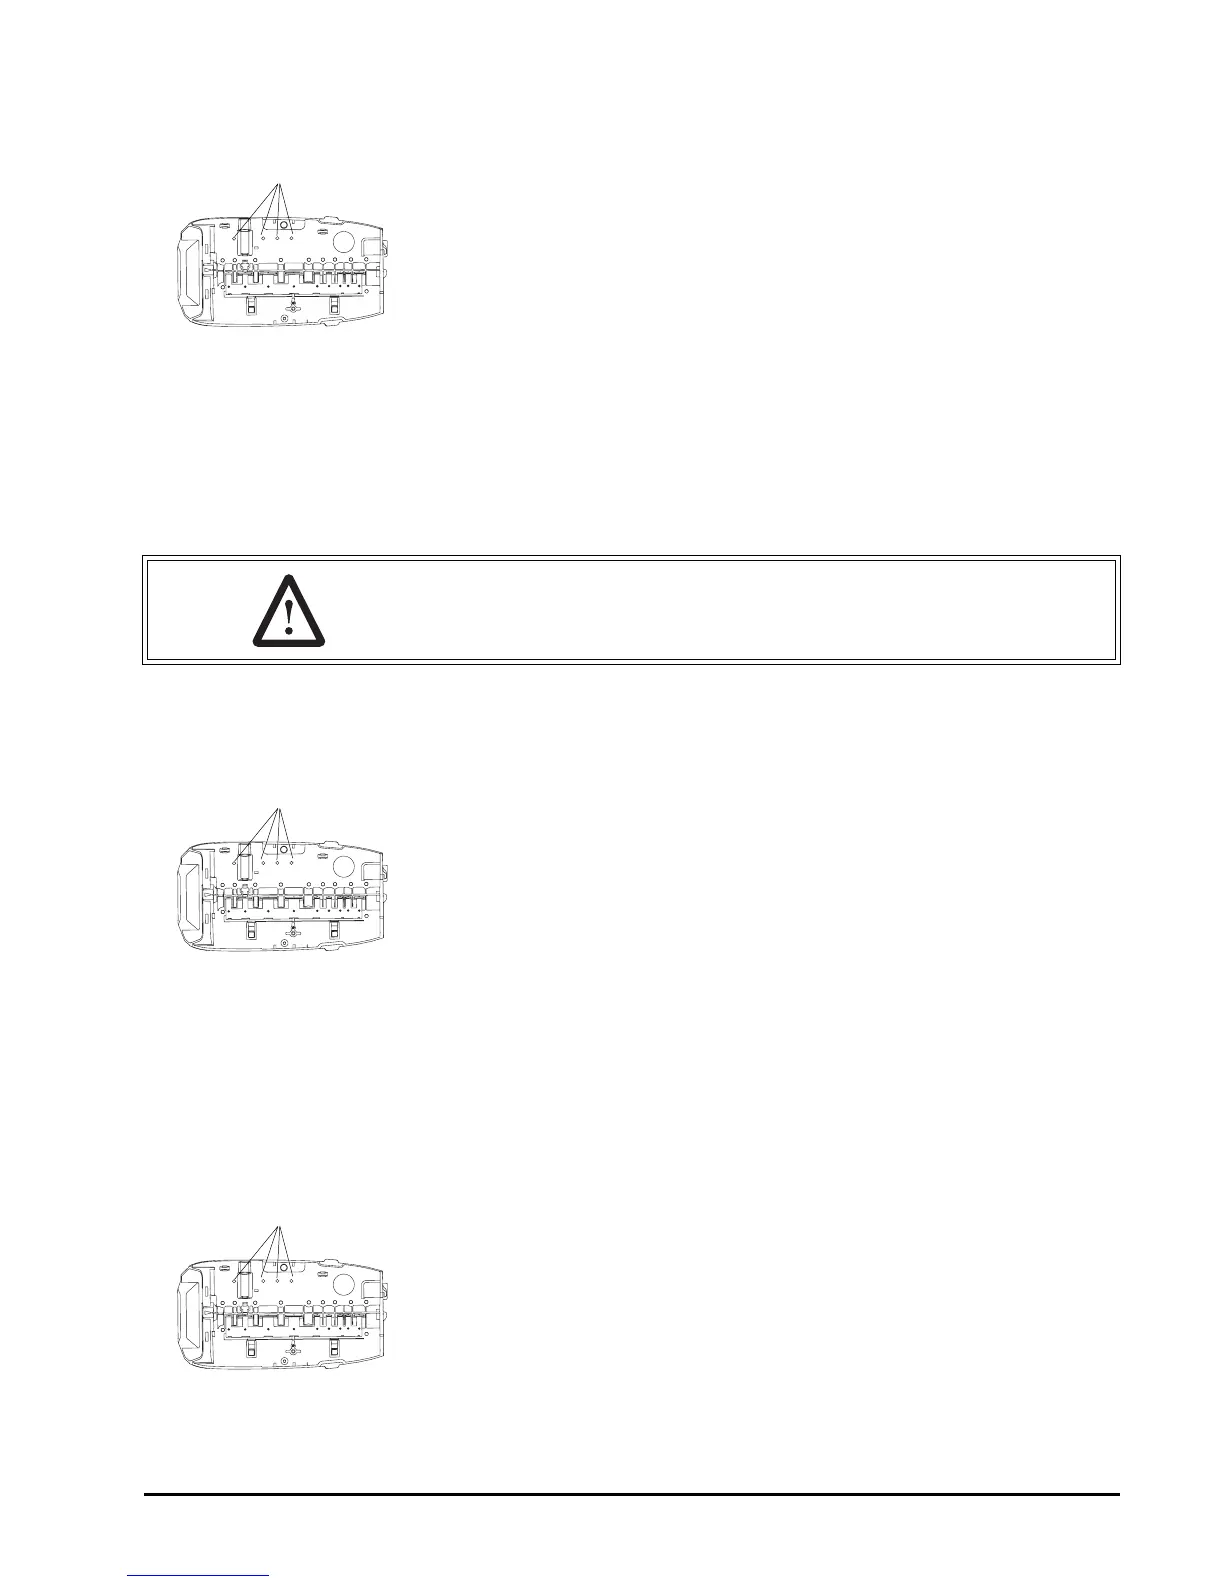
Terminal Block (Optional)
Holes are provided to mount standard terminal blocks. The location is
under the cover on the top plate.
To install terminal blocks:
1. Disconnect power to unit.
2. Remove cover.
3. Use self-tapping screws to secure terminal block to top plate.
4. Clip wires with plastic tie-wrap to ensure that the wires do not tangle
in camshaft.
Transformer (Optional)
A transformer is available to be mounted under the cover. Holes are
provided on the top plate for a standard 24 VAC to 12 VAC transformer.
This type of transformer is used when the plug-in AC adapter is not
acceptable.
To install transformer:
1. Disconnect power to unit.
2. Remove cover.
3. Use self-tapping screws to secure transformer to top plate.
4. Clip wires with plastic tie-wrap to ensure that the wires do not tangle
in camshaft.
Mounting Holes
WARNING: The Autotrol valve is rated for low voltage microswitch
components only. Using a high voltage switch may result in damaged
valves or fire and may interfere with electronic control function.
Mounting Holes
Mounting Holes
 Loading...