VALVE SERVICE 51
Rev A
To install a wiring harness:
1. Depending on which harness is being installed, plug the connector
into the motor or turbine.
2. Route the harness through the opening at the back of the top plate.
3. Place the harness into the clips on the top plate. Do not leave any
slack. Put the motor wire in first, then the turbine sensor cable second.
4. Feed the wire through the opening on the front of the top plate.
5. If installing the motor harness the connector to the optical sensor can
be clipped in place.
6. Connect the harness to the back of the controller.
Microswitch (Optional Under the Cover)
The microswitch is located under the cover and is screwed to the top
plate. This switch is turned on/off by a cam lobe on the camshaft. Its
function is to signal that the unit is in-service or out-of-service
(regenerating).
Microswitches are available as kits from GE Water Technologies, or a
standard microswitch can be used as well.
To install microswitch:
1. Connect wires.
2. Use self-tapping screws to secure the switch base to the blind boss
top plate.
3. Adjust microswitch distance to cam.
NOTE:
Start at the back of the valve and work toward the controller. This will
place any slack behind the controller. Slack or loose wires can become tangled
in the camshaft.
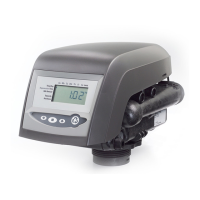
Slot for motor and transformer
Slot for turbine wire
wires
NOTE: If using both a motor and turbine cable harness, install the smaller
motor cable first. Install the larger turbine cable second. This will lock the motor
cable beneath in the wire management clips.
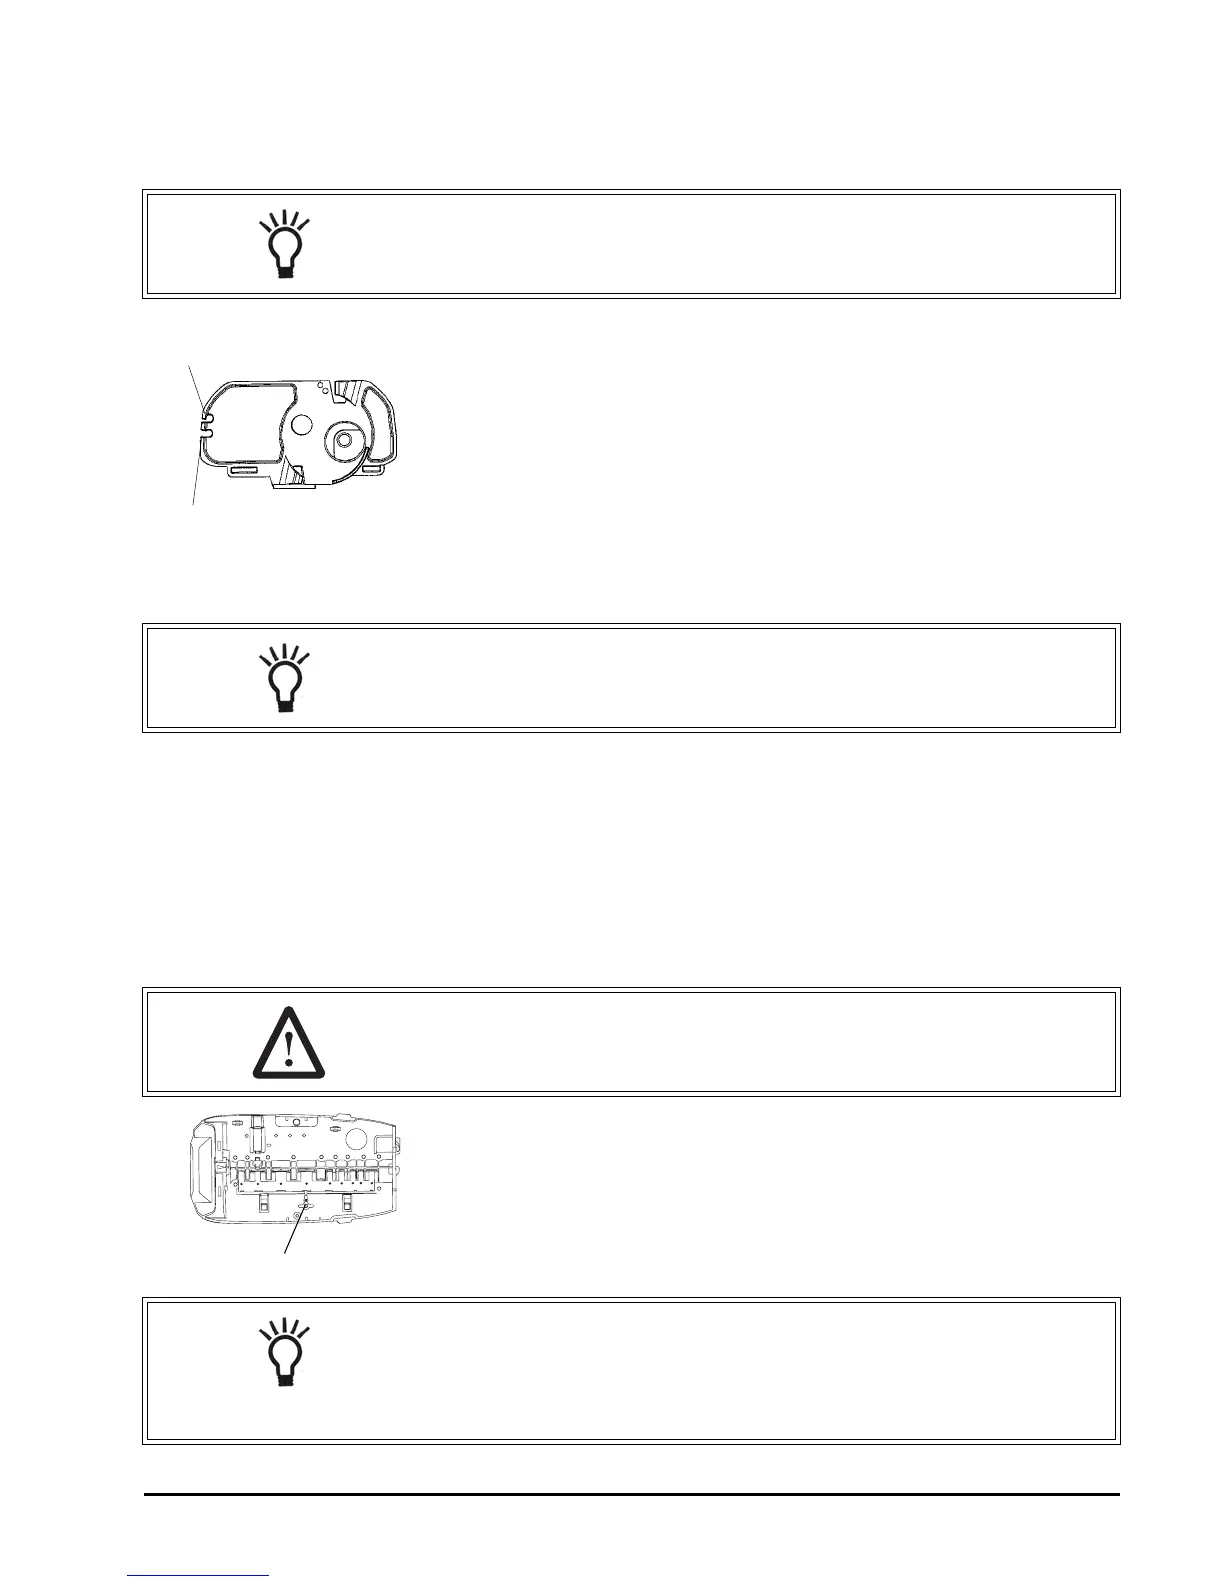
WARNING: This switch will normally control an event on another piece
of equipment. Be certain of what effect your actions will have on the
other equipment.
Mounting Holes
NOTE: Proper procedure for replacing a self-tapping screw:
A. Drop screw into hole.
B. With a screwdriver, back the screw up (counterclockwise) until
the threads click.
C. Rotate the screw forward (clockwise) until finger tight.
 Loading...