55
600 Series
Engine inspections and maintenance
Engine related inspections and routine
maintenance
9. Engine oil level
Check the engine oil level with the dipstick. To get correct
result with the dipstick
• Park the loader on level surface
• Allow the engine to cool down and the oil level settle
before you check the oil level
• Push the dipstick all the way in to get the correct
reading.
If the engine oil level is not in between the markers on the
dipstick, add a small amount recommended grade motor
oil to the engine, allow oil level to settle, and check level
again. Do not add too much oil to the engine, as it can
damage the engine.
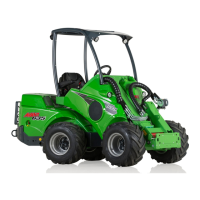
10. Coolant level
The cooling system of the engine uses a pressurized
radiator and a reservoir tank.
Check that the radiator is lled with coolant. The reservoir
should be kept about half full. Never open the radiator
if the engine is hot! If necessary, add only 50% mixture
of glycol antifreeze and clean water to prevent internal
corrosion of the engine.
The coolant reservoir
is located in the engine
compartment.
Never open the pressurized
radiator, when the engine is
warm. Hot coolant may burst out
causing serious burns. Allow the
engine to cool completely before
opening.
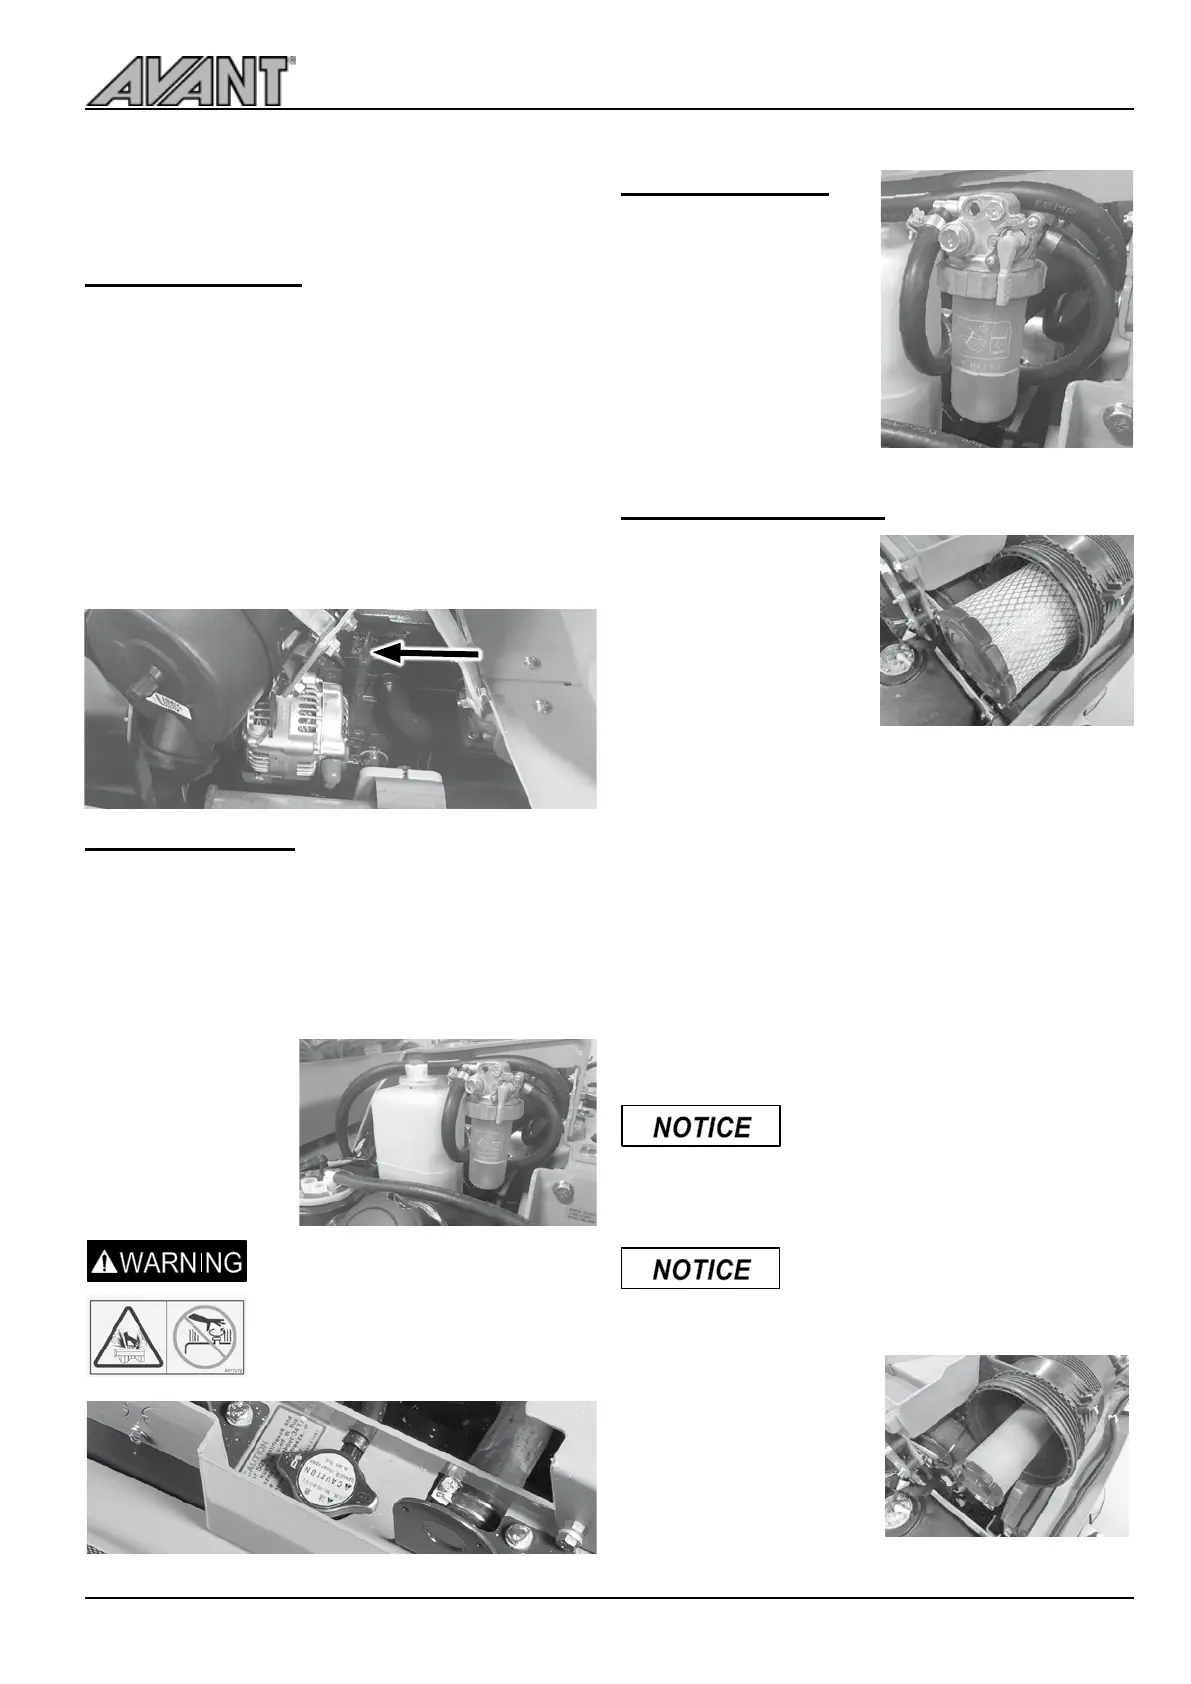
11. Water in fuel
There is a water separator
connected to the fuel lines.
If water is visible in the cup,
drain it by turning a small
plug on the bottom of the
water separator. Collect the
water and dispose as used
oil. Close the plug tight.
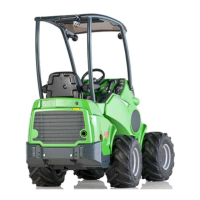
12. Air filter element
The engine air lter prevents
dust and dirt from entering
the engine. In dusty
operating conditions it may
be necessary to clean the
air lter element between its
scheduled replacement.
1. Squeeze the rubber vent on the lter housing cover to
drain water and dirt from the lter.
2. Wipe the outer surface of the air lter housing clean
before opening the lter.
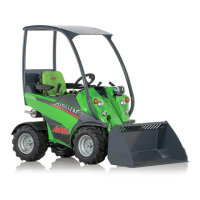
3. Remove the lter cartridge
4. To clean the lter, tap the closed end of the lter gently
against a at, clean surface. Never use compressed
air to clean the lter!
5. Do not remove the inner element.
6. Clean the inner components of the lter housing with a
damp cloth
7. Reinstall the lter cartridge and sealing. Ensure
theproper tightness between the lter and housing
cover.
Never attempt to clean an the air
lter element with compressed air.
The air lter gets damaged easily,
allowing dust particles to enter the
engine and cause wear.
Avoid engine wear and damage -
Never operate the loader without a
correct air lter cartridge tted.
Do not remove the internal
air lter element. It is
intended to prevent debris
from entering the engine
during the replacement of
the air lter element.