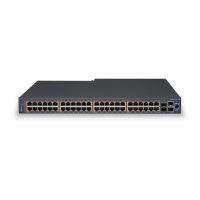
Chapter 5: Installing the Avaya Ethernet
Routing Switch 3500 Series
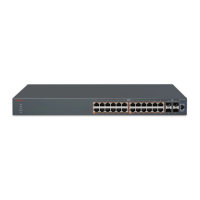
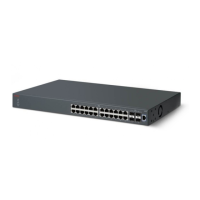
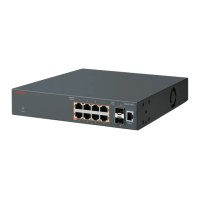
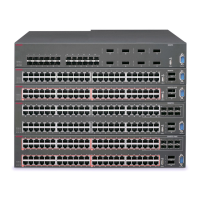
This chapter provides the information and procedures to install the Avaya Ethernet Routing Switch
3500 Series.
Installation checklist
Use this checklist to install the Avaya Ethernet Routing Switch.
Table 1: Installation checklist
No. Task Description
1. Install the switch.
Installation depends on the switch
model. ERS 3510T or ERS 3510GT-
PWR+ can be mounted on a wall,
table, or shelf. Optionally, it can also
be mounted in an equipment rack.
All the other switches in the ERS
3500 Series are installed in an
equipment rack.
Do any one of the following:
• Installing ERS 3500 in an equipment
rack on page 23
• Installing ERS 3510GT or ERS
3510GT PWR+ on a table or shelf on
page 25
• Installing a single ERS 3510GT or
ERS 3510GT-PWR+ switch in an
equipment rack on page 27
• Installing two ERS 3510GT or ERS
3510GT-PWR+ switches in an
equipment rack on page 29
2. Connect the AC power cord to the
switch.
See, Connecting the AC power cord to
the switch on page 42.
3. Check LEDs to verify the installation. See, LED state definitions on page 45.
4. (Optional) Connect the switches in a
stack.
See, Connecting the switches in a
stack on page 38.
September 2016 Installing Avaya Ethernet Routing Switch 3500 Series 12
Comments on this document? infodev@avaya.com

 Loading...
