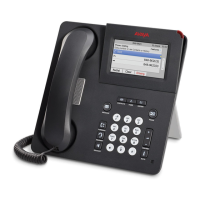
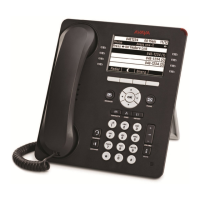
"My Line." If you have a button module attached to your deskphone, you can change any of
those labels as well; for example, you can change a Help Desk extension to read “Help Desk.”
For information on editing Autodial button labels, see Assigning labels to pre-assigned
(Autodial) numbers on page 59.
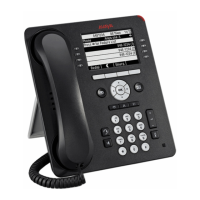
1. Press Home.
Note:
To edit a label on an attached Avaya BM12 Button Module, press the Edit button
on the module instead and proceed to Step 10.
2. Select Options & Settings...
3. Press Select or OK.
4. Select Application Settings.
5. Press Select or OK.
6. Select Personalize Labels...
7. Press Select or OK.
8. Select the label you want to edit.
If the label you want to edit is on the Features menu, scroll down past your call
appearances, and select the feature you want to edit. If the label you want to edit
is on the System Numbers menu, scroll down past your features and select the
system number label you want to personalize.
9. Press Edit.
10. Type a new label using up to 13 characters.
Press More then Clear to clear all text fields and start over.
11. Press Save or OK.
12. You may revert back to the default button labels by selecting Home > Options &
Settings > Application Settings > Restore Default Button Labels and pressing
Default.
Adjusting the brightness or contrast of the display
1. Press Home.
2. Select Options & Settings...
3. Press Select or OK.
Avaya Menu
22 Avaya one-X
™
Deskphone SIP for 9608/9611G IP Telephone User Guide September 2010